How 15 Minutes of DIY Can Save You a Service Call
Published: Mar 26, 2026
That sound. The cringe-inducing screech of metal on metal, the shuddering groan as your garage door struggles to open. It’s a sound that most homeowners know and try to ignore, hoping it will just go away. But that noise is more than an annoyance—it's your garage door telling you it's under stress.
What if a simple, 15-minute routine, performed just twice a year, could silence that noise, protect your investment, and actually extend the time between professional service appointments?
Many homeowners find themselves in a tough spot. You want to be proactive, but you’re worried about breaking something or, worse, attempting a dangerous repair. The good news is that there's a safe and effective middle ground. By understanding the basics of DIY lubrication and inspection, you don't replace the need for an expert, but you optimize it. You become the first line of defense for your home's largest moving part, saving money and preventing small issues from becoming costly emergencies.
The "Why" Behind the Work: The 3 Goals of Garage Door Maintenance
- Safety: Your garage door is incredibly heavy. It relies on a balanced system of springs, cables, and safety features to operate reliably. Regular checks ensure that safety mechanisms, like the auto-reverse function, are working correctly to protect your family and property.
- Silence: A quiet garage door is a well-maintained garage door. Those groans, creaks, and pops are symptoms of friction and strain on parts like rollers, hinges, and springs. Lubrication reduces this friction, allowing the door to move smoothly.
- Longevity: Reducing friction also means reducing wear and tear. A smoothly operating door puts less strain on the single most expensive component: the garage door opener. A little maintenance now can help you avoid a premature and costly motor replacement down the road.
Your Complete DIY Maintenance Checklist
1. Look & Listen: The 5-Minute Visual Inspection
2. Clean & Clear: The Basics of Good Housekeeping

3. Lubricate (But Only the Right Parts)
- Hinges: Spray at the pivot points of all the hinges.
- Rollers: Aim for the ball bearings inside the rollers. Avoid spraying the wheel (the nylon or steel part that touches the track).
- Torsion Springs: Apply a light, even coat across the springs. This prevents rust and reduces the grinding noise they can make as the coils rub against each other.
- Bearing Plates: Lightly spray the bearings located at each end of the torsion spring bar.
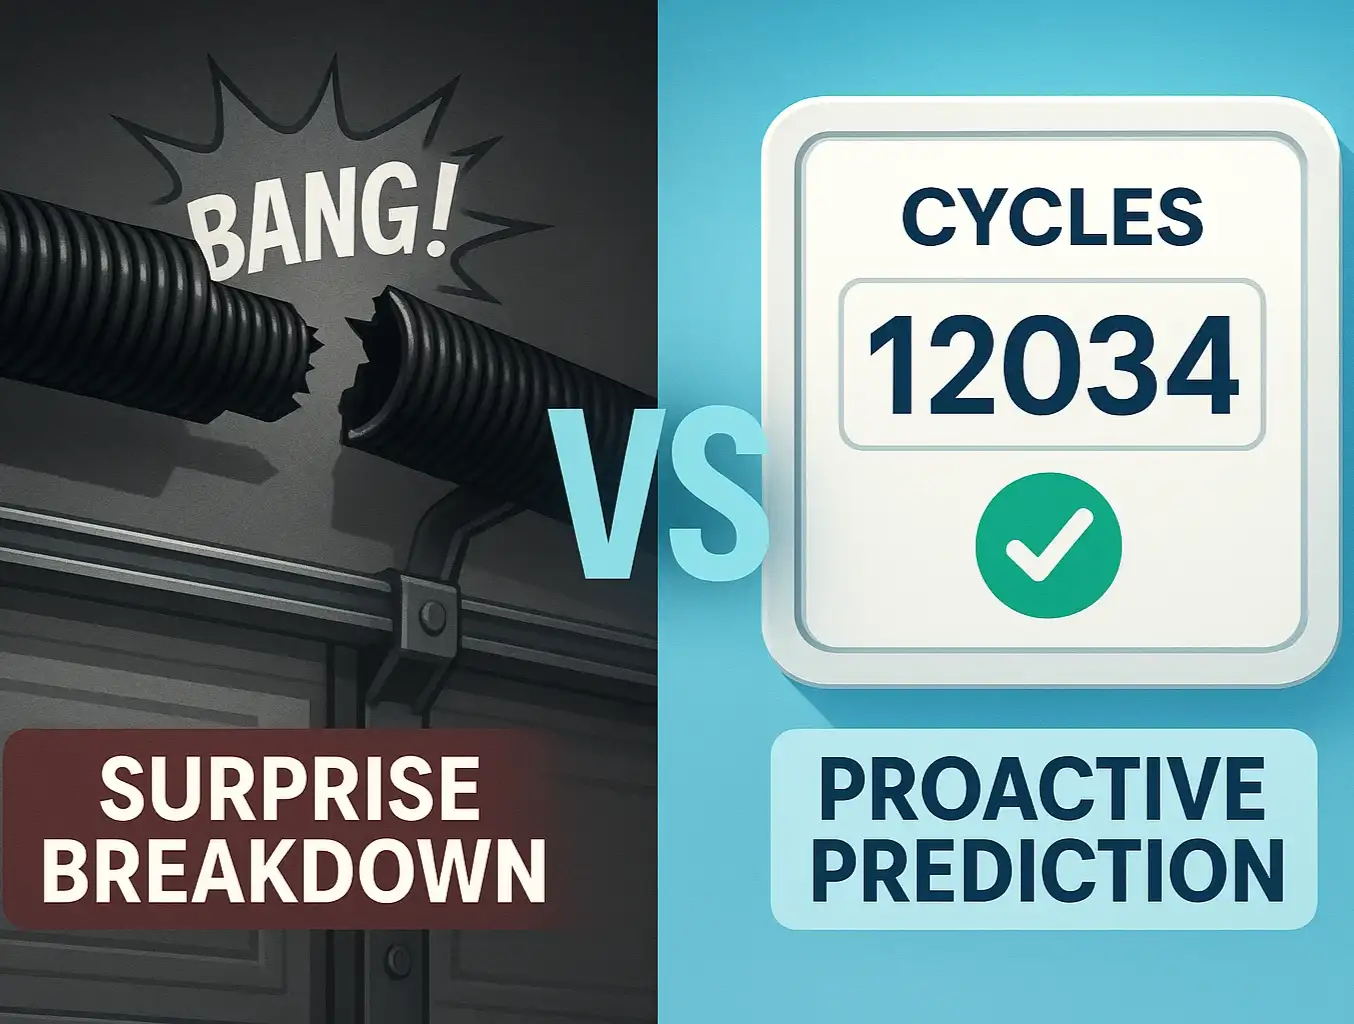
The Big Picture: How Your Effort Pays Off

The Service Frequency Slider
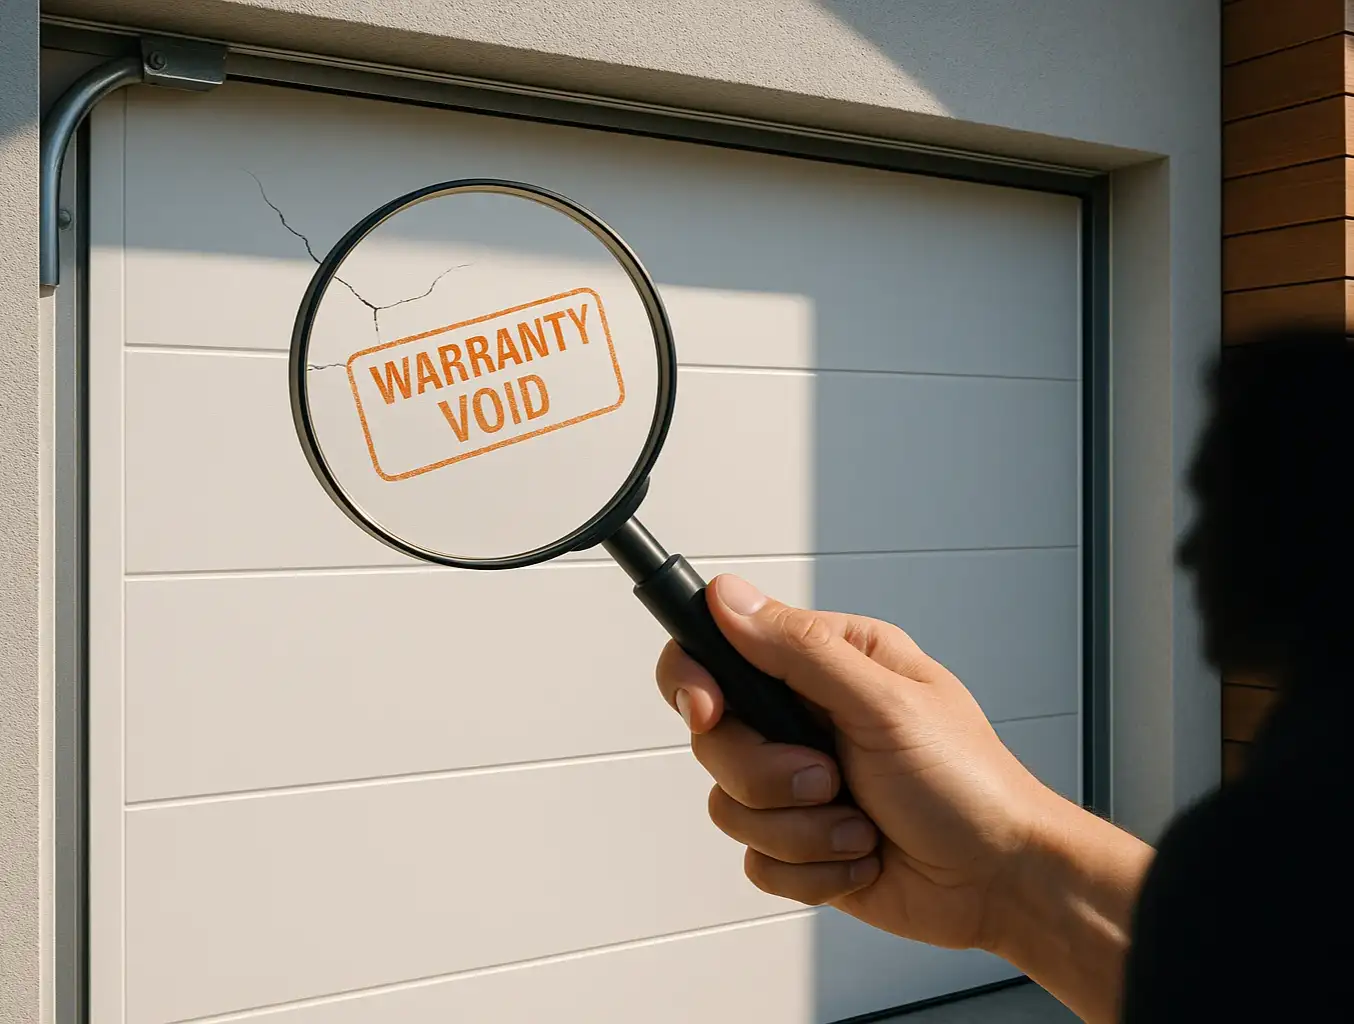
Knowing Your Limits: The "Stop & Call a Pro" Checklist

Need more information?
Get a free quote
Frequently Asked Questions About Garage Door Maintenance
How often should I perform this DIY check?
Seriously, can I use WD-40 just this once?
What's the difference between a DIY check and a professional tune-up?
My door is still loud after I lubricated it. What's wrong?
How often should you lubricate your garage door?
Your Path to a Healthier Garage Door
You may also like