Our company logo

State

DIY vs. Professional Garage Door Spring Maintenance


Published: Apr 10, 2026

It often starts with a sound you can’t ignore—a loud BANG from the garage, sharp enough to make you jump. You open the interior door and find nothing has fallen. But when you press the button for the garage door, it groans, lifts a few inches, and stops dead. Your car is trapped. Your day is derailed.

If this sounds familiar, you’ve likely just experienced a broken garage door spring. And in this moment of stress, you’re faced with a critical question: "Can I fix this myself?"

Welcome to the most important decision you'll make regarding your garage door. While the DIY spirit is admirable for many home projects, garage door springs are in a class of their own. They operate under extreme tension, and a mistake can lead to serious injury or property damage.

This guide isn't here to scare you; it's here to empower you. We'll walk you through a clear, safety-first framework to help you distinguish between routine maintenance you can and should do, and dangerous repairs you must leave to a professional.

First, Is It Really the Spring? A 60-Second Inspection


Before you go any further, let's confirm the diagnosis. From a safe distance, look for these tell-tale signs of a broken spring:

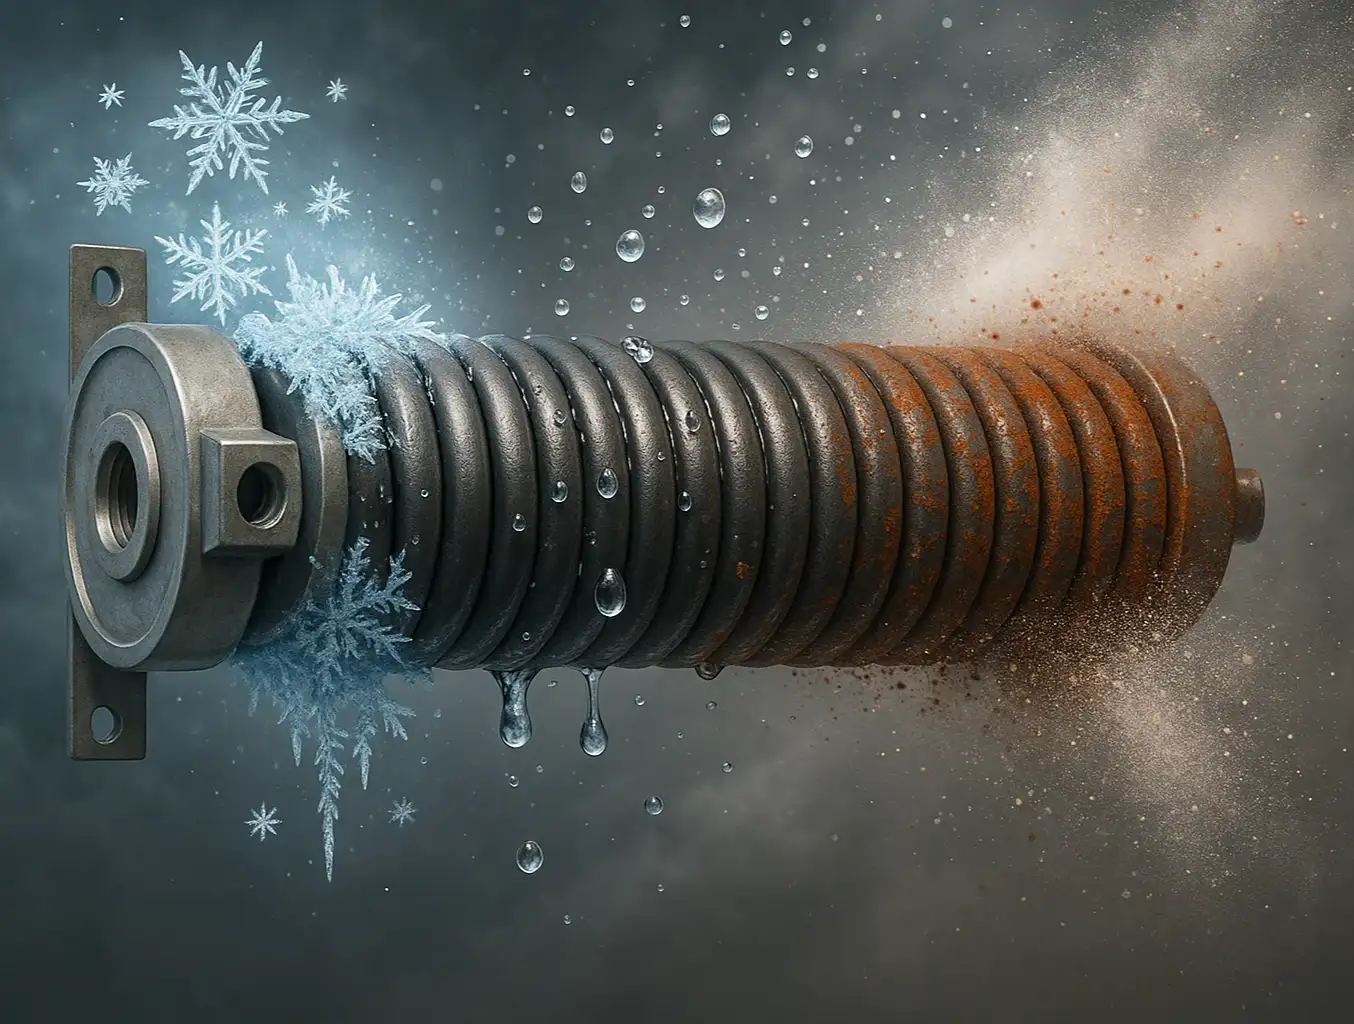
  • A Visible Gap: The most obvious sign is a 2-3 inch gap in the middle of a long, coiled spring. The spring has literally snapped in two.
  • A Limp Door: The automatic opener struggles and can't lift the door, or the door feels incredibly heavy if you try to operate it as a manual garage door after pulling the emergency release cord.
  • Loud Noise: You heard that sudden, gunshot-like bang. That was the sound of stored energy being released violently as the spring broke.
  • Crooked Door: The door may hang unevenly as it tries to lift, with one side higher than the other, because a cable has come loose as a result of the broken spring.
If you've checked these boxes, you're dealing with a broken spring. Your next step is to identify what kind of spring system you have.

The Critical Divide: Identifying Your Garage Door Springs


Not all garage door springs are created equal. The type of system you have is the single biggest factor in determining whether any hands-on work is safe. This is the first question in our "Go/No-Go" decision.
There are two main types of springs:
Visual guide to identify garage door spring types and decide what’s DIY-safe vs. pro-only.
1. Torsion Springs: These are the large springs mounted on a metal bar directly above your garage door opening. They work by twisting (or "torquing") to create the force needed to lift the door. This system is common on most modern and heavier doors. Torsion springs are under extreme tension and are exceptionally dangerous to adjust or replace without specialized training and tools.
2. Extension Springs: These springs are located on either side of the door, running parallel to the horizontal tracks. They work by stretching and contracting, like a massive rubber band. While slightly less dangerous than torsion springs, they still carry enough tension to cause significant injury and should be handled with extreme caution.

Understanding the difference between a torsion vs extension spring garage door is crucial because it helps you understand how a garage door spring works and where the danger lies.
Visual guide to identify garage door spring types and decide what’s DIY-safe vs. pro-only.

The Go/No-Go Framework: Should You DIY This Repair?


Now that you've identified your system, you can make an informed decision. We've broken this down into two clear zones: the "Go" zone of safe, preventative maintenance, and the "No-Go" zone of dangerous, high-tension repairs.

Safe & Recommended DIY Maintenance (The "Go" Zone)

The best way to deal with a broken spring is to prevent it from happening in the first place. These simple, safe tasks can extend the life of your springs and prevent emergencies.
  • Routine Lubrication: A properly lubricated spring operates with less friction, which reduces wear and tear. Applying a garage-door-specific lubricant to the springs, hinges, and rollers every six months can make a huge difference. For a detailed guide, see our post on garage door spring maintenance.
  • Visual Inspections: Once a month, take a moment to look over your system. Check the springs, cables, and rollers for any signs of rust, fraying, or unusual wear. Catching a problem early can save you a headache later.
  • Balance Test: With the door closed, pull the emergency release cord. You should be able to lift the door manually with relative ease, and it should stay open on its own about halfway up. If it feels extremely heavy or slams shut, your springs are losing power and need professional attention.
  • Safety Sensor Check: Your photo-eye sensors are a crucial safety feature. Periodically, test them by placing a small object (like a roll of paper towels) in the door's path. When you try to close the door, it should immediately reverse. If it doesn't, you may need to learn how to align garage door sensors.
Safety-first guide to assess garage door springs and choose DIY maintenance or professional repair.

DANGEROUS - When to Call a Professional (The "No-Go" Zone)

This part is simple and non-negotiable. If your problem involves adjusting, repairing, or replacing the springs themselves, it is firmly in the "No-Go" zone.
This is not about skill; it's about safety and specialized equipment. Torsion springs, in particular, are wound with an immense amount of energy.

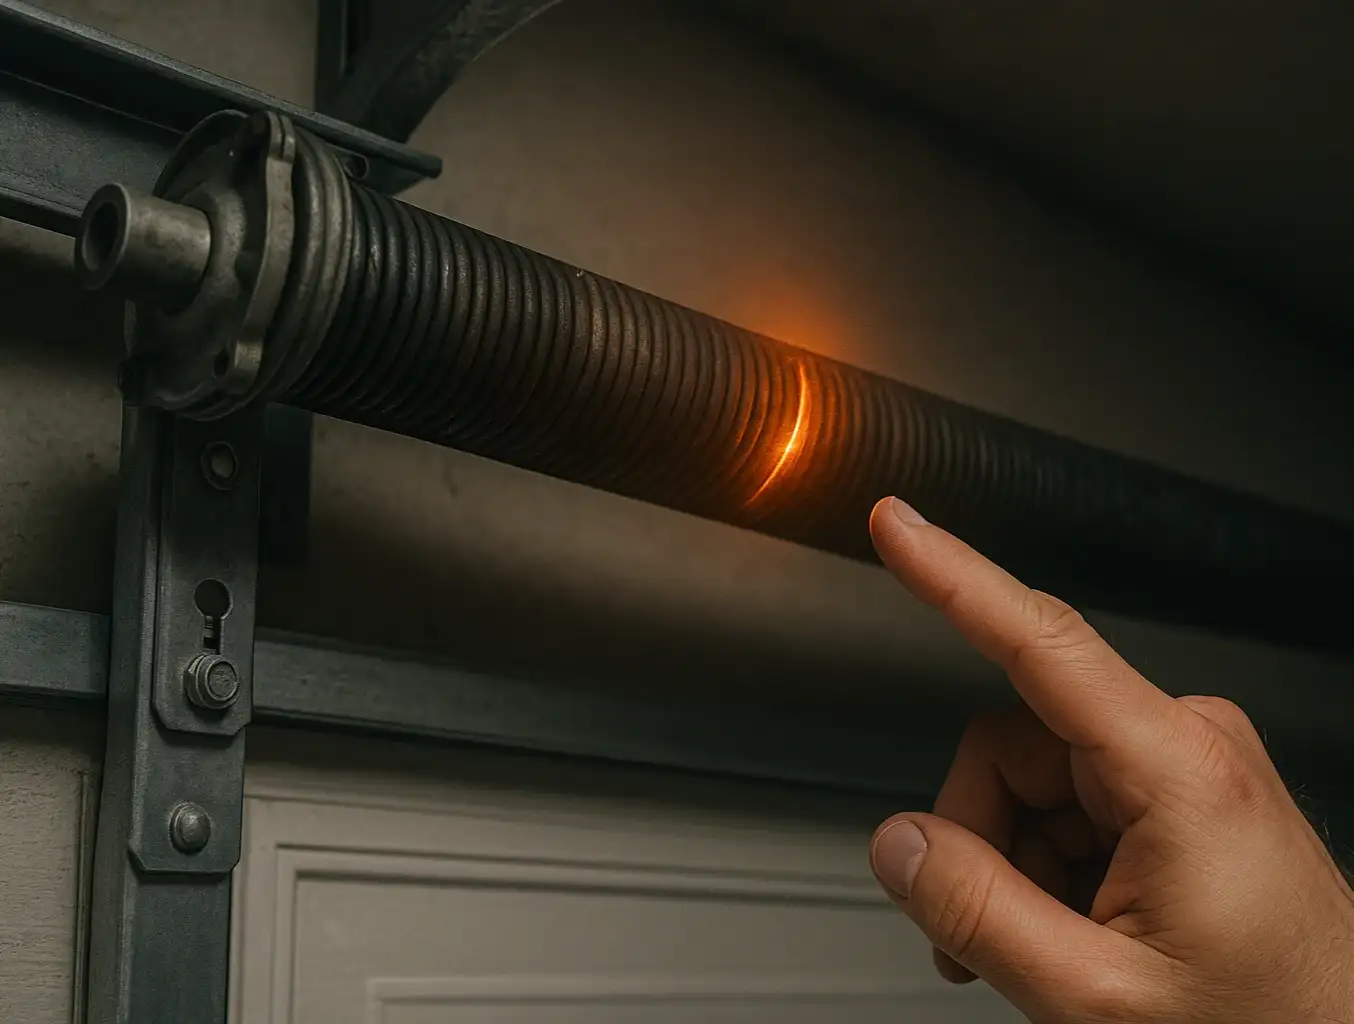
The Power of a Torsion Spring

To put it in perspective, a standard torsion spring holds enough coiled energy to lift a 300-400 pound garage door. When that energy is released improperly—if a tool slips or the wrong part is removed—the spring and the winding bars can spin with incredible force, becoming dangerous projectiles. Common injuries from failed DIY spring repairs include deep lacerations, broken fingers or wrists, and severe facial trauma.
Call a professional immediately if you see any of these red flags:

  • A broken or cracked spring. This is the most common issue and requires a full garage door spring replacement.
  • Frayed or snapped cables. The cables work with the springs to lift the door. If they are compromised, the system is unstable.
  • A crooked or off-track door. This indicates a serious imbalance in the lifting system that a simple adjustment can't fix.
  • The job requires winding bars. These are specialized steel rods used to safely add or release tension on torsion springs. Never attempt to use screwdrivers or other tools as a substitute. This is the number one cause of DIY-related injuries.
Safety-first guide to assess garage door springs and choose DIY maintenance or professional repair.

Your Garage Door Longevity Plan


Seasonal garage door checklist with simple DIY tasks to extend spring life and prevent emergency repairs.
By combining safe DIY maintenance with professional help for major repairs, you can create a simple plan to keep your garage door running smoothly and safely for years. A little preventative care goes a long way in avoiding another "loud bang" emergency.
For a more comprehensive guide, you can use the ultimate garage door maintenance checklist for homeowners to build your seasonal routine.

Seasonal garage door checklist with simple DIY tasks to extend spring life and prevent emergency repairs.

Need more information?

Frequently Asked Questions (FAQ)


What happens if a garage door spring breaks?

When a spring breaks, it releases its stored energy in an instant, causing a loud noise. The door will become dead weight, as the springs are responsible for counterbalancing it. The automatic opener is not strong enough to lift the full weight of the door on its own and may be damaged if you continue to use it.

Can I open my garage door with a broken spring?

It is extremely difficult and not recommended. You would have to lift the full weight of the door (often 200-400 lbs) by yourself. If you must get your car out, it is best done with at least two strong adults lifting together carefully. Do not use the automatic opener.

What is the real cost of DIY spring replacement?

While the springs themselves may seem inexpensive, the true cost includes purchasing specialized tools like proper winding bars, which you may only use once. More importantly, you must factor in the significant risk of injury. A trip to the emergency room will cost far more than a professional service call.

How long do garage door springs last?

Most standard garage door springs are rated for about 10,000 cycles (one cycle is one full opening and closing). For the average family, this translates to about 7 to 10 years of use. Regular maintenance, like lubrication, can help you get the most out of your springs' lifespan.

Your Safety Is the Priority


Your home should be your safe haven, and that includes the garage. While taking on a DIY project can be rewarding, the extreme tension in garage door springs puts them in a special category of home repair—one where the risks far outweigh the rewards for an untrained individual.
By focusing on safe, preventative maintenance and knowing when to call for expert help, you’re not just fixing a problem; you’re protecting yourself, your family, and your property. If you've identified a red flag from the "No-Go" zone, the wisest and safest next step is to contact a trained and insured technician who has the right tools and expertise for the job.

You may also like


blog photo

How to Spot Impending Garage Door Spring Failure

That strange groaning sound your garage door makes has become part of your home’s daily soundtrack. You might even ignore the way it shudders for a second before it starts moving. It's easy to dismiss these little quirks as the signs of an aging house. But what if they're not just quirks? What if your garage door is sending you a clear warning message? Most homeowners only think about their garage door springs when they hear a sudden, deafening BANG!—the sound of a spring snapping under tension. But well before that catastrophic failure, a weakening spring sends out subtle distress signals. Learning to recognize these auditory, visual, and operational cues is the key to moving from reactive panic to proactive maintenance, potentially saving you from an emergency call and a car trapped in your garage.