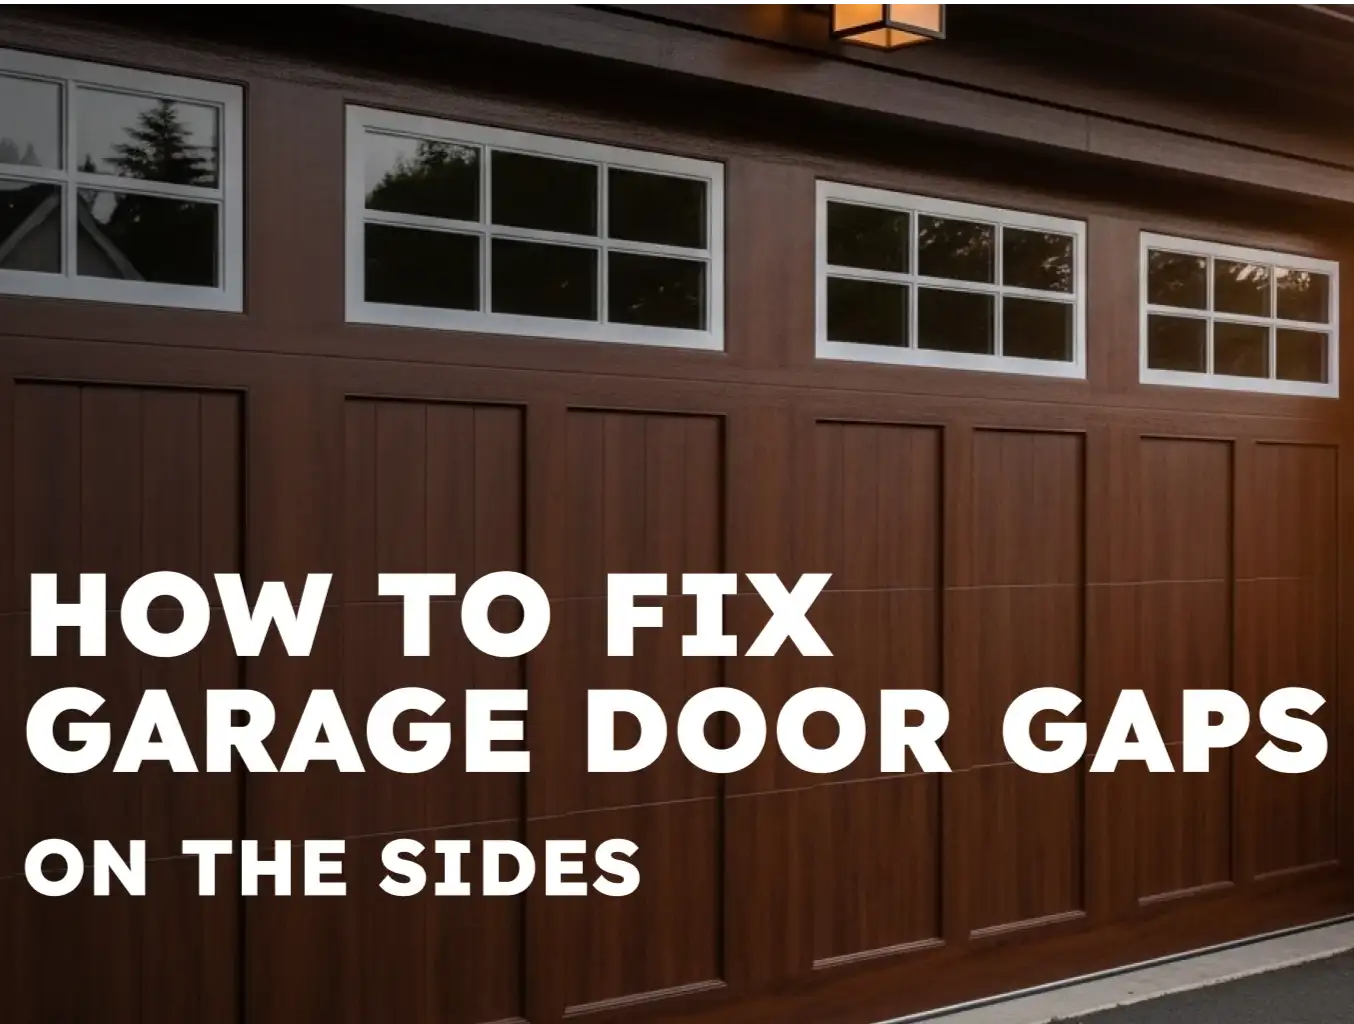
DIY Garage Door Side Gap Fixes: When to Call a Professional
Published: Apr 15, 2026
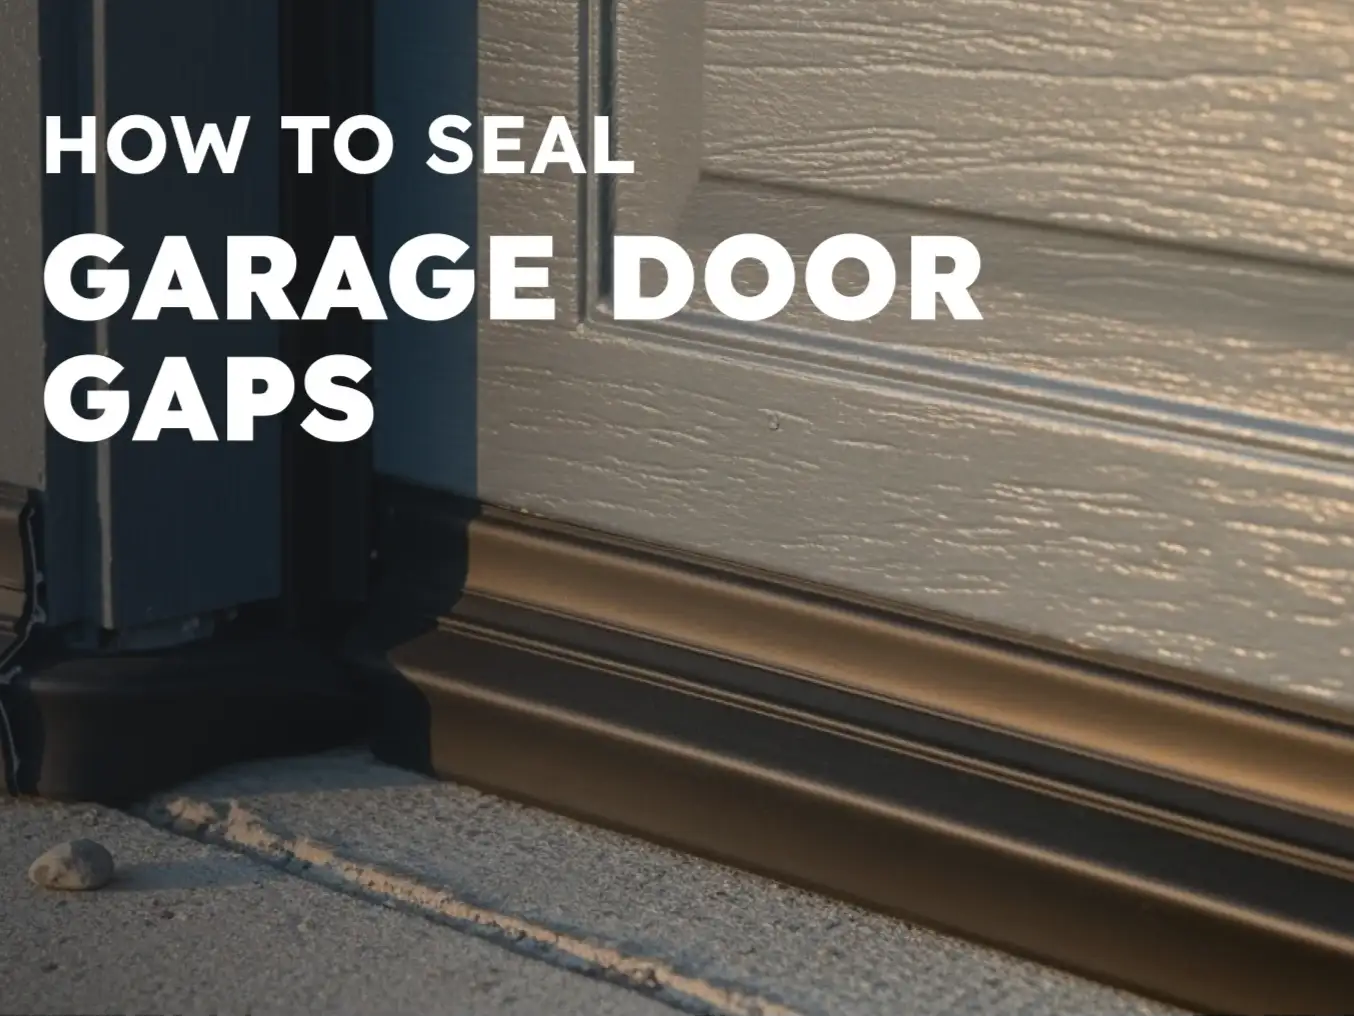
You pull into the driveway after a long day, hit the remote, and as your garage door rumbles shut, you notice it—a sliver of daylight peeking through the side. It’s a small thing, easy to ignore. But that tiny gap is more than just a cosmetic issue; it’s an open invitation for pests, a drain on your home’s energy efficiency, and a potential sign of a bigger alignment problem brewing.
Many homeowners see a gap and immediately think it’s a complicated, expensive fix. The good news is that some of the most common causes are simple enough to address yourself in under an hour. The key is knowing exactly where to look and, more importantly, recognizing the difference between a quick DIY adjustment and a dangerous problem that requires a professional.
This guide is designed to be your trusted advisor. We’ll walk you through a safe, step-by-step diagnostic process to fix common side gaps, and we’ll give you the confidence to know precisely when to put down the tools and call for expert help.
Before You Grab Your Tools: A 5-Minute Garage Door Health Check
- Tracks: The metal rails on each side that guide the door up and down.
- Rollers: The small wheels attached to the door that run inside the tracks.
- Sensors: The two small "photo eyes" near the bottom of the tracks that detect obstructions.
- Cables: The steel cables on each side that do the heavy lifting.
- Springs: The tightly coiled torsion spring above the door (or extension springs on the sides) that counterbalance the door’s weight.
The DIY Fix-It Funnel: From Easiest to Hardest
Level 1: The Sensor Sweep (The Most Common Culprit)
- Check for Obstructions: Make sure no boxes, tools, or debris are blocking the path between the two sensors.
- Clean the Lenses: Use a soft, dry microfiber cloth to gently wipe the "eye" of each sensor. Dust and cobwebs can easily break the beam’s connection.
- Check the Indicator Lights: Each sensor has a small LED light. One should be solid green (power) and the other solid amber or green (alignment). If one is flickering or off, they are misaligned. Gently bend the sensor bracket with your hand until both lights are solid.

Level 2: The Track Tune-Up
- Unplug the Opener: Safety first. Always disconnect the power before working on the tracks.
- Loosen the Bracket Bolts: Use a socket wrench to slightly loosen the bolts on the brackets holding the vertical track in place. Do not remove them completely. You just want the track to have a little wiggle room.
- Gently Adjust: With the track loose, use a rubber mallet and a block of wood to gently tap it left or right until it’s perfectly plumb (straight up and down) and allows the door to sit flush against the weatherstripping. Use a level to confirm.
- Re-Tighten and Test: Securely tighten the bracket bolts. Manually lift and lower the door a few times to ensure it moves smoothly without binding.
Level 3: The Roller Inspection
- Visually Inspect Each Roller: With the door closed, look at each roller. Are any of them cracked, chipped, or visibly worn down?
- Check for Smooth Movement: As the door opens and closes, watch the rollers. Do they spin freely, or do they slide and scrape along the track? A seized roller can throw off the door’s entire path of travel.
The "Stop & Call a Pro" Safety Protocol

- Frayed or Broken Cables: If you see even a single frayed strand on one of the lifting cables, it is a critical failure waiting to happen. Do not operate the door. The complexity of a garage door cable installation requires specialized tools and knowledge to perform safely.
- A Gap in the Torsion Spring: Look at the large spring mounted above your door. If you see a 2-3 inch gap in the coils, the spring is broken. It is no longer counterbalancing the door’s weight, making the door dangerously heavy. Do not attempt to open it. A mission to replace garage door spring components is one of the most hazardous tasks for an untrained person.
- The Door Feels Extremely Heavy: Pull the red emergency release cord to disengage the opener. Now, try to lift the door by hand. It should feel relatively light (around 10-15 pounds). If it feels incredibly heavy and difficult to lift, the springs are failing and can no longer support the load. Proper manual garage door safety dictates that you should not force it.
- The Door Is Off-Track: If one or more rollers have popped completely out of the track, the door is unstable. Trying to force it can cause the entire door to fall.
- Severely Bent Tracks or Damaged Panels: Major dents or bends in the track or door panels can cause persistent garage door side gaps shifting, and these structural issues require professional repair or replacement.
Need more information?
Get a free quote
Action: Your Go-Forward Maintenance Plan

- Look and Listen: Operate the door and watch its movement. Listen for any scraping, grinding, or squeaking sounds.
- Check Hardware: Visually inspect hinges and brackets. If you see any loose bolts, tighten them with a socket wrench.
- Lubricate Moving Parts: Apply a high-quality garage door lubricant to the rollers, hinges, and springs. Mistake to Avoid: Never lubricate the inside of the door tracks themselves. This attracts dirt and debris, causing the rollers to slide instead of spin.
- Test Safety Features: Place a 2x4 board flat on the ground in the door's path to test the auto-reverse. Clean and check the sensor alignment.
Frequently Asked Questions (FAQ)
What causes garage door side gaps in the first place?
Is a small gap really a big deal?
What tools do I need for the basic DIY fixes?
You may also like