How to Adjust a Garage Door Chain: Step-by-Step Guide
Published: May 30, 2025
Keeping your garage door chain properly adjusted is one of the most important — and often overlooked — ways to extend the life of your chain drive garage door opener. If the garage door chain is too loose, it will sag, rattle loudly, or make the door move unevenly. On the other hand, if the chain is too tight, it will put extra strain on the motor. Let’s learn how to adjust the garage door chain safely to keep it running smoothly and quietly.
Tools You’ll Need to Adjust a Garage Door Chain
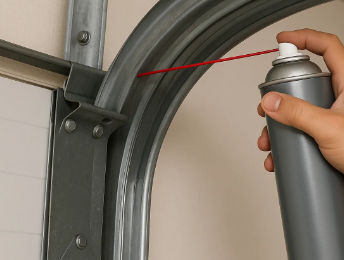
You won’t need a whole workshop full of tools to adjust a garage door chain — just a few tools you likely already have at home. Your main tool will be an adjustable wrench (or socket wrench). Safety gloves are necessary not just for grip but also to protect your hands while you’re working overhead. A sturdy step ladder will help you comfortably reach the opener, and if your garage is a little dim, a flashlight can make it much easier to see what you’re doing.
Once you’ve gathered your tools, put on your gloves, and positioned your ladder, you’re ready to begin.
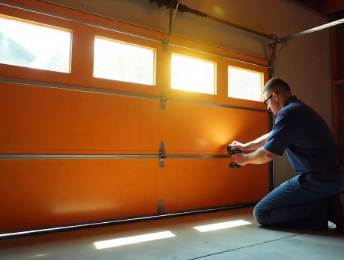
How to Adjust Garage Door Chain: Step-by-Step Instructions
Adjusting your garage door chain might sound complicated, but it becomes quite manageable when you take it step by step. Whether the chain is sagging and needs a bit of tightening or wound too tight and stressing the motor, you can usually get the chain back to proper tension safely and confidently in just a few minutes.

Disconnect the Power
Just like any electrical appliance, the first step is to disconnect the power. Unplug your chain garage door opener or switch off the breaker. This prevents the opener from activating during the adjustment.
Find the Chain Tensioning Bolt
Look for the bolt, which is usually located near the motor unit or along the rail where the garage door chain runs. It’s connected to a threaded fastener.
Adjust the Chain
If the chain sags more than about half an inch at its midpoint, this is how to tighten the garage door chain: use your wrench to turn the tensioning bolt carefully and tighten the chain.
If the chain is too tight, loosen the tensioning bolt slightly to give it some slack.
Remember not to overdo it. The chain should have a small amount of natural slack that keeps things moving smoothly without stressing the motor.
Check the Sag
Ideally, the garage door chain should have a little give but not droop too much. You should be able to push up on the chain in the middle gently, and there should be slight movement, but the chain shouldn’t feel too tight or slack.
Reconnect Power and Test the Door
Once you’re satisfied with the chain tension, reconnect the power and operate your garage door a few times, opening and closing it fully. Listen for unusual sounds and check the chain movement.
Summing Up
Keeping your garage door chain in good shape is part of smart homeownership. A quick adjustment can reduce noise, prevent damage, and help avoid bigger problems, including the scenario where you wonder why your garage door won’t open.
Make it a habit to check your chain during routine seasonal maintenance. If you notice excessive wear or if adjustments don’t resolve the issue, it’s a sign to call in the professionals.
For expert, local help with your garage door opener system, you can count on the Up & Down Garage Doors team. Contact us today to schedule a service and keep things moving smoothly year-round.
You may also like