How to Adjust a LiftMaster Garage Door Opener: Easy Guide
Published: Dec 30, 2025
If your garage door doesn’t open fully or starts reversing out of nowhere, chances are your LiftMaster garage door opener adjustment is off. Whether you’re working with digital buttons or old-school screws, knowing how to adjust a LiftMaster garage door opener can help restore smooth, safe operation. In this guide, we’ll break down two methods for adjusting your LiftMaster opener, including how to set travel limits, fine-tune force settings, and fix common issues after adjustment. And if you’d rather not mess with settings, Up & Down Garage Doors is just a call away.
LiftMaster Opener Types: Identify Yours Before Adjusting
Before starting your LiftMaster garage door opener adjustment, figure out what kind of controls your opener uses:

Digital Buttons (Newer Models)
If your LiftMaster opener has “Up” and “Down” arrows and a rectangular Adjustment button, it uses a digital setup (common on Security+ 2.0 models).
Manual Screws or Dials (Older Models)
Look for two white or blue plastic screws on the motor housing labeled "Up/Down" and "Open/Close Force". These are typical on older chain-drive units.
Knowing your model helps you follow the correct method for the garage door opener adjustment.
Method 1: Adjusting a LiftMaster Opener with Digital Buttons

Step 1: Enter Programming Mode
Hold the "Adjustment" button until the "Up arrow" begins to blink. This signals you’re ready to set the travel limits.
Step 2: Set the Up Limit
Press and hold the "Up arrow" to raise the door to the fully open position. When it’s where you want it, press the "Adjustment" button to save.
Step 3: Set the Down Limit
Now press and hold the "Down arrow" to bring the door all the way down. Press "Adjustment" again to lock in the setting. The opener light will flash.
Step 4: Confirm the Settings
Press the "Up arrow", then the "Down arrow". The door should fully open and close. If everything works, you’ve successfully completed the LiftMaster travel limit adjustment.
For more detailed help with fine-tuning, check out basic garage door opener adjustment tips.
Method 2: Manual Adjustments (Screws or Dials)
")
Older LiftMaster openers use plastic screws to control movement and force. You’ll usually see them on the back or side of the motor unit.
Step 1: Set Travel Limits
Use a flathead screwdriver to turn the “Up” and “Down” screws:
- Turn clockwise to increase the distance the door travels
- Turn counterclockwise to decrease the travel distance
- One full turn usually equals about 2 inches of door movement
Step 2: Adjust Force Settings
Locate the “Open Force” and “Close Force” dials. These control how much power the motor uses.
- Turn clockwise to increase the force
- Turn counterclockwise to reduce it
LiftMaster force control settings help your door respond properly to resistance without slamming or stopping.
Step 3: Test the Opener
After each adjustment, open and close the garage door using the wall button or remote. Keep tweaking until it runs smoothly.
Need more information?
Get a free quote
How to Fix Common Issues After Adjusting a LiftMaster Opener
Even after proper adjustment, a few issues can pop up. Here’s what to look for:

1. Door Reverses Midway
This usually means the force setting is too low. Try turning the Close Force dial slightly clockwise to increase strength.
2. Door Doesn’t Close All the Way
If the door stops short, the Down travel limit may need an extra turn. Make small changes and test again.
3. Opener Struggles or Makes Noise
Check your chain. If it’s sagging or rattling, it’s time for a LiftMaster chain adjustment. You can follow our full guide on how to adjust a garage door chain.
Final Step: Run Safety Tests After Garage Door Opener Adjustment
Every time you make adjustments, run these quick checks:

1. Reversal Test
Place a 2x4 board flat on the ground under the door. When closing, the door should reverse upon contact. If it doesn’t, increase your LiftMaster force control settings slightly.
2. Sensor Alignment
Check that both photo-eye sensors are clean, properly aligned, and mounted at the same height on each side of the garage door. Even a slight misalignment or obstruction can prevent the door from closing and trigger the opener’s safety response. For a full explanation of how sensors work, why alignment matters, and how to troubleshoot sensor-related issues, read the complete guide to garage door sensors.
3. Remote Function Test
If your remote stopped working during adjustment, it may need to be reset. You can use our LiftMaster garage door opener remote setup instructions.
When to Call a Garage Door Tech for a Professional Adjustment
If you’ve followed all steps and your garage door still hesitates, reverses, or doesn’t respond, don’t stress. Some models — especially older or commercial ones — may need specialized care. If you’re not sure how to adjust a LiftMaster commercial garage door opener, or you simply prefer expert help, turn to garage door technicians like Up & Down Garage Doors. We offer a full range of garage door opener services for homes and businesses — including professional garage door opener adjustment, force and travel limit calibration, safety sensor checks, chain and motor inspections, and full opener diagnostics when adjustments alone aren’t enough.
Trust Up & Down Garage Doors for Safe and Smooth Garage Door Operation
Now that you know how to adjust a LiftMaster garage door opener, you can keep your system running safely and quietly. From setting travel limits to managing force settings, most adjustments take just a few minutes — but the difference in performance is big. Still unsure or just want it done right from the first time? Up & Down Garage Doors has years of hands-on experience, friendly technicians, and fast service to get your door back on track.
Need reliable garage door opener adjustment? Give us a call or request a quote online — we’re available for dependable opener repairs, tune-ups, or full replacements you can trust.
Frequently Asked Questions
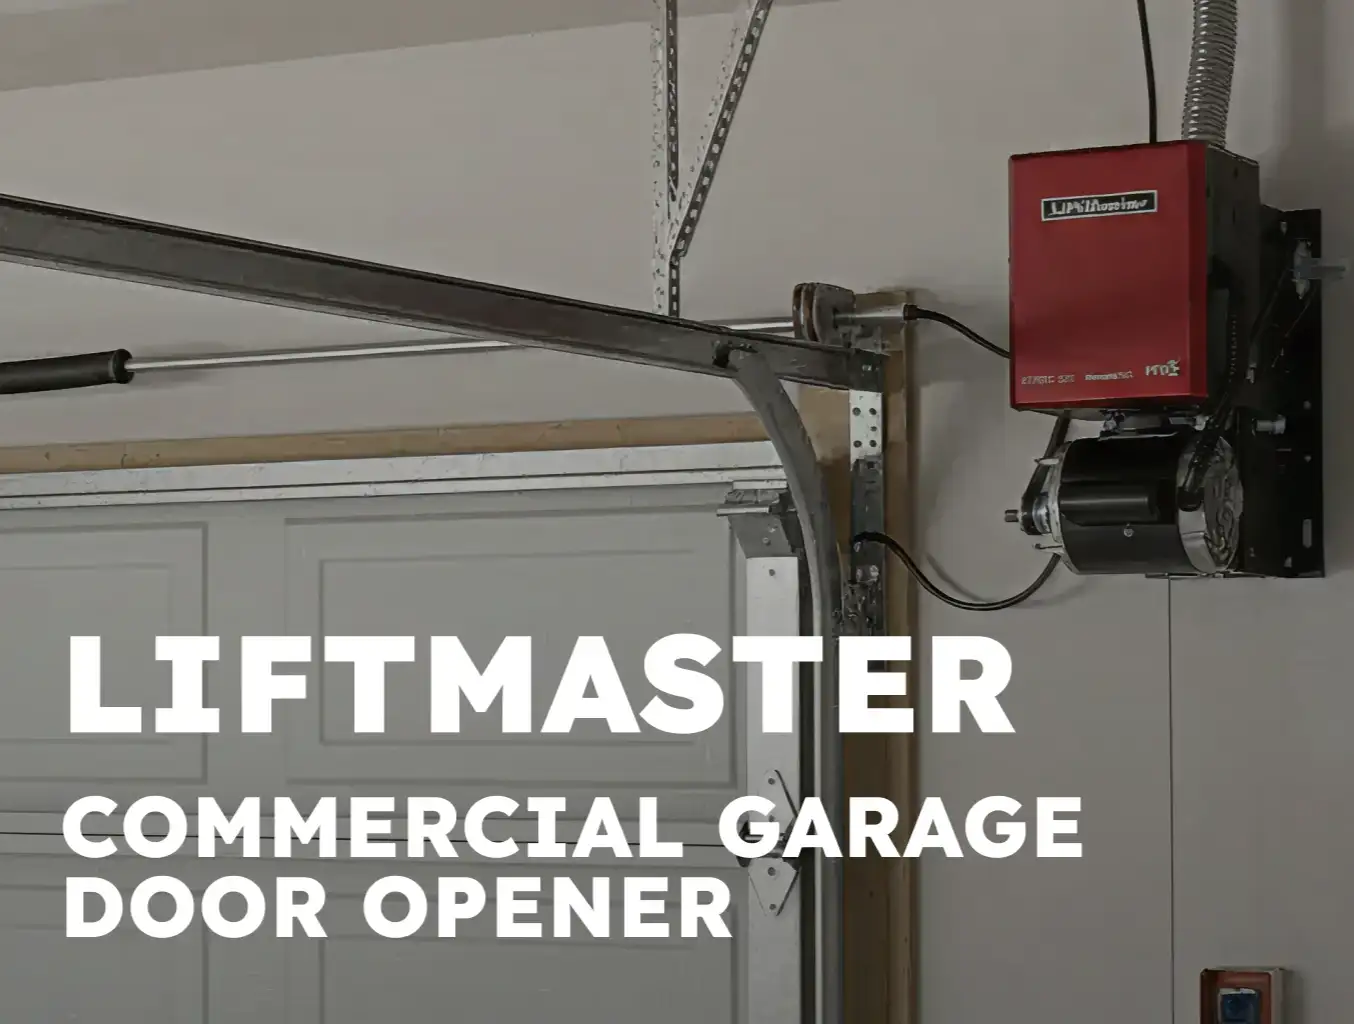
How to adjust a LiftMaster commercial garage door opener?
Commercial openers often have additional safety systems and larger motors. Adjustments are similar but may need special tools, so it’s best to call a professional.
What are the signs my LiftMaster opener needs adjusting?
If your garage door slams shut, reverses mid-track, or won’t close all the way, your opener likely needs a tune-up.
Can I do a LiftMaster chain adjustment myself?
Yes, just don’t overtighten it. About 1/4 inch of slack is normal to avoid stress on the motor.
Where are the LiftMaster force control settings located?
You’ll usually find them behind a small panel on the opener housing. Look for dials labeled “Open Force” and “Close Force.”
Are there any LiftMaster maintenance tips for homeowners?
Check the chain monthly, clean the sensors, and run a reversal test often to make sure everything stays in working order.
You may also like