How to Change a Battery in a Garage Door Opener: Quick & Easy Guide
Published: Jul 25, 2025
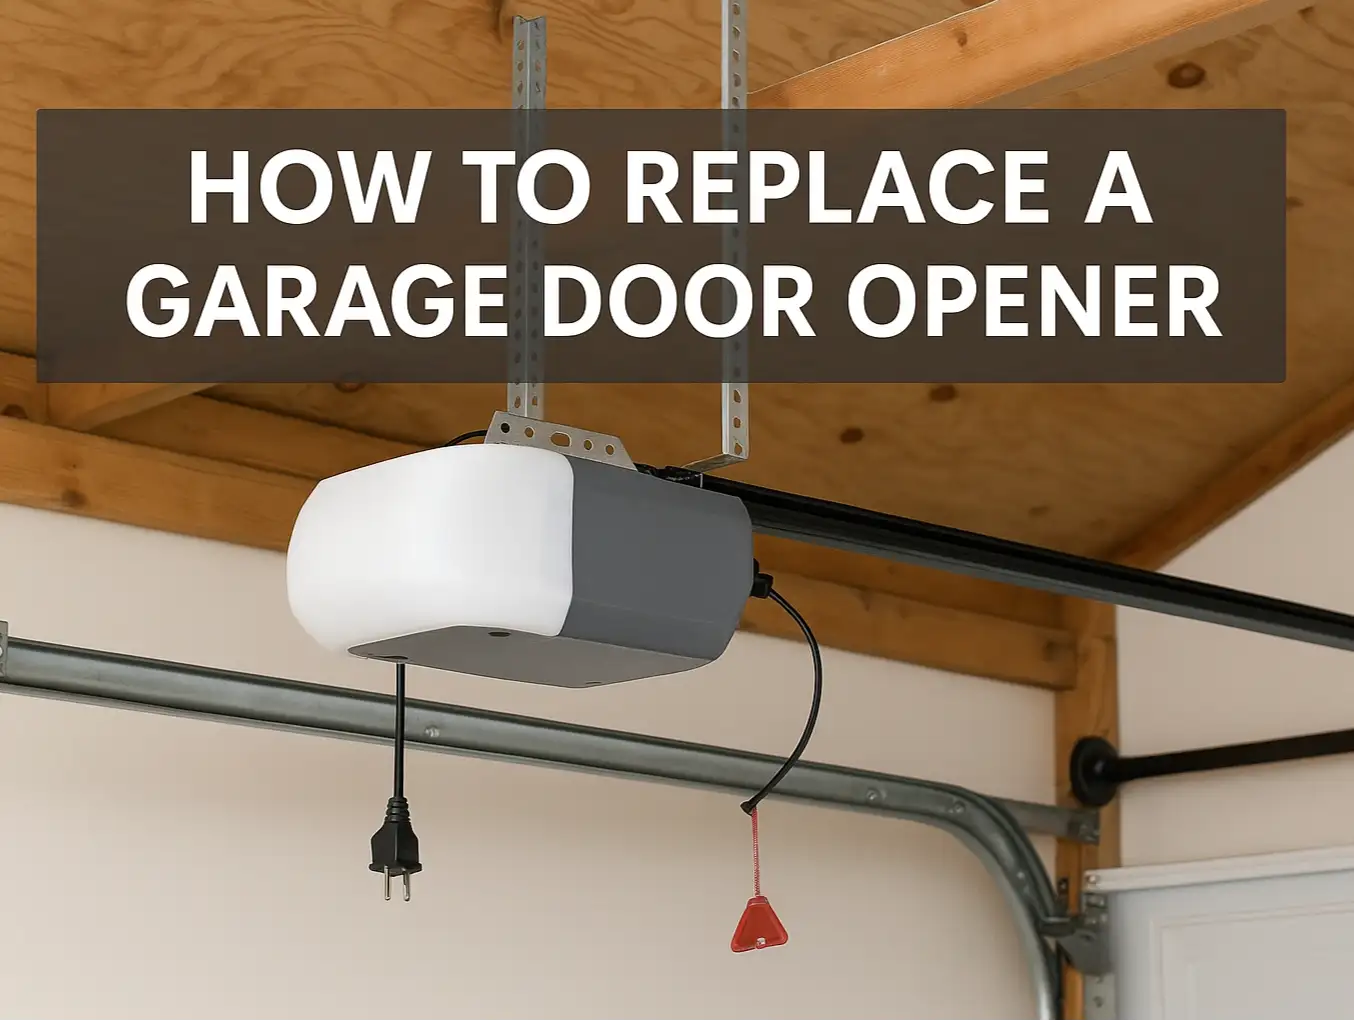
When your garage door opener won’t work during a power outage, the backup battery is often the cause. Fortunately, learning how to change a battery in a garage door opener is simple and takes just a few minutes. This quick guide explains exactly how to do it, so your garage system stays reliable when it matters most.
What You’ll Need to Change a Garage Opener Battery
Before you start, here’s what you’ll need if you’re getting ready to learn how to change the battery in a garage door opener:
- A replacement battery (usually 12V or 3V lithium — check the label on your opener)
- A screwdriver (if the battery cover is secured)
- A step ladder to reach the opener
- A flashlight if the garage doesn’t have much light
Step-by-Step: How to Change a Battery in a Garage Door Opener
Got your tools ready? Here’s how to change a battery in a garage door opener from start to finish.
Step 1: Turn Off the Power
To avoid any chance of electric shock or damage, unplug the garage door opener from the power outlet.
Step 2: Locate the Battery Compartment
Most openers have a battery compartment on the side or bottom. If you’re unsure where to find it, check your model’s manual.

Step 3: How to Remove the Battery from the Garage Door Opener
This step shows you how to remove the battery from your garage door opener safely, without damaging the unit. Open the cover — use a screwdriver if needed — and gently remove the battery. Be sure to note how the terminals are positioned.
Step 4: Insert the New Battery
Not sure how to replace a battery in a garage door opener? Carefully insert the new battery into place, making sure the + and – markings match the ones inside the compartment.
Step 5: Close the Battery Compartment
Snap the cover back into place or tighten the screws if your model uses them. Make sure it’s sealed properly to keep out dust and moisture.
Step 6: Restore Power and Test the Opener
Plug the garage door opener back into the outlet. Then, use the wall control or remote to check that the door opens and closes as expected. If everything works smoothly, you’re good to go.
Signs the Battery Needs Replacing

If your garage door opener starts beeping, flashes a red warning light, or fails to open during a power outage, it’s probably time to change the battery. Don’t wait until the system stops working completely. Those early signs mean your backup battery is running low. Knowing how to change the battery on garage door opener units can help you solve the issue before it turns into a bigger problem.
If the problem persists even after battery replacement, you may be dealing with a more serious issue that requires professional garage door repair.
Still Not Working? Let the Experts Handle It
If the problem continues after a battery change, the issue might be more complex — a wiring fault or a bad circuit board. In that case, let Up & Down Garage Doors take care of it. We offer reliable garage door repair and maintenance services to get your system running smoothly again.
Need help with a keypad instead? Check out our guide on how to change the battery in the garage door opener keypad.
Summing Up
Now that you know how to change a battery in a garage door opener and understand related steps — including how to remove a battery from a garage door opener and how to replace a battery in a garage door opener — you’re ready to take care of one of the most practical yet often overlooked garage maintenance tasks.
Want to leave it to a trusted team? Contact Up & Down Garage Doors for dependable service that keeps your system running right.
You may also like