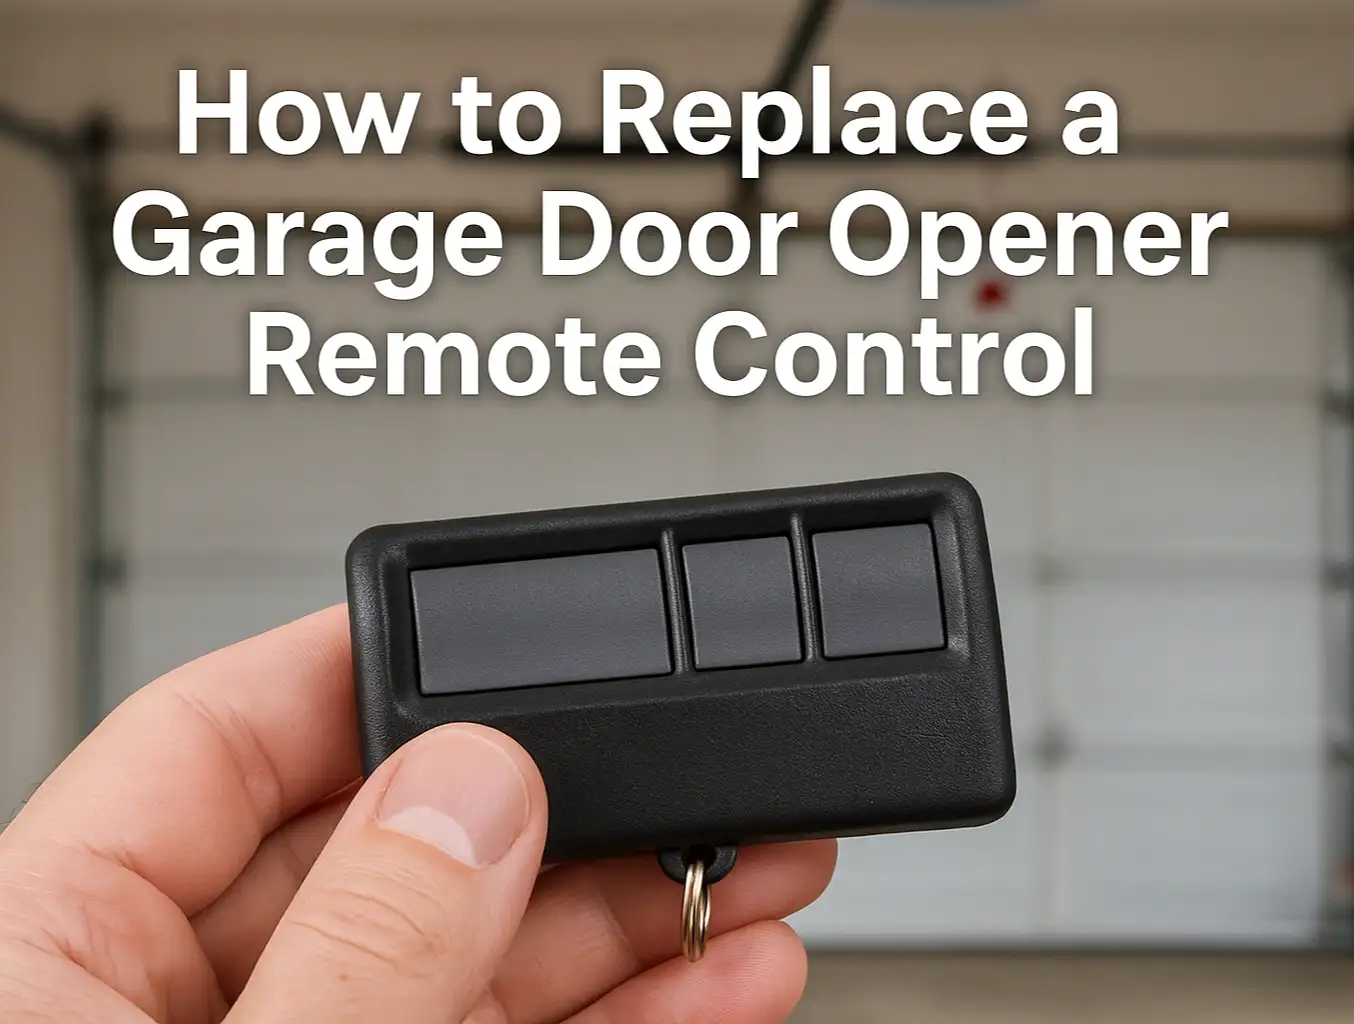
How to Change a Battery in a Garage Door Opener Remote: Quick DIY Guide
Published: Aug 25, 2025
If your garage door remote isn’t responding, it doesn’t always mean the whole system is broken. Most of the time, it just needs a new battery. For homeowners, business owners, or anyone who uses a garage regularly, knowing how to replace a battery in a garage door opener remote helps keep your day moving without interruptions. This quick guide from Up & Down Garage Doors walks you through what to look for, what tools you’ll need, and how to handle the job safely and correctly.
Why Your Garage Door Remote Might Not Be Working
A garage door remote that stops working can be frustrating, especially if the door works fine from the wall button. In most cases, the remote is still okay — it just needs a fresh battery. Common signs include remote working only when close to the opener, reacting slowly, or not working at all.
If you’re searching for how to change a battery in a remote garage door opener, you’re likely dealing with one of these symptoms. The good news is that the fix usually takes just a few minutes and doesn’t require any special skills.
What You’ll Need to Replace the Remote Battery

Before you start, gather a few basic items. You’ll usually need a small flathead screwdriver or a coin to open the remote’s casing and a replacement battery. Most garage door remotes use coin-shaped batteries like CR2032 or CR2025, which are easy to find online or at hardware stores.
It’s important to check the back of the remote or your owner’s manual to find the correct battery type. If you’re wondering how to replace a battery in a garage door opener remote, having the right battery on hand will save you a second trip. Keep the new one sealed until you’re ready to install it.
Step-by-Step: How to Change a Battery in a Garage Door Opener Remote
Once you have the tools and the correct battery, follow these steps to change it safely and get your remote working again.

- Open the remote. Most remotes have a small slot or seam along the edge. Use a flathead screwdriver or a coin to gently pry it open. Apply even pressure to avoid cracking the casing.
- Remove the old battery. Before taking it out, make a note of the battery’s position (especially the + and – sides) so you can insert the new one correctly.
- Insert the new battery. Use the same type you removed. Make sure it matches the model number. If you’re unsure, check the back of the remote or your manual.
- Snap the remote back together. Align the pieces carefully and press until you hear or feel a secure click. Everything should fit smoothly.
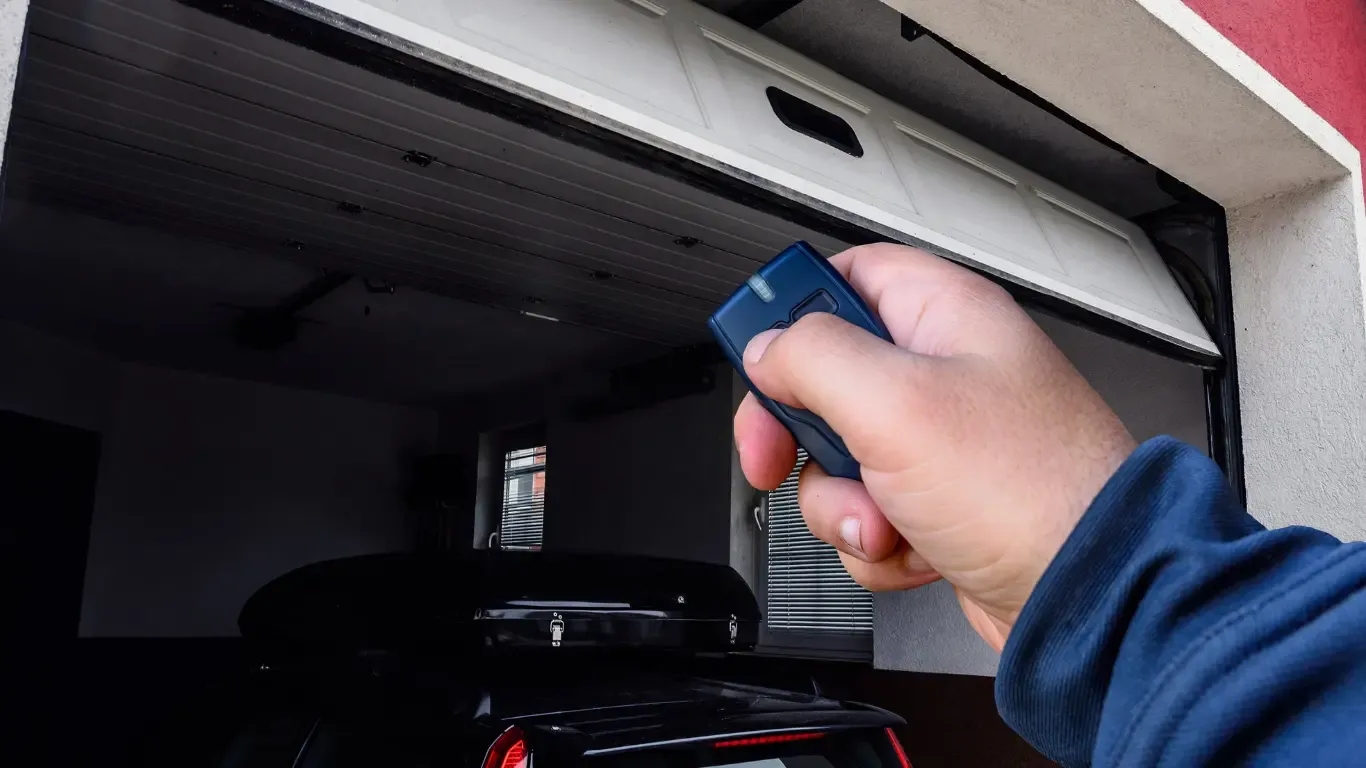
- Test your remote. Try using it from a few feet away. If it still doesn’t work, the problem might not be the remote itself.
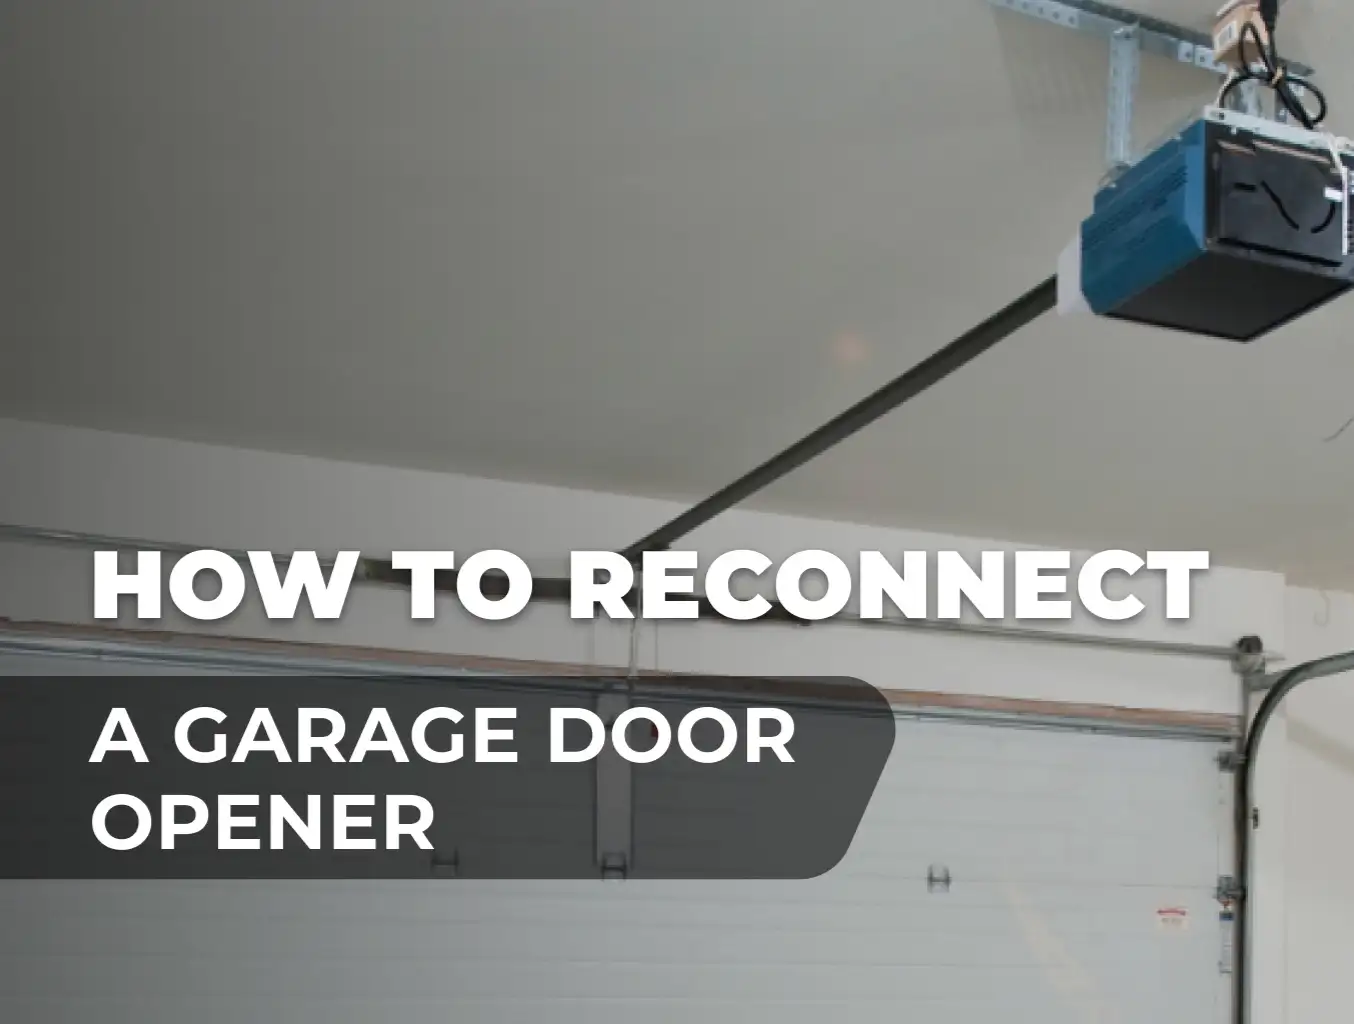
In some cases, your remote is fine, but the opener unit inside your garage has a battery issue, especially if it has a backup system. For those situations, check out our guide on how to change a battery in a garage door opener for step-by-step help with opener-side problems.
When It’s Not the Battery: Time for Remote or Garage Door Repair
If you’ve changed the battery and the remote still doesn’t work, the problem may go deeper. It could be a damaged remote, an issue with the opener’s receiver, or even something unrelated, like a misaligned sensor or broken spring. In these cases, opener repair or even full garage door repair might be needed.
Up & Down Garage Doors handles remote and system-level issues with experience and care. If you’re unsure what’s causing the problem, it’s worth having a skilled technician take a look. Schedule a visit today and let us help get your garage door system back to normal — quickly and reliably.
You may also like