How to Change a Garage Door Bottom Seal: Professional Guide
Published: Oct 13, 2025
A drafty garage with rainwater creeping under your steel sectional door isn’t just an annoyance — it’s a sign of energy loss and an open invitation for pests. Those signs usually point to one thing: a tired garage door bottom seal. The answer? Replace the bottom seal and the problems fade. Knowing when it’s failed and how to change the garage door bottom seal helps keep your space secure and boosts energy efficiency. This professional guide from Up & Down Garage Doors shows how to identify your retainer, how to measure, how to choose materials, and how to change the seal step by step.
Is It Time for Garage Door Weatherstripping Replacement?
Unsure if your seal needs attention? Step inside, close the door, and do a 30-second check. If you spot the signs below, replace the garage door bottom seal to improve insulation, security, and comfort.
- Visible Damage: Constant exposure to UV rays and temperature swings can make vinyl brittle and rubber crack. Look for missing chunks, tears, or sections that have been chewed by rodents.
- Daylight and Drafts: When the door is closed, stand inside the garage with the lights off. If you see slivers of daylight peeking through at the bottom, your seal is no longer effective. You may also feel a noticeable draft, which reduces energy efficiency.
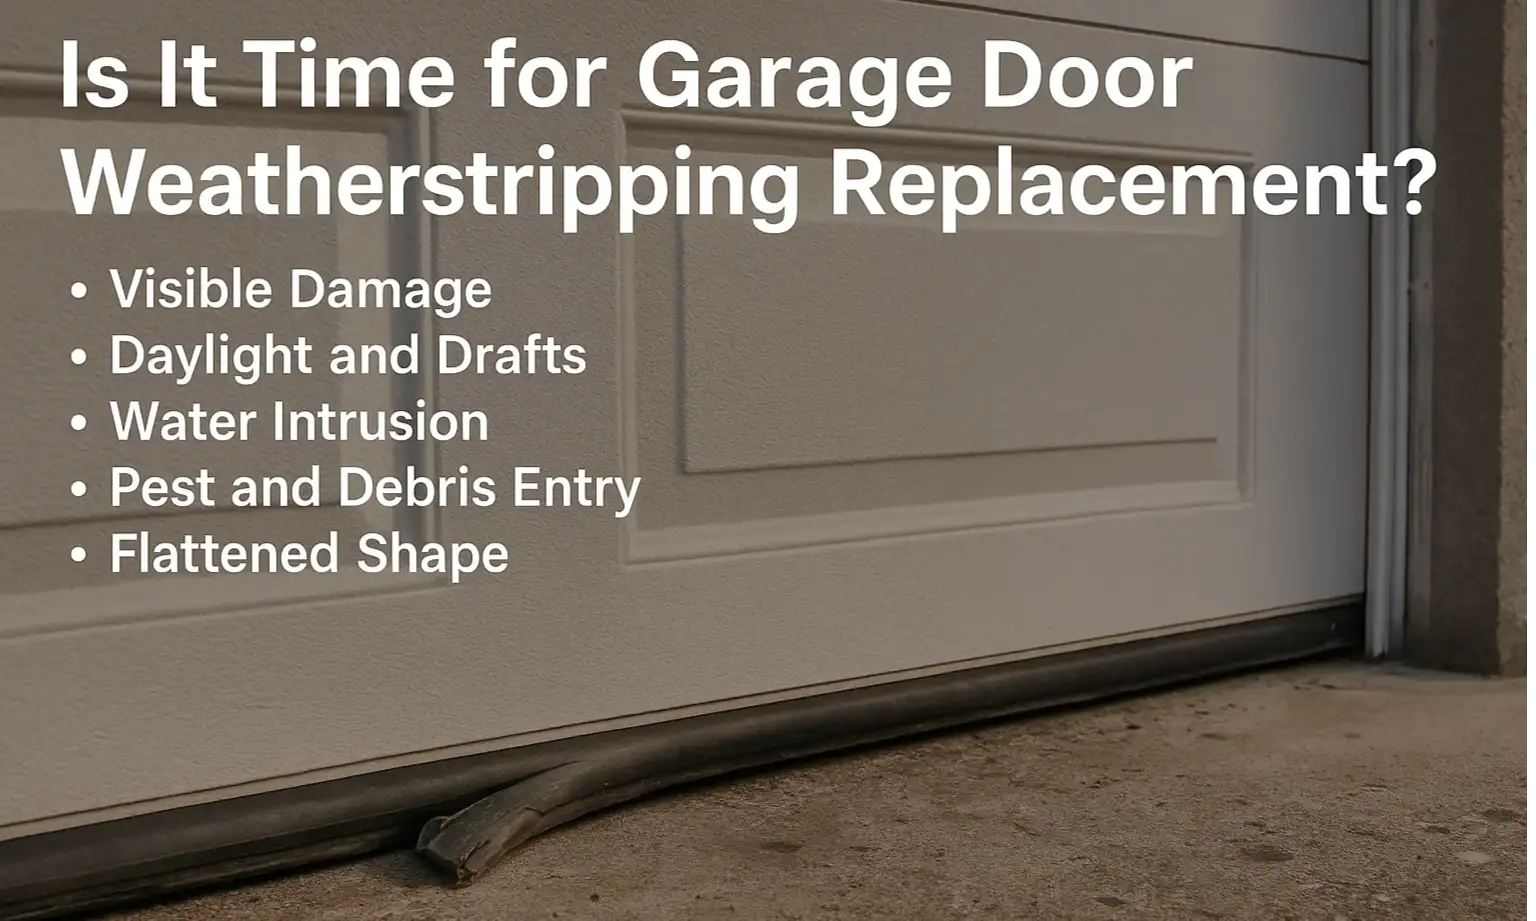
- Water Intrusion: A primary function of the seal is to block rain and melting snow. If you find puddles inside the garage after a storm, water is getting past the worn barrier. This moisture can damage stored items and lead to rust on the bottom of a steel door, which is why it’s important to weatherproof a garage door.
- Pest and Debris Entry: A small gap is all insects, spiders, and mice need to enter your garage. A worn-out seal can be an open door for them, along with leaves, dirt, and other outdoor debris.
- Flattened Shape: A new seal is flexible and bulbous. Over years of being compressed, an old seal loses its shape in a process called “compression set.” If your seal is flat and stiff, it cannot conform to the minor imperfections in your garage floor to create a tight barrier.

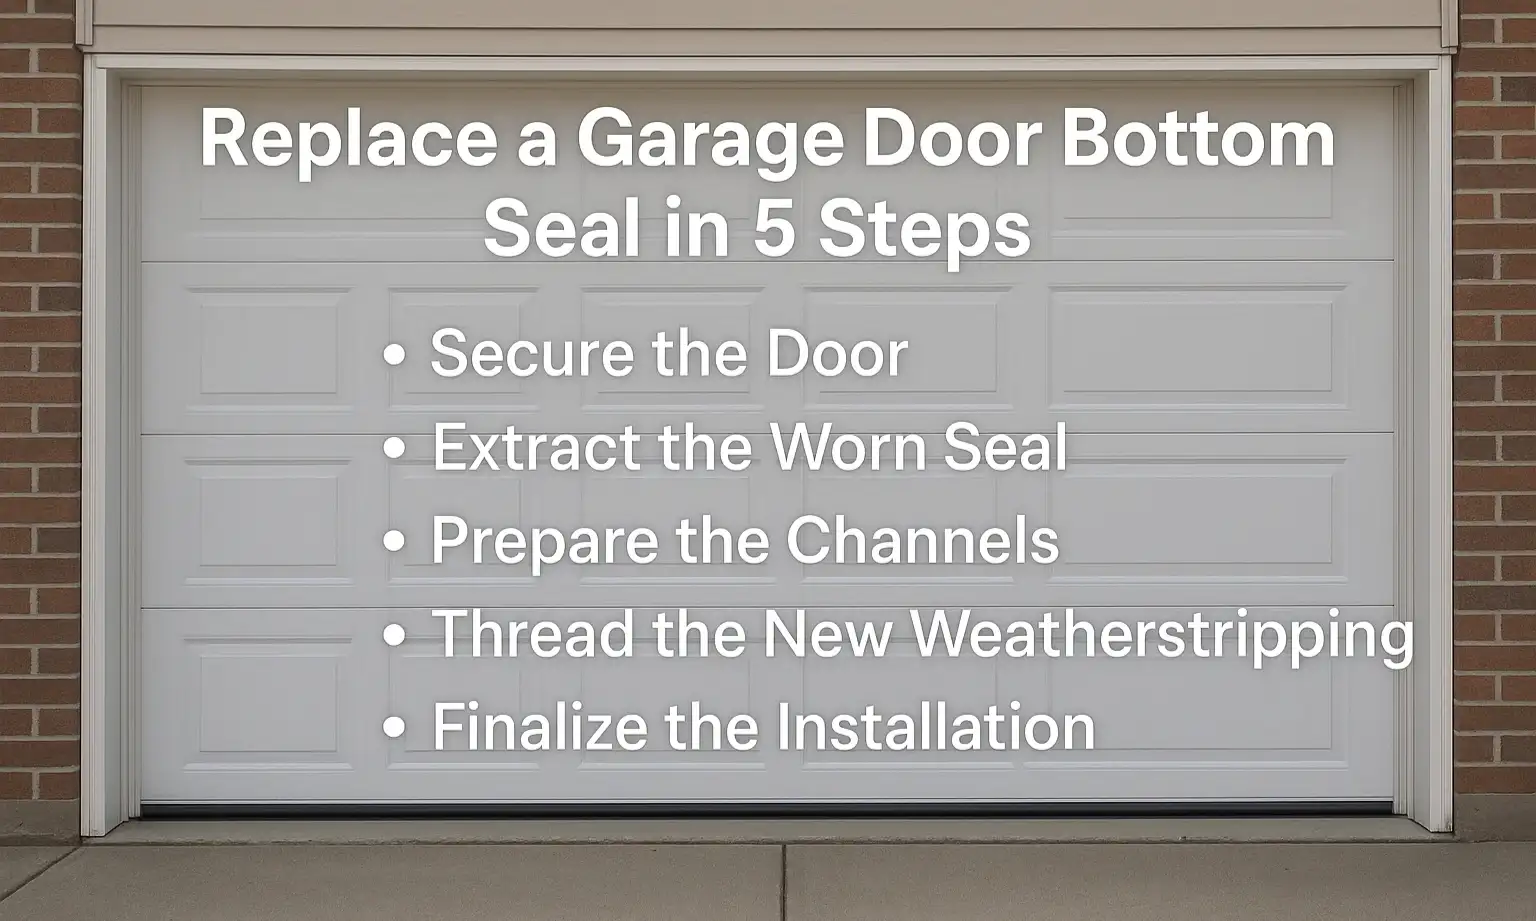
Replace a Garage Door Bottom Seal in 5 Steps
Before you start, double-check your parts: identify the garage door bottom retainer (aluminum T-slot or similar) and match your garage door seal types (bulb/P-style or T-end 1/4" or 5/16"). Safety first — unplug the opener, wear gloves, and keep a helper nearby for long doors. This guide on how to change a garage door bottom seal breaks the job into five easy steps.
Step 1. Secure the Door
Manually lift the door so the bottom edge sits at a comfortable working height. Clamp the tracks with C-clamps or locking pliers just above a roller on both sides so the door can’t drop.
Step 2. Extract the Worn Seal
Check the aluminum retainer at the base. The ends are usually pinched to hold the seal — use pliers to open those crimps. Grip the old seal and slide it out of the channel. If it’s brittle or stuck, a flathead screwdriver helps break it free.
Step 3. Prepare the Channels
The empty retainer tracks are often filled with accumulated dirt and fragments of the old seal. Use a stiff brush and a rag to wipe the channels clean. A clean track makes feeding the new seal much easier.
Step 4. Thread the New Weatherstripping
Apply a light coating of silicone spray or soapy water inside the retainer channels to reduce friction. Line up the new seal with the openings and begin feeding it through. A helper can gently pull from the far side to prevent bunching. For more tips, see how to install a garage door bottom seal.
Step 5. Finalize the Installation
Once the new seal runs the full length of the door, use a utility knife to trim it, leaving about an inch of overhang on each side. This extra length helps create a tighter barrier. To complete the job, use your pliers to carefully re-crimp the ends of the aluminum retainer, which locks the seal and prevents it from shifting.
Need a second opinion on seal fit or retainer size? The team at Up & Down Garage Doors can confirm your profile, recommend materials that support garage weatherproofing, and the install if you’d rather have a professional do it.

Fresh Seal, Fewer Problems
Set aside an hour to follow our guide on how to change a garage door bottom seal: swap the seal, and you’ll feel the difference the next time it rains. Fewer drafts, fewer puddles, fewer surprises. That’s the power of simple garage door maintenance done right.
Stuck on the bottom retainer or just want a neater result? Up & Down Garage Doors can handle it. Boost year-round comfort with professional garage door insulation.
FAQs About Changing a Garage Door Bottom Seal
What tools are needed to change a garage door seal?
Typically, you will need pliers to crimp the retainer ends, a utility knife to trim the new seal, a flathead screwdriver to remove the old seal, silicone spray or soapy water to help the new seal slide in, plus C-clamps or locking pliers to secure the door, work gloves, and eye protection.
Can I use a threshold seal with a bottom seal?
Yes, a garage door threshold seal (which adheres to the floor) can be used with a bottom seal for maximum protection against water and drafts, especially if your driveway slopes toward the garage.
How do I know what size seal to buy?
First, measure your door width (e.g., 9 ft single, 16 ft double) and confirm your garage door bottom retainer profile and slot size (e.g., T-end 1/4" or 5/16", or bulb/P-style). Then choose the seal’s flat width — 3"–4" are common to cover small floor variations. It’s usually best to buy a seal that’s slightly longer than the door and trim the excess for a clean fit. If you’re unsure of the retainer slot size, Up & Down Garage Doors can confirm the profile and supply the correct seal.
You may also like
