How to Change Garage Door Rollers: Safety Warning
Published: Oct 15, 2025
At first, it looks like an average morning. Then suddenly, the opener hums, metal tracks rattle, and a line of worn rollers fights its way past a stiff torsion spring and frayed lift cables. If that scene feels familiar, you’re probably wondering how to change garage door rollers and make the noise stop. Here’s the hard truth — swapping rollers is not a simple DIY tune-up.
This safety brief from Up & Down Garage Doors covers the warning signs of failing rollers, the specific hazards most tutorials skip, and when to step back and call a certified technician with the right tools and training. Your goal is a quiet, reliable door — not a close call in the driveway.
The Dangers of Changing Garage Door Rollers
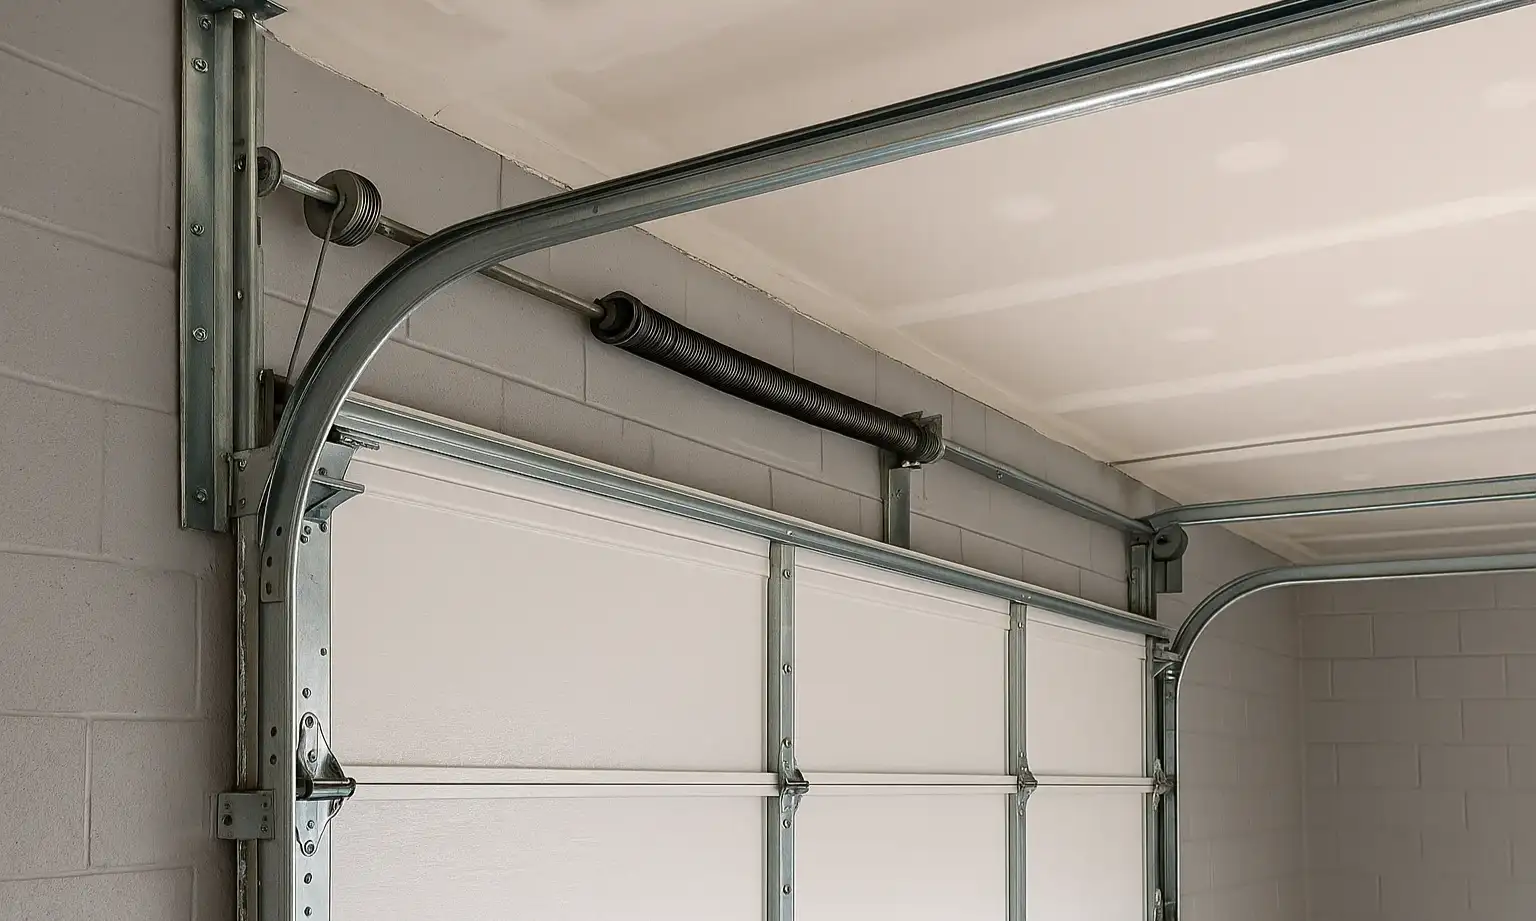
Attempting to replace garage door rollers without proper training can lead to severe consequences and puts garage door safety at risk. The biggest risk is the torsion spring — the tightly wound, coiled bar above the door that balances its weight. If that tension is released the wrong way, the door can drop or parts can shoot across the garage.
Not all rollers face the same forces. Top and middle rollers aren’t under direct spring load, but the door still needs to be secured before you touch them. Bottom rollers sit in brackets tied to the lift cables, which hold spring tension. Removing a bottom roller before the spring is safely de-tensioned can rip the bracket free and cause property damage or serious harm.

Why This Job Is for Certified Professionals Only
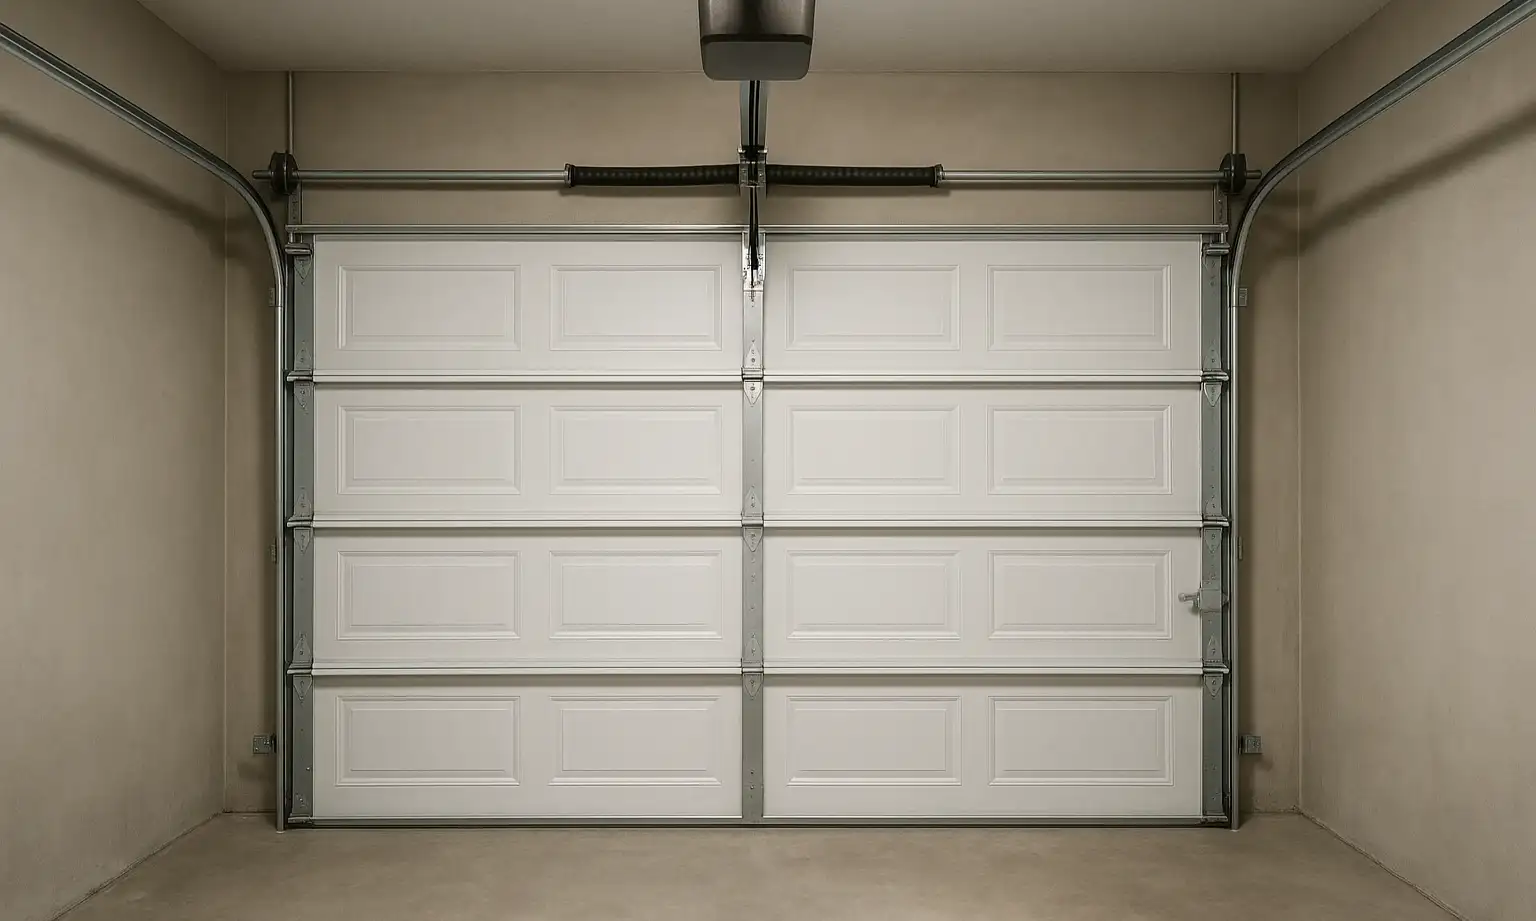
Professional repair is about more than swapping parts. It’s about long-term safety and how the whole door works together. A certified technician can accurately diagnose underlying issues that you might miss, such as poor track alignment or a failing torsion spring. They have the expertise to work with high-tension components safely, preventing accidents. Professionals also replace garage door rollers with the correct size and type for your specific door. That mix of diagnosis, the right parts, and careful setup makes the door run smoothly and helps other components last longer. When the work involves springs and cables, choosing garage door repair from a certified technician is the safer, smarter path.

Signs Your Garage Door Rollers Are Failing
A noisy garage door is often the first clue that your rollers are worn out. However, sound isn’t the only sign. Take a moment to check for these issues:
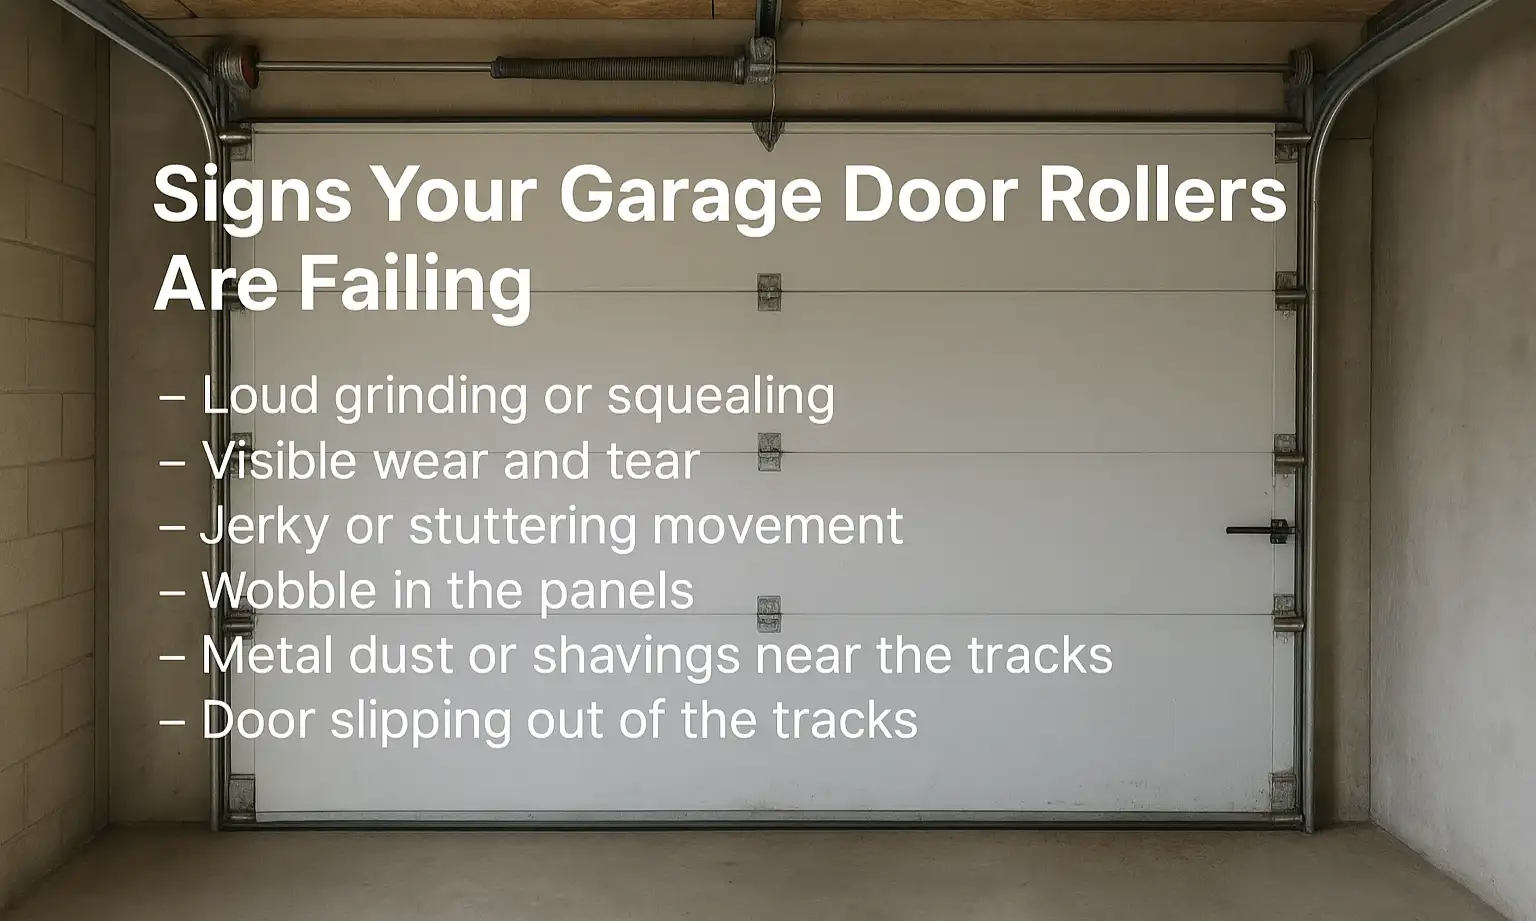
- Loud grinding or squealing: Usually means the roller bearings are worn out and rubbing metal-on-metal.
- Visible wear and tear: Look for cracks, chips, or flat spots on the rollers. Steel can rust, and nylon can become brittle and break apart.
- Jerky or stuttering movement: The door hesitates or shakes because one or more rollers are seized.
- Wobble in the panels: The door sways in the opening, often from loose hinges or worn roller stems.
- Metal dust or shavings near the tracks: A sign of accelerated wear on rollers or tracks.
- Door slipping out of the tracks: Excessive wear can let the door jump the tracks — a dangerous situation. If this happens, see our guide to get a garage door back on track for first steps and safety tips.

An Overview of the Professional Roller Replacement Process
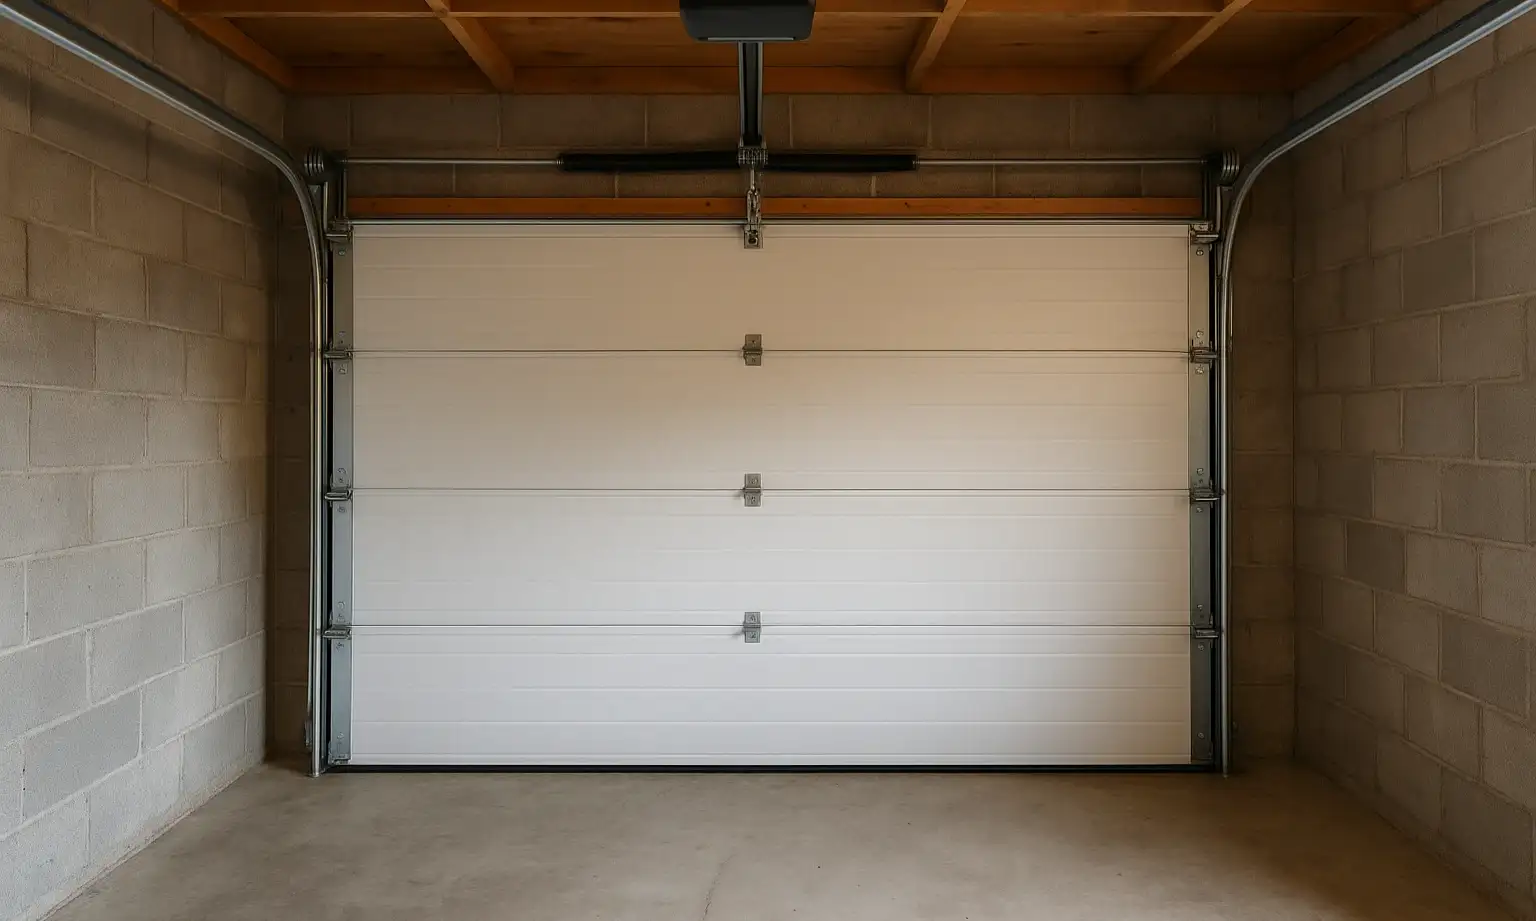
When worn rollers are the culprit, a trained technician follows a careful, safety-first process to fix a loud garage door. They start by disconnecting the opener and securing the door in the closed position. Next, they carefully unwind the torsion spring to release tension from the lift cables and bottom brackets — this step controls the stored energy that can cause injuries.
With the system de-tensioned, the tech loosens the vertical track hardware and replaces the rollers one at a time, usually top-down. Bottom rollers get special attention because they tie into the high-tension cable brackets. After all rollers are in, the tracks are tightened, the spring is re-tensioned to balance the door, and the opener is reconnected.
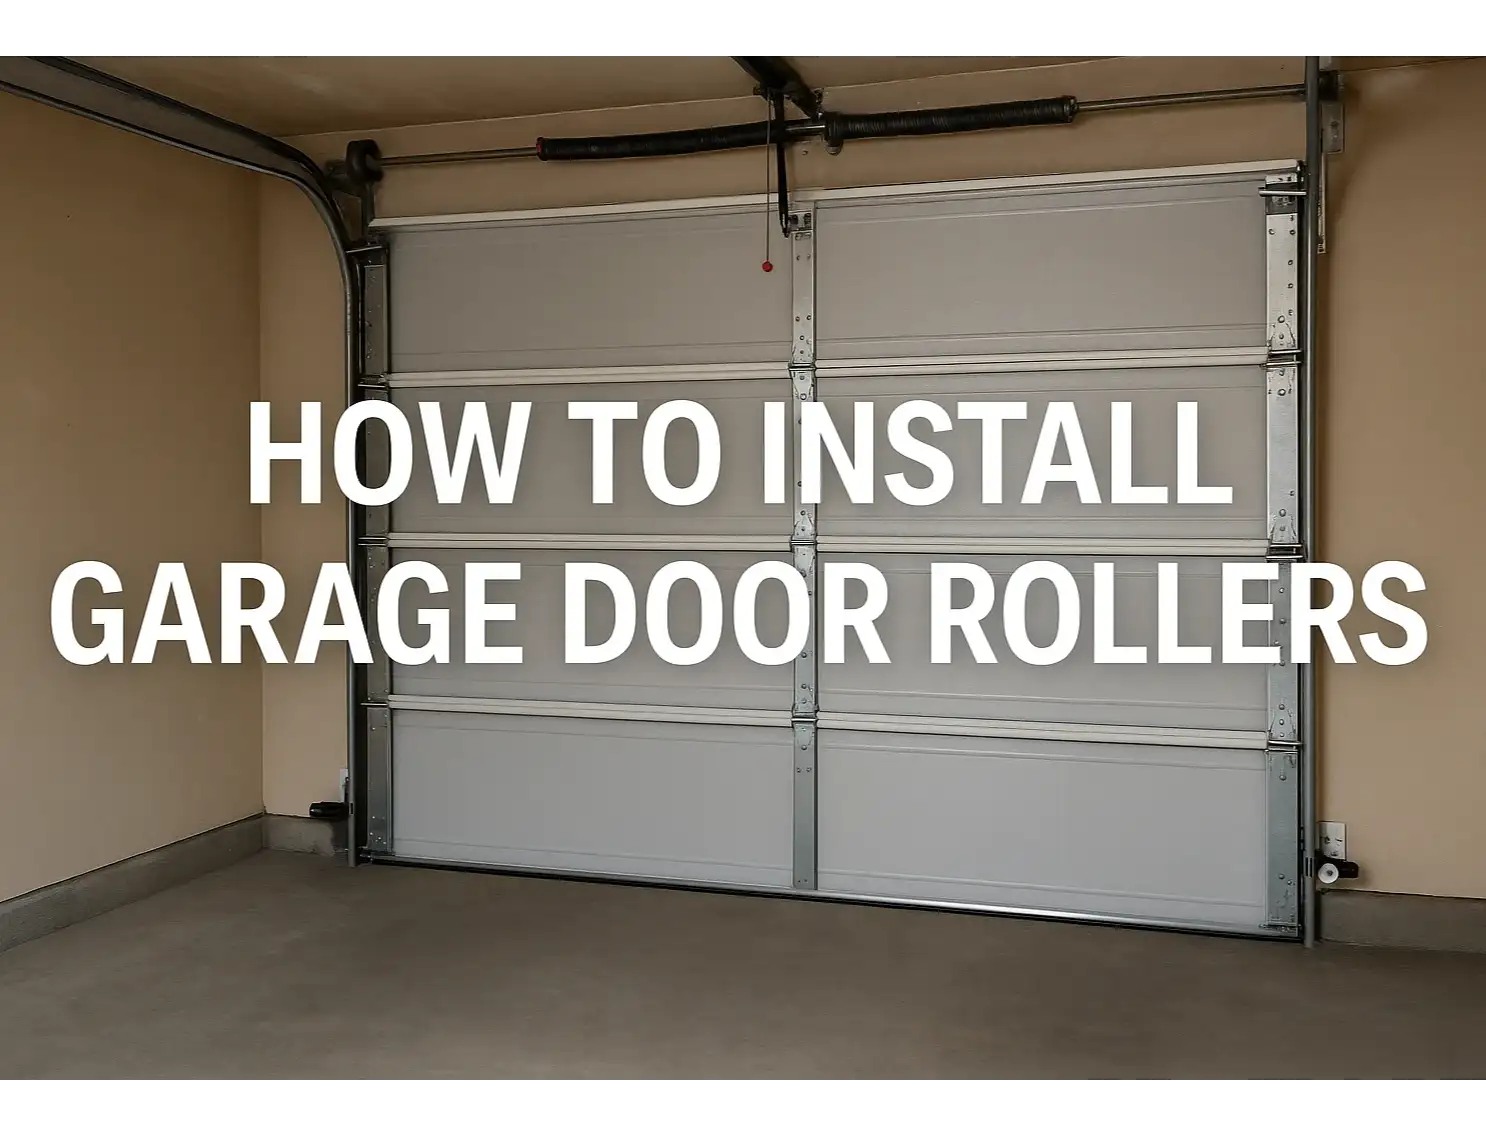
To finish, the technician from Up & Down Garage Doors tests door balance and travel, dials in opener force and limits, checks photo-eye alignment, and lubricates moving parts for smooth, quiet operation. Want a step-by-step look at the professional method? See how to install garage door rollers.

Schedule Your Safe and Professional Roller Replacement
Learning how to change garage door rollers starts with one truth: this job carries real risk. Worn-out or noisy garage door rollers can make your door noisy and unreliable, but a failed DIY attempt can be far more costly and dangerous than scheduling a professional garage door repair.
If your garage door shows signs of failing rollers, don’t risk your safety. Contact the certified technicians at Up & Down Garage Doors today for a safe, reliable, and professional roller replacement service.
Frequently Asked Questions
Can I just replace one broken roller?
You can, but it’s better to replace the full set. Rollers wear at a similar rate, so if one failed, others are close behind. Swapping them all at once keeps the door balanced and running smoothly.
How often should garage door rollers be replaced?
Most builder-grade rollers last about 5–7 years. High-quality nylon garage door rollers with sealed ball bearings can last 10–15 years with basic care. It’s a good idea to have a pro inspect the door annually and refresh lubrication on the hinges and roller stems.
Are nylon or steel garage door rollers better?
For most homes, nylon rollers are the better choice: they run quieter and need less lubrication, and tend to last longer when they have sealed ball bearings. Steel rollers are strong, but they’re louder and can rust without regular upkeep.
You may also like
