How to Install a Garage Door Opener: Step-by-Step Guide for DIYers
Published: Jul 15, 2025
Ever looked at your garage door opener and thought, “Maybe I can handle this myself”? Good news — you probably can. Learning how to install a garage door opener isn’t as complicated as it seems. Whether you’re a homeowner upgrading your system or a contractor working on a new build, all it takes is the right tools, a bit of time, and this guide to get it done right.
What You Need Before You Begin

Before you start learning how to install a new garage door opener, take a moment to plan things out. Preparation can save you from frustrating delays or unexpected trips to the hardware store, so make sure you have the following tools and materials ready:
- Drill and drill bits
- Wrenches and screwdrivers
- Ladder
- Tape measure and level
- Safety glasses
- Your garage door opener kit (motor, rail, sensors, remotes)
It’s also a good idea to read through the manufacturer’s manual since different models often come with their own setup steps or quirks.
Step 1. Assemble the Rail and Attach It to the Motor Unit
Start by putting the rail together, following the instructions in your opener kit. Once that’s done, slide the trolley onto the track and attach the rail to the motor unit.
Many first-timers learning how to install a garage door opener rush through this part. The rail is the backbone of your system. Taking your time here sets you up for success in the long run.
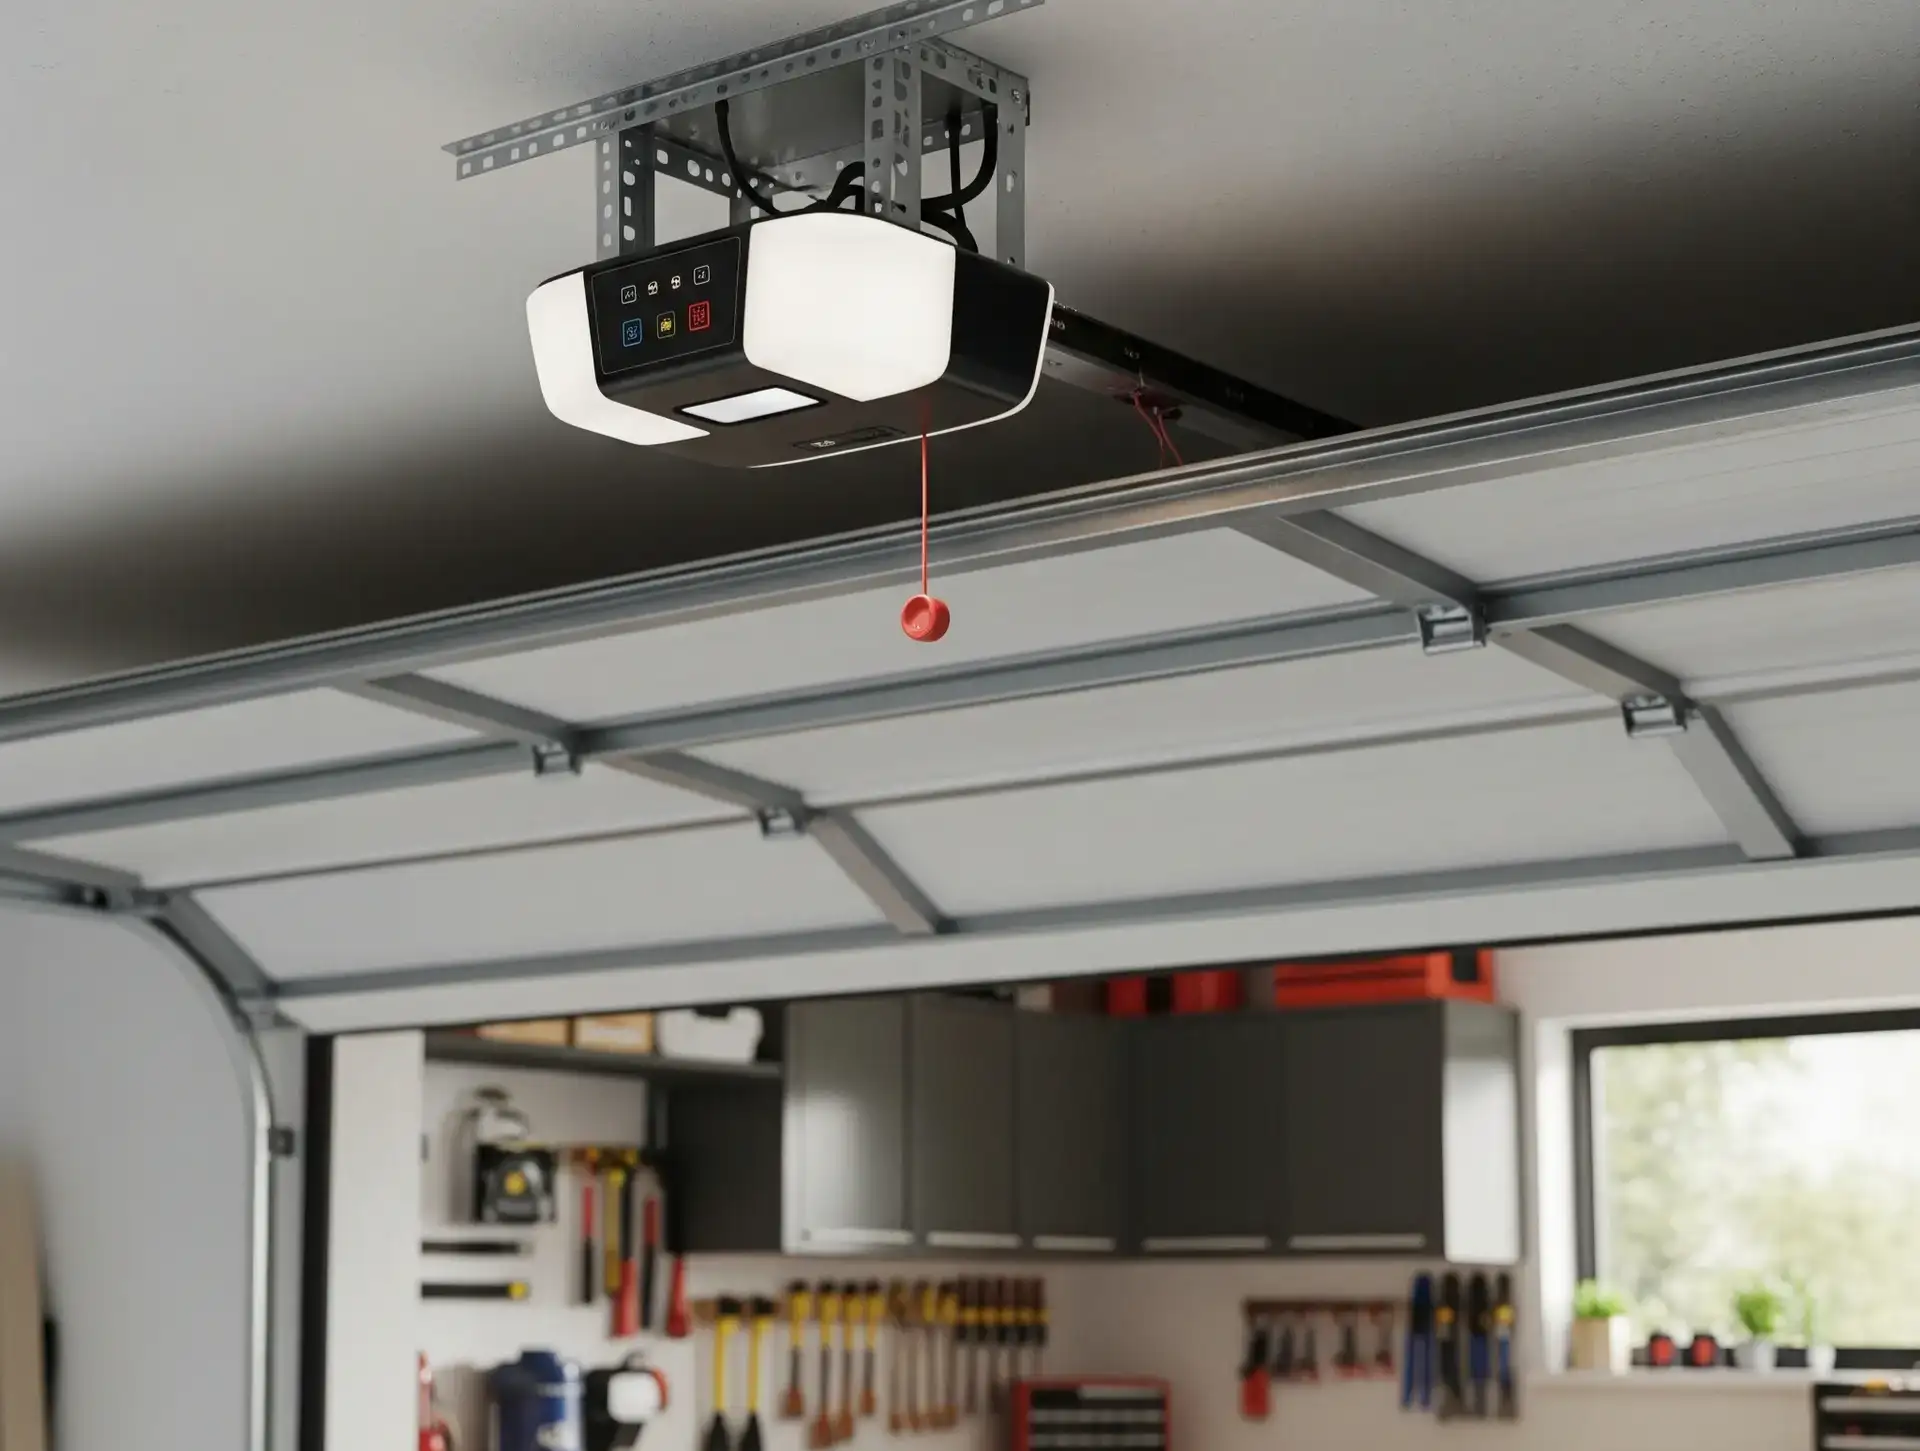
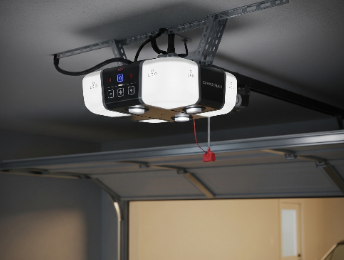
Step 2. Mount the Opener to the Ceiling
Wondering how to mount a garage door opener correctly? The key is to secure it directly into the ceiling joists using lag screws. Use a ladder to position the opener as recommended in the manual, find the joists, and install the mounting bracket.
If your ceiling is uneven or space is limited, a support bracket can provide added stability.
Step 3. Attach the Rail to the Garage Door
It’s time to link the rail to your door. Use the mounting bracket to attach the rail to the garage door header, making sure it’s centered above the door. Then, connect the trolley arm to the bracket mounted on the door panel.
Use a level to double-check everything is aligned before tightening the bolts. That’s it — you’ve completed another step in how to install a garage door opener.
Step 4. Install Safety Sensors
Safety sensors are standard on today’s garage door openers. Positioned a few inches from the ground, they stop the door when something crosses the beam.
Mount the sensors on both sides of the door, about 4 to 6 inches from the ground. Make sure they’re aimed directly at each other, and confirm proper alignment by checking for a solid LED light on both units.
Step 5. Wire the System and Connect to Power

Now it’s time for the electrical part, so be sure to turn off the power at the breaker before you begin. Run the wires from the opener to the wall control and safety sensors. Use insulated staples to keep everything tidy along the ceiling and walls.
Next, follow your manual’s wiring diagram to make the proper connections. When you’re ready, plug in the motor or hardwire it if needed.
You’ve just knocked out one of the trickiest parts. The wiring’s done, and your opener is coming to life — that’s a big win in learning how to install a garage door opener. Just a few more adjustments, and you’ll be done.
Step 6. Set Limits and Test the Opener
Once everything is in place, it’s time to tell your opener where to stop. The limits control how far your garage door opens and closes.
Use the adjustment knobs or buttons, then test the door a few times. Adjust the settings until it opens and closes smoothly.
Step 7. Program the Remote and Wall Panel
With the hardware installed, it’s time to learn how to add a garage door opener remote and wall control panel. Follow the manufacturer’s steps or check our guide on how to program a garage door remote.
Once it’s set up, give the remote a test run from different spots in and around your garage to make sure the signal is strong and reliable.
Optional: How to Hang a Garage Door Opener with Support Brackets
If your ceiling joists don’t line up or you’re working with high ceilings, you may need to hang your garage door opener using angle iron or support brackets.
Use perforated steel angle brackets to create a secure connection between the opener and the joists. Be sure everything is tight and level before activating the opener.
How Hard Is It to Install a Garage Door Opener?
That depends on your comfort level with tools, wiring, and working at heights. For many homeowners, learning how to install a garage door opener is a manageable weekend project, especially with the right guide and a little patience.
Still, certain steps — mounting into ceiling joists, running clean wiring, or getting the opener perfectly aligned — can be tricky. If any part of the job feels like too much, it’s completely fine to bring in a professional. Up & Down Garage Doors offers full-service installations, tune-ups, and reliable support for homeowners across the country. Whether you’ve hit a snag or would rather have it professionally installed, we’re here to make the process smoother, safer, and worry-free.
You may also like