How to Install a Garage Door Seal: A Professional Guide
Published: Oct 16, 2025
Noticing drafts, puddles, or unwanted pests in your garage? Gaps around your garage door are usually the cause. On a standard 16×7 ft sectional door, even small openings let in outside air, raise energy costs, and expose stored items to the elements. A quick fix is installing fresh perimeter weatherstripping along the top and sides. This guide from Up & Down Garage Doors explains how to install garage door seals with a clear, step-by-step process that protects your garage and improves your home’s energy efficiency.
What Is Garage Door Weatherstripping?

Garage door weatherstripping is the material installed around the door’s perimeter and along the bottom to block air, water, dust, and pests from entering the garage.
- Key Advantage: It improves your home’s energy efficiency, which is especially noticeable in attached garages, potentially lowering heating and cooling costs. For more context, see Up & Down Garage Doors blogpost about the importance of garage door seals.
- Material basics: Durable vinyl garage door stop molding is excellent for the sides and top, while a flexible rubber seal is best for the bottom to conform to the garage floor.
How to Install Garage Door Top and Side Seals
Learning how to install garage door seals is a smart part of regular garage door maintenance. Known as the garage door perimeter seal, the top and side seals help seal garage door gaps, block drafts, and support pest control. Most homeowners can do this with a basic weatherstripping kit. You’ll need a pry bar, utility knife, tape measure, hand or miter saw, hammer or drill, galvanized nails or exterior screws, exterior caulk, and a stepladder.

- Close the door, unplug the opener, and place the ladder on level ground.
- Gently pry off the brittle stop molding, backing out nails to avoid splintering the frame.
- Scrape off old caulk and debris. Wipe clean and dry.
- Measure the top span and cut the new perimeter strip to match. For kits with mitered corners, cut 45° on each end for a clean corner.
- Hold the flap so it just touches the door’s outside face—light contact only. Tack the ends, then the center, then fasten every 12–16 inches.
- Repeat the process for the sides, ensuring the top corners meet snugly for effective pest control.
- Open and close the door. Use a dollar-bill test — you should feel slight drag but no sticking. Nudge the molding in for leaks or out if the door rubs. Caulk corner joints and nail holes.
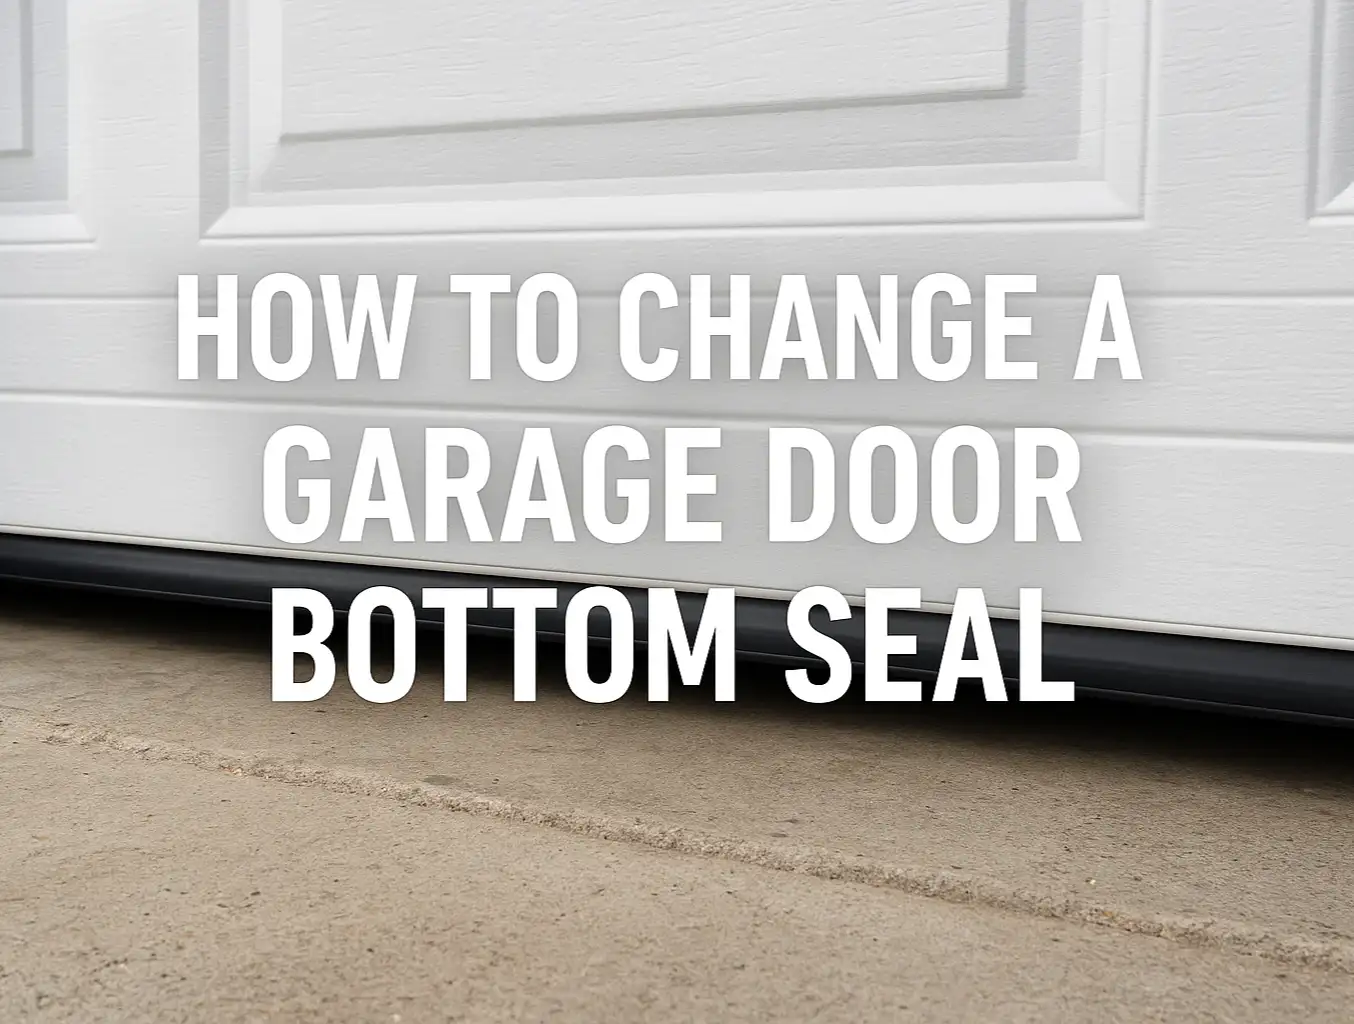
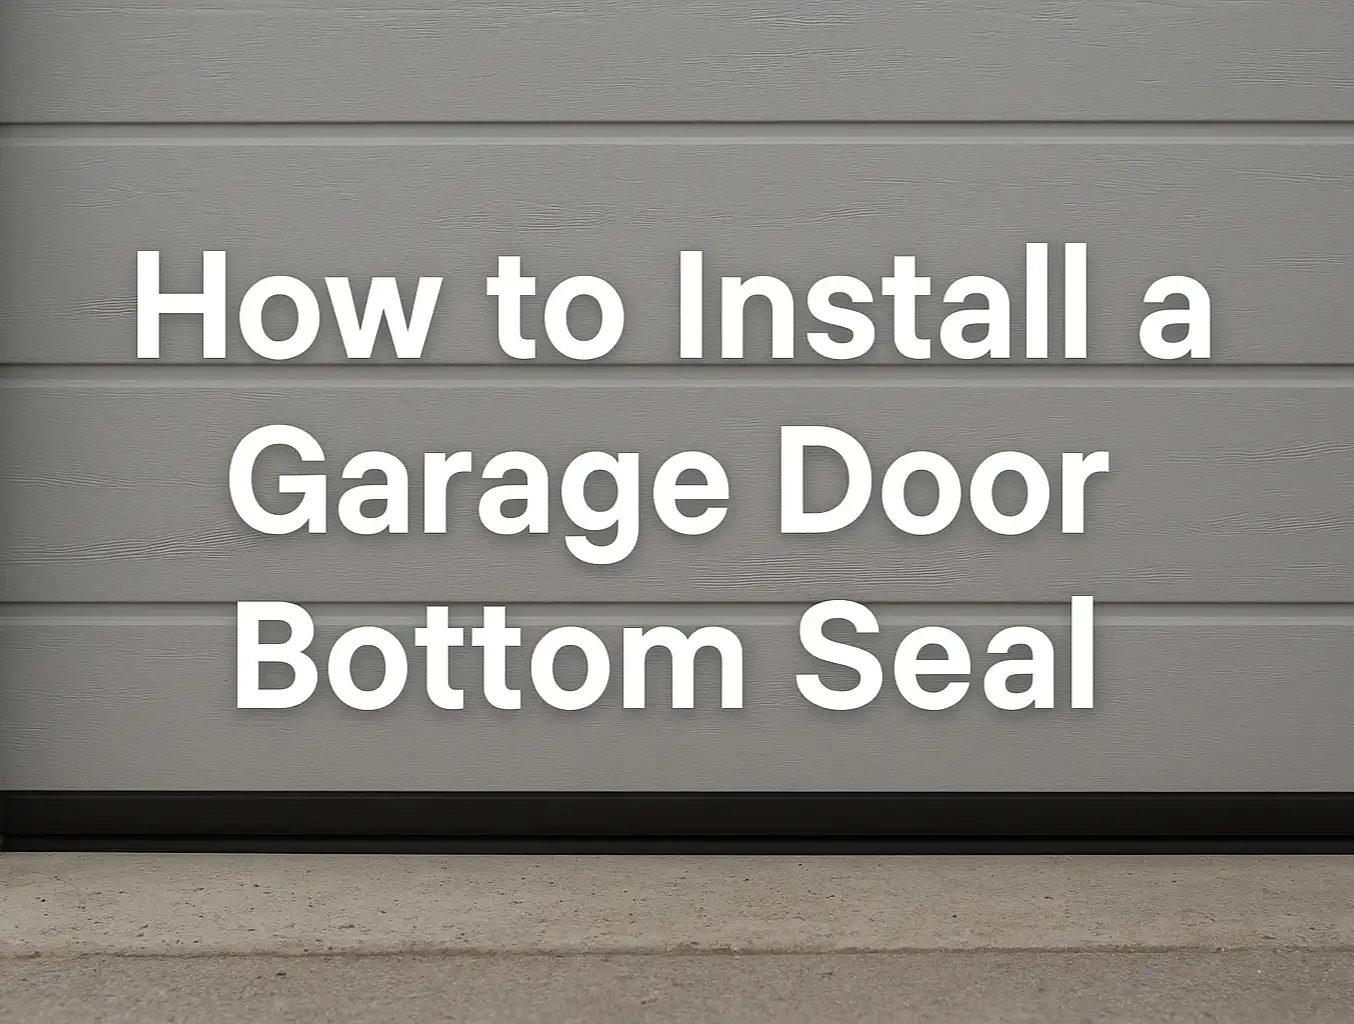
For a complete weather barrier, pair this with a healthy bottom seal. When you’re ready, see how to install a garage door bottom seal for the matching step.
Install a Threshold Seal for a Weatherproof Garage

Want a truly weatherproof garage? Add a threshold seal. This rubber strip glues to the concrete just inside the door line, blocking wind-driven water and helping with pest control. Before you start, sweep and degrease the concrete where the seal will sit — the surface needs to be clean and dry so the adhesive bonds. Lay out your materials within reach: the threshold seal, heavy-duty construction adhesive with a caulk gun, a pencil or marker, a utility knife, and a few rags.
Dry-fit the threshold and gently close the garage door on it. The seal should sit just behind the door’s bottom seal — about 1/8–1/4 inch inside the door line so the door compresses it rather than rides on it. Hold that position and trace both edges of the seal on the floor. Lift the seal, run several beads of adhesive inside the marked area, then press the threshold firmly into place, end to end, aligning with your lines and wiping any squeeze-out.
Keep the door closed and avoid walking or driving over the threshold for at least 24 hours while the adhesive cures (36–48 hours if temperatures are below 60°F).
DIY Home Insulation vs. Calling a Professional

A basic weatherstripping kit is a manageable DIY home insulation project for many homeowners. However, achieving a truly airtight fit can be tricky. If your door frame is warped, rotted, or your garage floor is uneven, a DIY installation may not seal garage door gaps effectively. In these cases, professional help is the better choice. A trained technician can correct alignment, replace damaged trim, and adjust the seal contact so the door moves smoothly and seals tightly. Professional garage door insulation from Up & Down Garage Doors delivers a precise fit and saves time on tougher jobs. If you want it done right and on schedule, reach out to our team.
Frequently Asked Questions
What is the best material for garage door seals?
For the top and sides, vinyl garage door stop molding holds up well and makes consistent contact with the door. For the bottom, a high-quality, flexible EPDM bottom seal is ideal because it stays pliable in cold weather and seals against uneven concrete.
How often should I replace my garage door weatherstripping?
Inspect your seals annually. Most seals last 5–10 years, but in harsh climates or with heavy use, they can wear out sooner. Replace them if you see cracking, tearing, flattening, or if they’ve gone hard.
Will new seals make my garage door harder to open and close?
Not if they’re set correctly. The flexible flap on the stop molding should just touch the door, creating a seal without adding friction. If the door seems to stick, the seal may be too tight.
You may also like