How to Install a Garage Door Track: Step-by-Step Setup Guide
Published: Sep 29, 2025
Your garage door’s performance starts with a solid track installation. If the track isn’t aligned or secured properly, everything else — from the rollers to the opener — can suffer. Whether you’re working on a brand-new build or replacing a worn-out door, Up & Down Garage Doors explains the process. Continue reading to learn how to install a garage door track without guesswork.
Getting Started: How to Install Garage Door Rails
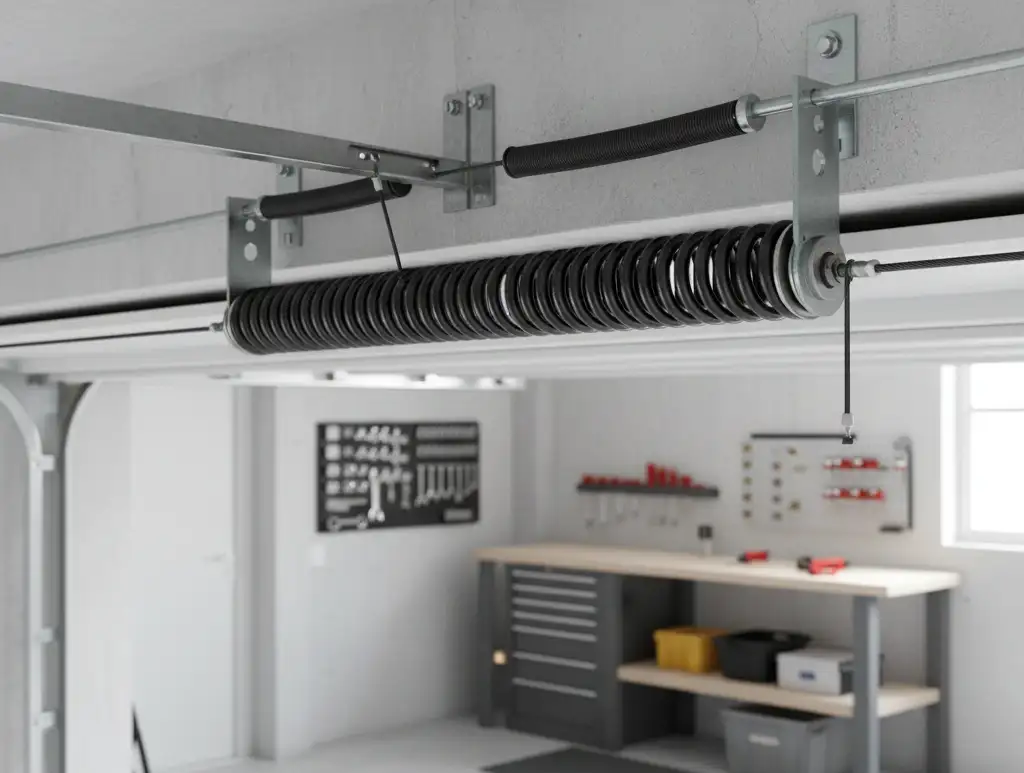
Your garage door system uses both vertical and horizontal tracks. The horizontal ones (often called garage door rails) run along the ceiling and guide the door as it opens and closes.
Take a moment to gather your tools: a level, socket wrench set, tape measure, power drill with bits, adjustable wrench, and locking pliers. Also, don’t forget safety gear — always wear safety glasses and gloves while working.
Let’s begin with the horizontal setup. Here’s how to install garage door rails the right way:

- Start by bolting together the horizontal track sections. Double-check that all markings line up — a smooth door path depends on this early step.
- Next, connect the curved track pieces to the horizontal ones. These curved sections let the door shift smoothly from vertical to horizontal.
- Now, mount the ceiling brackets that hold up the horizontal rails. Follow your kit’s spacing guide and make sure they’re level.
- With a second set of hands, bolt the tracks to the ceiling brackets. Trust us — this step’s tricky solo, as the tracks can be long and cumbersome. Accurate setup here prevents issues later on.
- Properly positioned tracks mean your door will operate smoothly. However, if anything feels off or you’re unsure about your garage door spring, don’t risk it — book a spring inspection with Up & Down Garage Doors.
Achieving Perfect Fit: How to Install Overhead Garage Door Tracks
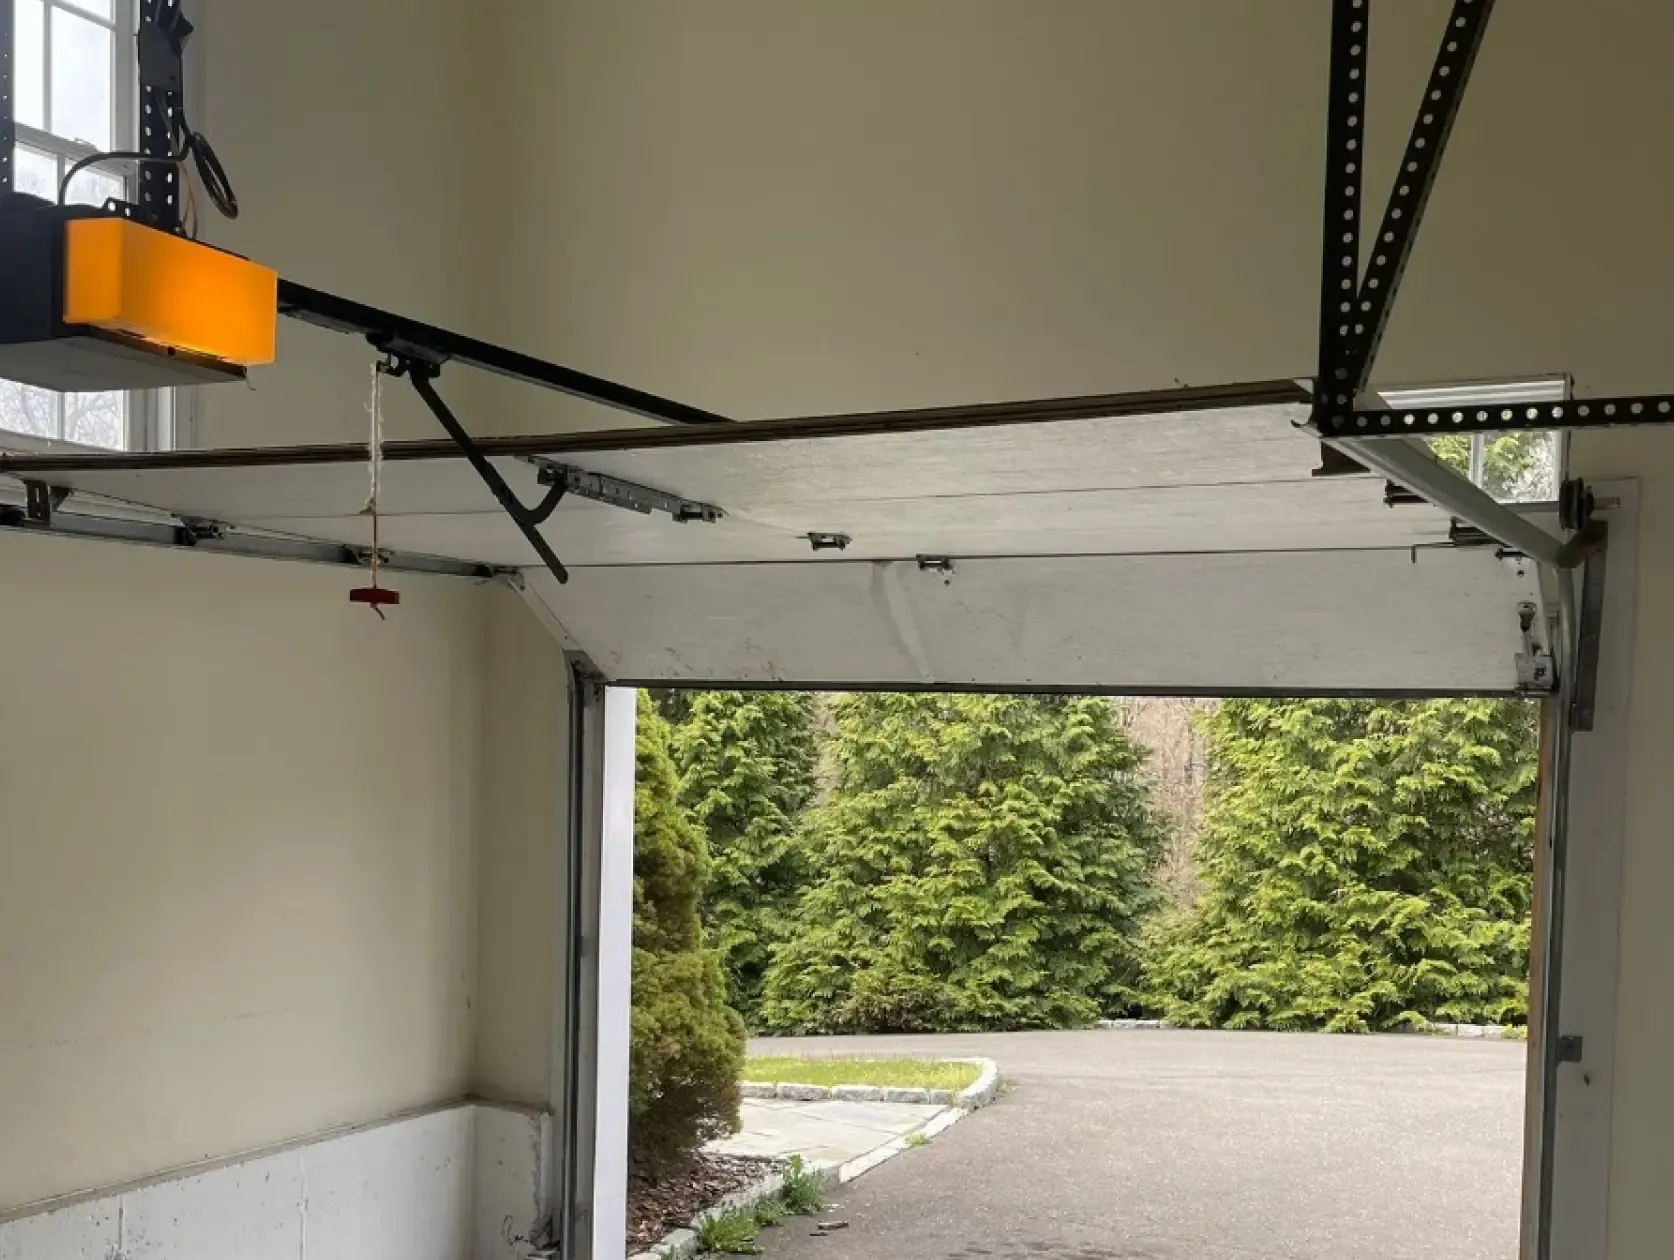
Once the horizontal tracks are secure, you’ll focus on the vertical tracks that attach to the door opening.

- Attach the vertical tracks loosely to the jambs on both sides using temporary fasteners. Don’t tighten them yet — just position them correctly.
- Then, connect the vertical tracks to the curved ends of the horizontal ones. Make sure the connection holds, but don’t crank down on the bolts just yet.
- Use a level to make sure both the vertical and horizontal sections are perfectly plumb and level. The distance between the two vertical tracks needs to be consistent from top to bottom.
- Make any necessary adjustments to the vertical tracks, shimming them if needed, until they are perfectly vertical and parallel to each other. Even a small deviation can cause the rollers to bind or the door to sag.
- Once everything lines up, tighten all bolts and fasteners.
- Test that the rollers can move smoothly through the entire track system without any resistance. A well-aligned track system prevents many common problems and helps keep the door on its intended path. If you ever notice your garage door isn’t moving right, check our guide on how to get a garage door back on track.
Summing Up
When you get a new garage door, you expect it to work the way it should — smooth, quiet, and reliable. In this article, Up & Down Garage Doors explained how to install garage door tracks, giving you the key steps to start your setup correctly.
Still, even the best tools can’t replace real experience. While DIY installation can be rewarding, safety should always come first. If the job feels too complex or something goes wrong along the way, it’s wise to call on professionals. Up & Down Garage Doors is just one call away — ready to handle any installation, repair, or maintenance you need.
Feel free to contact us today or explore our site to learn more — no need to figure it all out on your own.
You may also like