How to Install an Overhead Garage Door the Right Way
Published: Nov 18, 2025
A working garage door is essential for security, energy efficiency, and curb appeal. When yours wears out, you might be tempted to tackle the job yourself. That said, installing a new overhead door is a complex and potentially dangerous DIY project, especially because of the high-tension components involved. For homeowners considering how to install an overhead garage door, we recommend consulting the experts. This article, presented by Up & Down Garage Doors, provides a clear overview of the process so you can choose with confidence and follow the steps yourself if you want to.
Preparation and Safe Garage Door Removal and Installation
The first phase of any garage door removal and installation project is careful preparation and safety planning. This is where most serious mistakes can occur. The primary danger lies in releasing the stored force from the old door’s torsion spring — a tightly wound spring that balances the door’s weight. Attempting to unwind this without specialized tools and training can cause severe injury.
Critical Safety and Prep Steps

- Deactivate the Opener. Before starting any work, unplug the automatic garage door opener and disengage the manual release cord.
- Secure the Door. For removal, secure the door in the down position. The most dangerous step is removing the old torsion spring system. This job should always be handled by a professional to safely release spring tension.
- Verify Measurements. Ensure the new garage door panels are the correct size for your rough opening, leaving the manufacturer-recommended clearance above and on the sides.
- Organize Parts. Unpack all components (panels, tracks, hinges, rollers, cables, and hardware). Check the owner’s manual and lay out the pieces, using the numbered or labeled components as a guide.
- Clear the Opening. Remove all remaining fasteners, tracks, and hardware from the frame, ensuring the opening is clear and plumb (perfectly straight and vertical).
- If you are replacing a door, the removal step alone is why many homeowners choose professional garage door installation.
New Garage Door Installation: Assembling the Structure
The next phase in a new garage door installation is setting the structure that guides the door. After removing the old system and preparing the frame, begin assembling the door itself, starting with the bottom panel.

- Seal the Bottom Panel. Attach the weatherstripping (rubber seal) to the bottom edge of the first panel. Fasten the corner brackets.
- Position the First Panel. Set the first panel in the opening so it’s perfectly level. Tack it to the jambs with temporary screws.
- Install Hinges and Rollers. Attach hinges to the top edge of the lower panel, then to each panel as it’s added. Insert the rollers into the hinge and end-bracket sleeves.
- Install the Vertical Tracks. Slide the vertical track pieces over the rollers on each side. Align each track to the jamb, leave the recommended clearance for smooth travel, and anchor the brackets with lag screws.
- Connect Horizontal Tracks. Assemble the curved and horizontal sections and connect them to the vertical tracks. Hang the horizontal tracks from the ceiling joists using perforated angle iron. Confirm the track radius (commonly 12 or 15 inches) matches the kit and that the tracks are parallel.
Accurate alignment of the garage door tracks is critical for long-term performance and quiet operation. Before you move on to springs and balancing, see complete overhead garage door solutions for homeowners, from Up & Down Garage Doors, for quick safety cues and upkeep that keep a new installation running smoothly.
Setting the Garage Door Spring Tension and Final Steps
Successfully setting the door panels is only half the battle. The most technical and safety-sensitive work is adjusting the spring system and applying garage door spring tension. The spring system — either a standard torsion spring or an extension-spring setup — is what makes a heavy door feel light enough to lift by hand or with an opener.

- Cable and Spring Assembly. Springs and cables are installed and set last by a trained technician. On torsion systems, the spring assembly sits on a shaft above the opening, and the lift cables interface with drums and bottom brackets. Due to the high tension, this work isn’t a DIY task.
- Winding the Spring. A technician uses winding bars to set the garage door spring tension to the specification for the door’s weight and hardware. Because a wound spring stores extreme energy, any slip or component failure can cause serious injury or property damage. Homeowners should not attempt a torsion spring install.
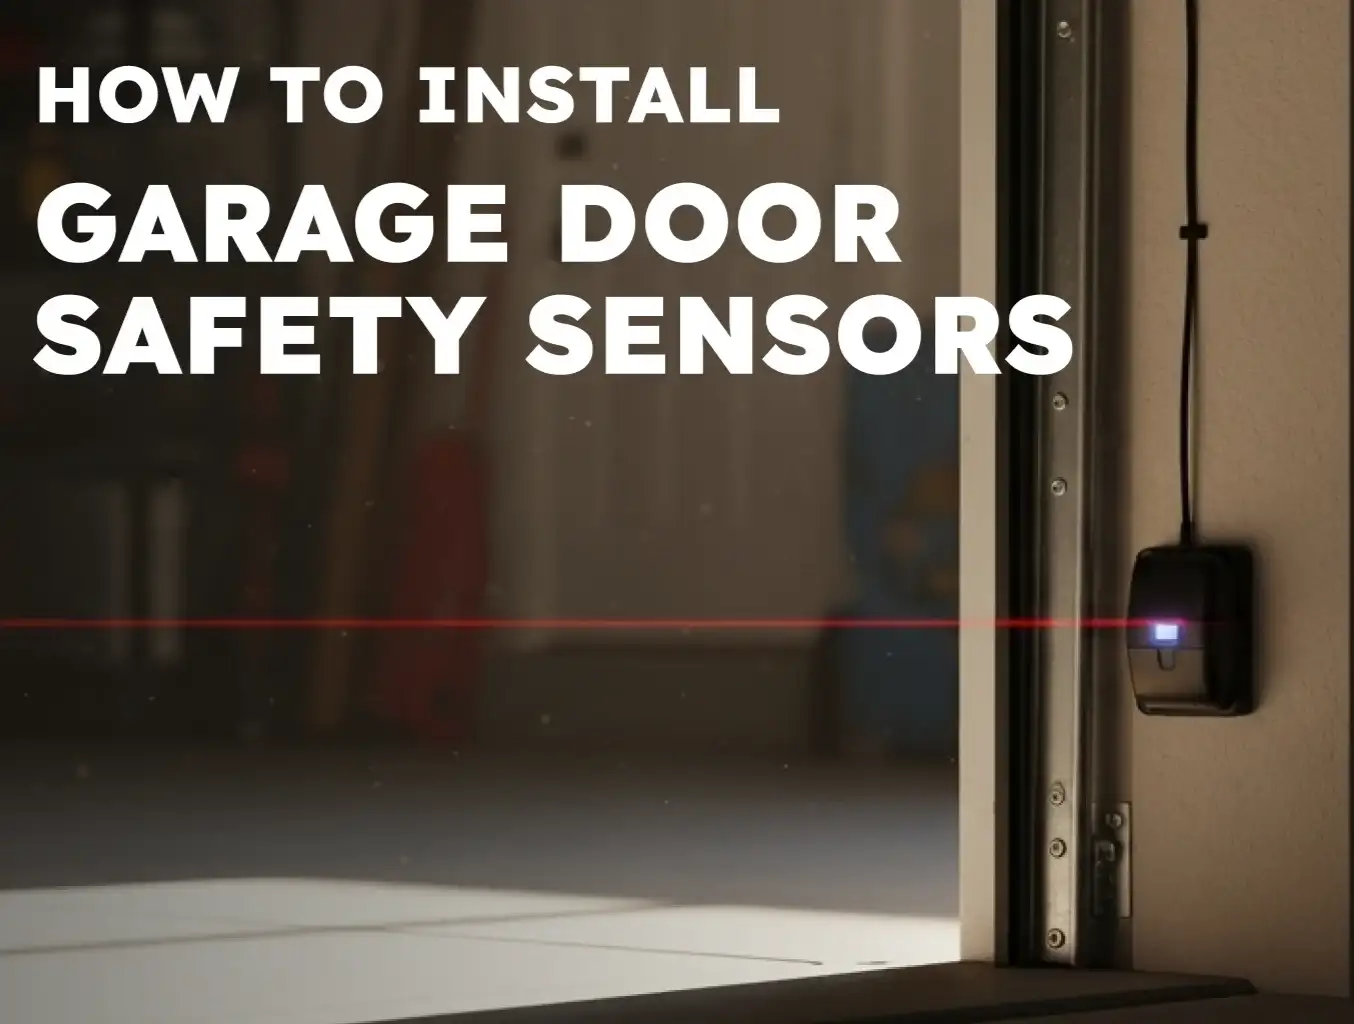
- Testing and Opener Setup. After a pro sets spring tension, test for smooth, balanced travel. If you’re learning how to install an overhead garage door opener, follow the opener’s manual and confirm the photo-eyes meet UL 325 requirements. Never use the opener to “pull” an unbalanced or heavy door.
Prefer to leave the hazardous steps to a professional? Up & Down Garage Doors can set the correct garage door spring tension, complete the torsion spring install, and tune the system for reliable operation. For a clear day-of timeline and prep tips, see what to expect during a professional garage door installation.
Ready to Finish? How to Install an Overhead Garage Door Safely
A successful garage door installation isn’t just panels and tracks. Proper prep, square-and-level framing, precise track alignment, and correctly set spring tension are what make a heavy door operate quietly and safely. If you’re weighing DIY, keep it simple: a roller or hinge swap is realistic, a single-panel swap is more advanced, and a full replacement is a job for a trained technician. Understanding how to install an overhead garage door helps you spot what you can handle — and what you shouldn’t. If you’d rather have it done right the first time, Up & Down Garage Doors can handle removal, alignment, spring setup, and opener configuration so your new door operates smoothly and safely. Reach out when you’re ready to schedule.
Frequently Asked Questions
What is the easiest garage door to install?
No overhead garage door is truly “easy” because they all use high-tension springs. However, doors with extension springs (instead of torsion springs) are sometimes perceived as easier, though they carry their own set of risks related to containment cables.
How long does a residential garage door installation take?
For a professional crew, a typical residential garage door installation — including removal of the old door — takes about 4-6 hours when the opening is ready and there are no unexpected structural issues.
What tools are required for DIY garage door installation?
A DIY garage door installation requires standard hand tools (wrenches, screwdrivers, drill/driver, level) plus specialized tools like winding bars and cable crimpers, which are unique to garage door work and often not available to homeowners or renters.
How do I install overhead garage door springs?
Torsion and extension springs store extreme energy. If you’re wondering how to install overhead garage door springs, hire a pro to size the springs, use proper winding bars, set the balance, and test the safety. DIY here can cause serious injury.
How do I install an overhead garage door in a metal building?
Add solid backing (wood jambs or steel tube) at the sides and header so brackets and tracks fasten to the structure, not sheet metal. Confirm headroom/backroom, choose a 12- or 15-inch track radius, use steel-rated fasteners, and seal ribbed panels. That’s how to install an overhead garage door in a metal building.
You may also like