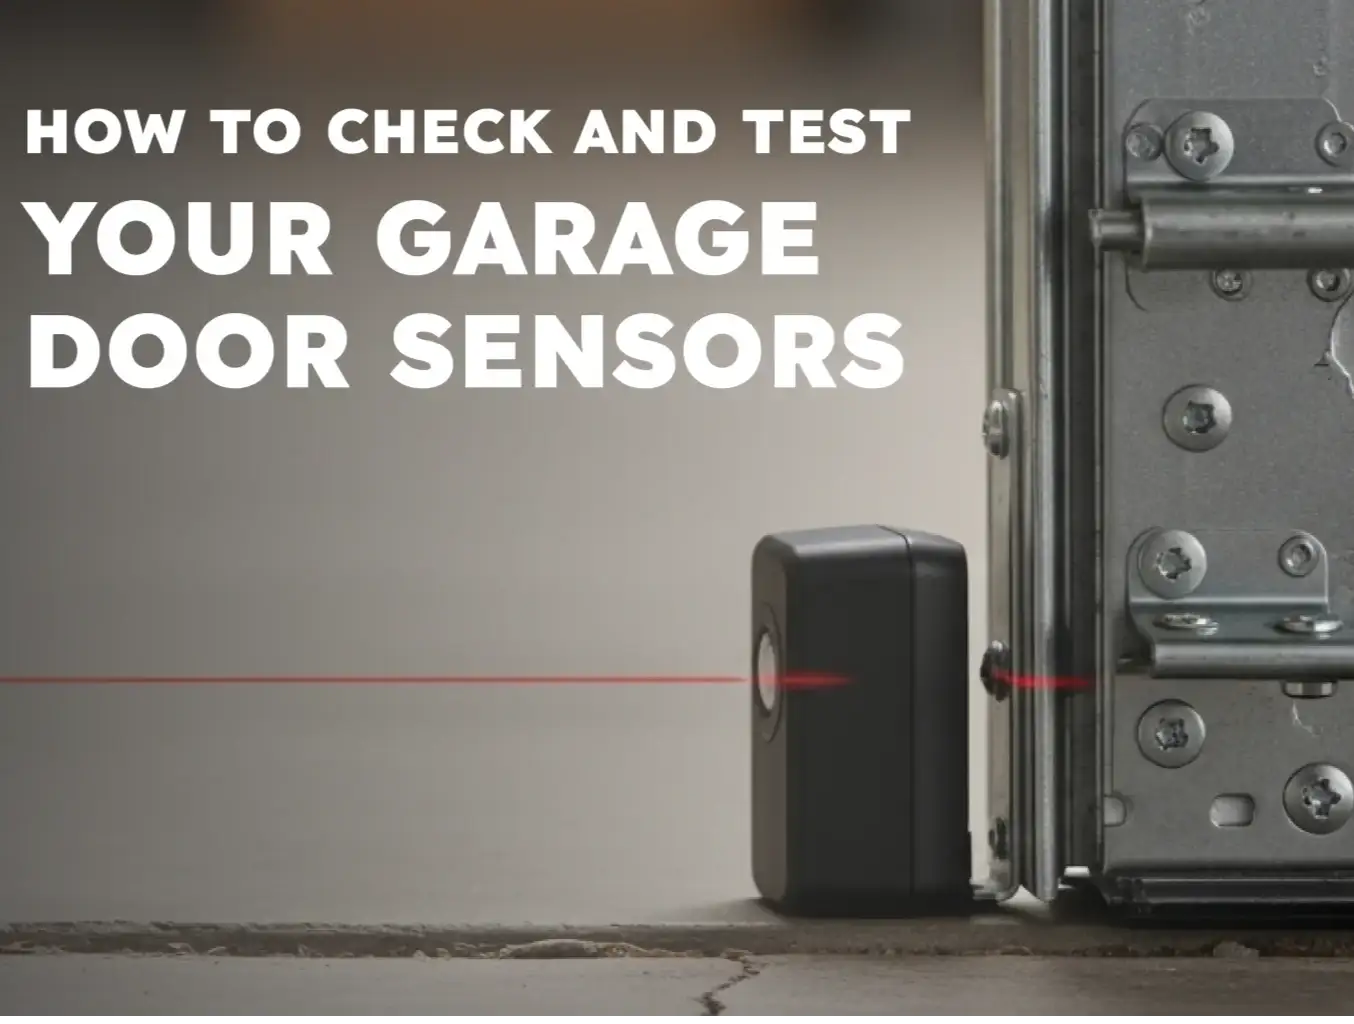
How to Install Garage Door Safety Sensors: A Complete Guide
Published: Nov 5, 2025
Garage door safety sensors stop the door when something’s in the way to protect people, pets, and your car. If your existing sensors are damaged, replacing them is a common DIY task. The basic process involves mounting the two sensor units — a sender and a receiver — on both sides of the door tracks, typically no higher than six inches off the floor. Then run the low-voltage wires up to the opener and perform a final alignment. This guide from Up & Down Garage Doors shows how to install garage door sensors step by step so this safety feature works the way it should.
Garage Door Sensor Installation: What to Do First
Before you start your garage door sensor installation, put safety first.
Cut the power and gather tools
Unplug the garage door opener from the ceiling outlet to cut all power. You’ll also want to gather your tools: wire strippers, a screwdriver, electrical tape, and a level.
Remove the old sensors
If you’re replacing existing sensors, label the wires at the opener’s terminals so you know what goes where. Then, unscrew the sensors from their brackets and remove any old staples.
Position the new sensors on the tracks
Your goal is to mount them directly opposite each other on the garage door tracks. To do that, focus on three things:

- Height: They must be mounted low to the ground. The standard height used by professional garage door installation services is between 4 and 6 inches from the floor. This height helps the beam detect a small child or pet.
- Brackets: Attach the new sensor brackets to the door track or the wall frame. Use your level to make sure the brackets are at the exact same height.
- Sensors: Clip or bolt the sensors into their brackets. Most sensors are labeled “sender” (often with an amber or yellow LED) and “receiver” (often with a green LED). Make sure they are facing each other squarely.
How to Wire Garage Door Sensors Correctly
With the sensors mounted, the next step is learning how to wire garage door sensors. Keep the opener unplugged until the last step — garage door safety sensors use low-voltage wiring, but you still want the power off while you work.

Run the wires.
Each sensor has a two-strand cable (usually solid white and white with a black stripe). Route both cables from the sensors up the wall to the opener with insulated staples. Keep clear of springs, cables, and the moving door.Locate the terminals at the opener.
The sensor connections sit near the wall control terminals and are often marked “Safety” or “Sensor.”Pair the conductors.
Twist the two striped wires together — one from each sensor — and twist the two solid white wires together.Make the connections.
Attach the striped pair to the black (common) terminal and the solid white pair to the white (safety) terminal. Check your opener’s manual, since labels can vary by brand.Tighten and power up.
Snug the terminal screws, plug the opener back in, and confirm that both sensor LEDs stay solid. No lights or a blown fuse after wiring? Stop and avoid damage to the opener’s control board. Up & Down Garage Doors can diagnose the problem and handle professional sensor installation so everything works the way it should.
How to Align Garage Door Sensors and Test Them
Your sensors are wired, but they won’t work unless they’re aligned. Here’s how to align the garage door sensors and confirm the job’s done right.
Restore Power and Align
Plug the opener back in or turn the breaker on. Check the indicator lights, usually one red and one green. You’ll know they’re aligned when both glow steadily. If a light blinks or goes dark, gently adjust one sensor and loosen the wing nut if needed. Point the lens straight at the other sensor. When the beam is steady, both lights stay on. Finger-tighten the wing nuts. Need more detail? See our guide on how to align garage door sensors.

Test the Installation
Now, test the system so your garage door safety sensors can do their job:
- Open the door fully with the remote.
- Place a 2x4 laid flat — or a cardboard box — across the path of the beam near the floor.
- Press “Close” on the remote.
- The door should stop as soon as the beam is blocked and reverse to fully open.
If that happens, great — make it a monthly habit to check and test garage door sensors to keep them in good shape. If the door tries to close on the object, recheck wiring and alignment and repeat the steps. The garage door sensor installation isn’t finished and the door isn’t safe to use yet.
Still stuck or short on time? Up & Down Garage Doors can dial in the alignment, fix wiring issues, and complete your garage door sensor repair so everything works the way it should.
Need Help with Your Garage Door Sensors?
Following the steps for how to install garage door sensors is a rewarding project that improves your home’s safety. By mounting, wiring, and aligning the sensors correctly, you’ll make sure your door operates as it should. However, if the lights won’t come on, alignment won’t hold, or the door only closes when you hold the wall button, the issue may be the wiring or the opener. Up & Down Garage Doors can take it from here with sensor fixes, clean installs, and full garage door opener repair. Schedule a visit today so your door stops and reverses the way it should.
Frequently Asked Questions
How do I know if my garage door sensors are failing?
Common signs include a blinking LED on one or both sensors (even when properly aligned), the garage door refusing to close (or starting to close, then reversing immediately), or visible damage like cut wires or a cracked sensor lens.
What do the colors on the garage door sensor wires mean?
While it varies by brand, the most common setup is a two-strand wire for each sensor. One wire is solid white (for power), and the other is white with a black stripe (for common/ground).
Why is my sensor light blinking even after I align it?
If you’re sure the alignment is correct, a blinking light can point to other issues. Common causes include a shorted wire from a staple, a dirty lens, a loose bracket that vibrates out of aim, strong sunlight on the lens, or a problem with the opener’s control board. Clean the lenses, re-aim carefully using a level, and inspect the wiring. If it still blinks, consider professional garage door sensor repair.
You may also like