How to Remove a Garage Door Opener: Quick DIY Steps
Published: Sep 19, 2025
If your opener is outdated, making noise, or you’re upgrading to a newer model, knowing how to remove an old garage door opener safely is the first step. Whether you’re handling it yourself or prepping for a professional replacement, this guide by Up & Down Garage Doors walks you through the key reasons for removal, a simple DIY process, and what to consider after taking it down.
When and Why to Remove an Old Garage Door Opener
There are several situations where replacing or removing the opener makes sense:
- The unit no longer responds to remotes or wall buttons
- It makes grinding or rattling sounds
- You’re remodeling the garage or switching to a smart opener
- Safety concerns, like a failing safety sensor or open wiring
In some cases, you might not need to uninstall the entire system — just cut power or reset it temporarily. You can check out how to deactivate a garage door opener if you’re looking for a short-term solution, like disabling the system during a vacation or before electrical work.
A Few Steps: How to Remove a Garage Door Opener
Here’s a simple breakdown of how to take off a garage door opener safely and with minimal hassle:
1. Turn Off the Power
Unplug the unit or shut off the breaker. Never work on an opener while it’s still connected to power.
2. Disconnect the Door
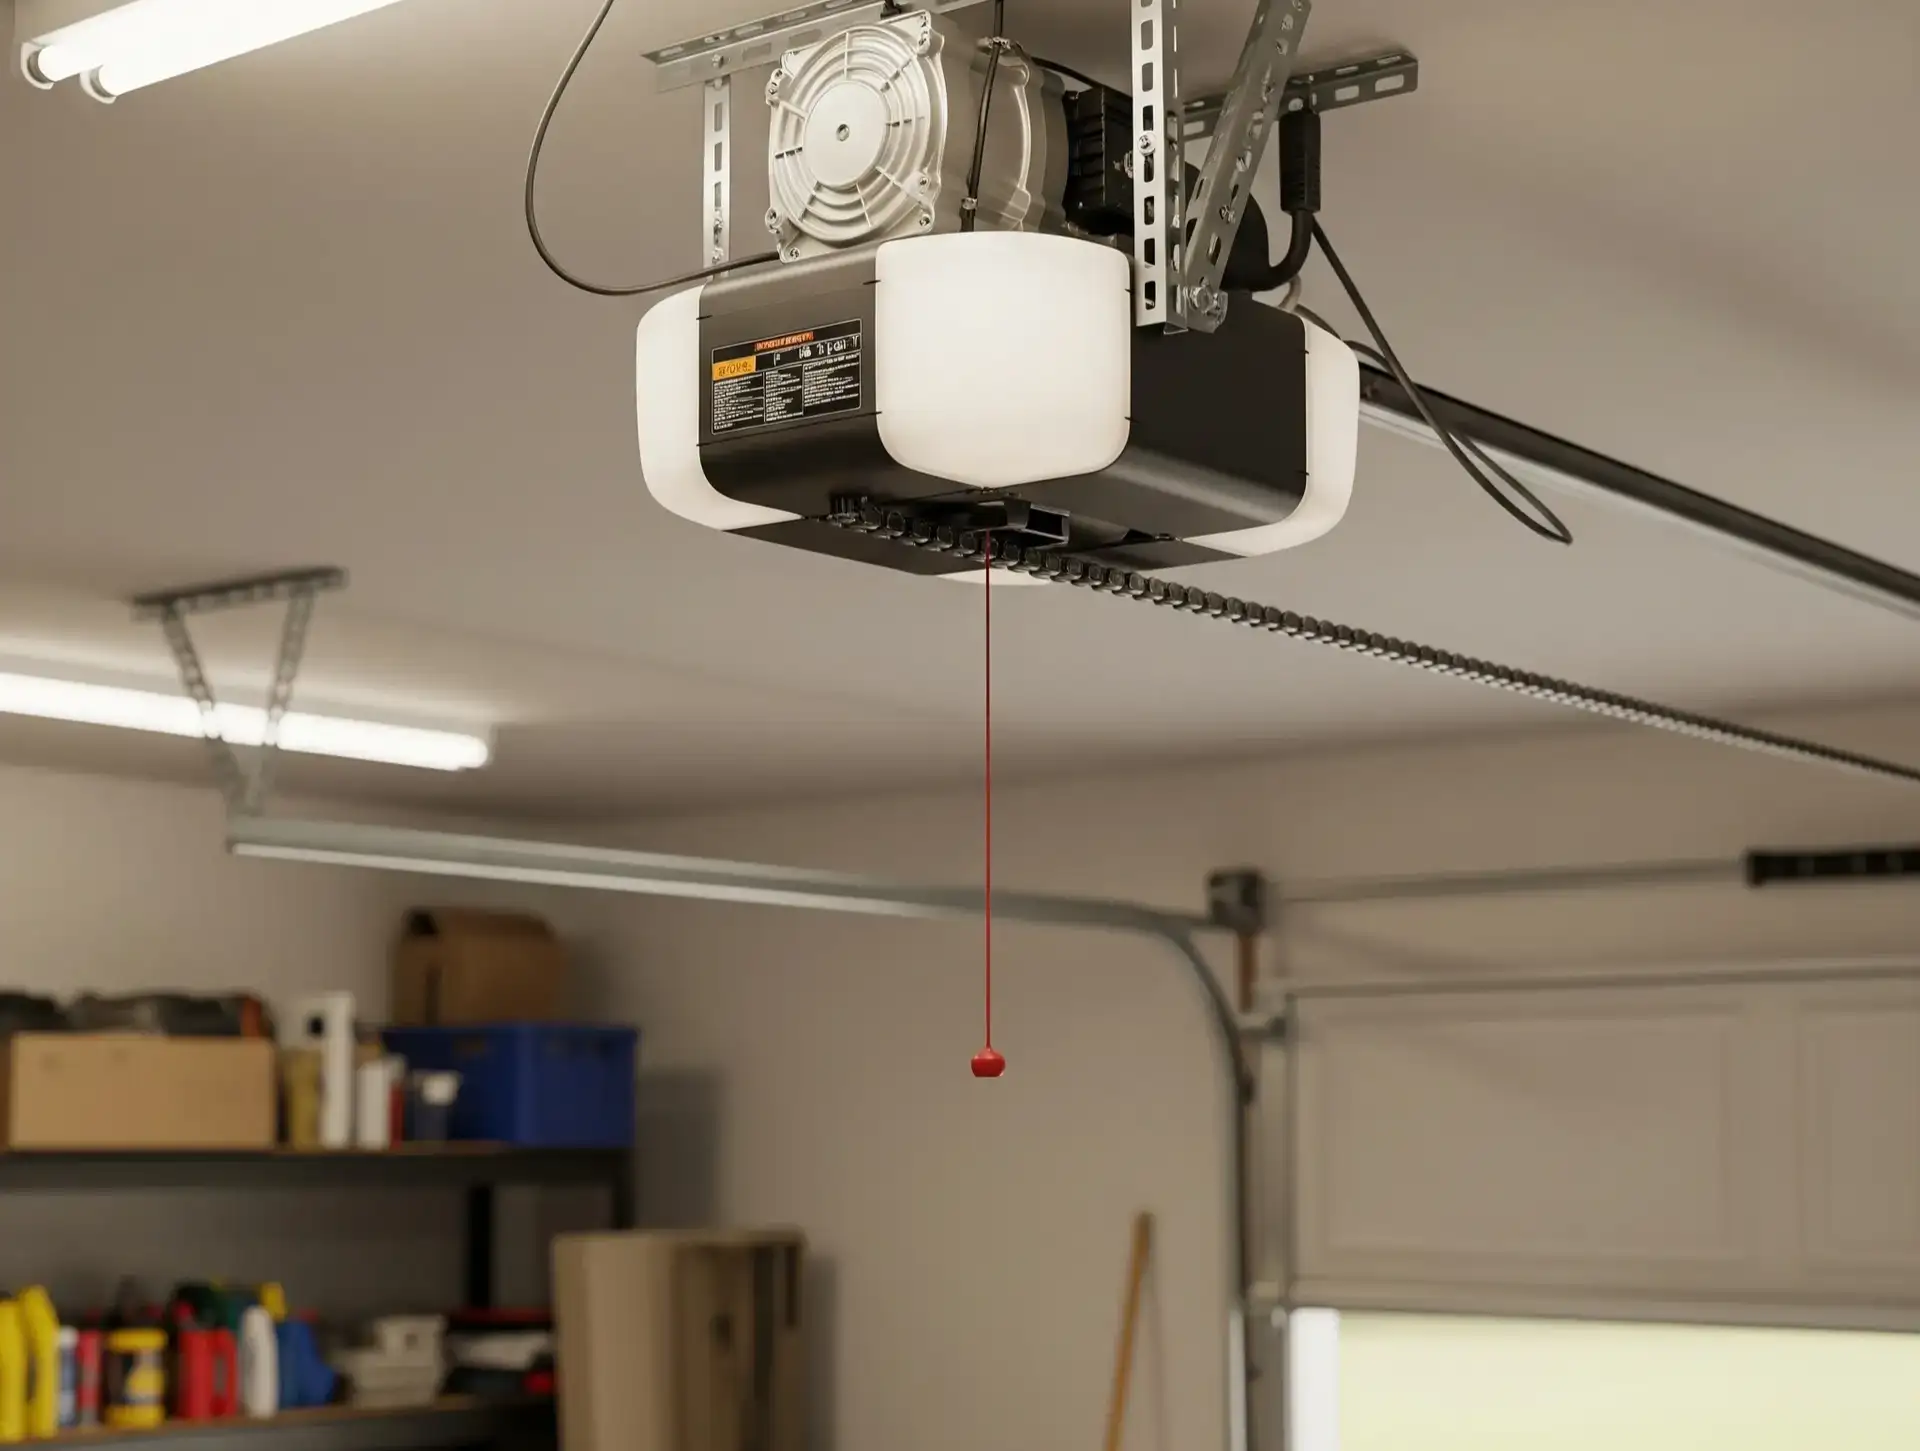
Pull the emergency release cord (usually red) to detach the opener from the garage door track. This allows you to move the door manually while removing the unit.

3. Support the Opener
Use a ladder or sturdy surface to support the opener before loosening anything. This prevents sudden drops and damage during the unmounting.
4. Unscrew Mounting Hardware
Use a socket wrench to remove the bolts from the ceiling bracket and hanging straps. Lower the opener slowly and set it aside.
5. Remove Wall Controls and Sensors
Disconnect the wires running to wall-mounted controls and sensors. If you plan to reuse them, label the wires clearly for easier reinstallation.
6. Final Check
Before wrapping up, double-check that no wires are exposed and that the opener and brackets are fully removed. This also gives you a chance to spot any damage before installing a new system.
This method works for most standard openers — whether chain, belt, or screw drive systems.
What to Do After You Remove the Opener
After safely removing the old unit, what’s next? For many homeowners, it’s time for an upgrade. Today’s systems are quieter, more secure, and often come with smart features like Wi-Fi connectivity.
If you’re ready to move forward, check out how to replace a garage door opener for step-by-step DIY tips and key considerations during the setup. Or, if you’d rather not handle the installation yourself, you can always reach out to the experts.
Need Professional Help? Call Up & Down Garage Doors
If removal turns out to be more complicated than expected — or you simply want to make sure everything’s handled safely — Up & Down Garage Doors can take care of it. We offer same-day service for everything related to your garage door opener, from uninstalling an old unit to installing the latest models.
Whether it’s for your home, rental property, or commercial space, our licensed technicians are ready to handle the job safely and efficiently. Give us a call today or book online for fast, professional service that fits your schedule.
You may also like