How to Replace a Broken Garage Door Spring Without Risk
Published: Feb 5, 2026
Wondering if it’s safe to replace a broken garage door spring on your own? In some cases, yes — but only with the right tools, experience, and extreme caution. These springs hold heavy tension, and mistakes can lead to serious injuries or damage. This guide is written for advanced DIYers who understand the risks and want clear, honest instructions. Up & Down Garage Doors explains what you can safely do yourself, when to stop, and why calling a professional is often the smarter move.
Important Safety Precautions Before Replacing Any Garage Door Spring
Before touching any garage door spring, safety comes first. This applies to every spring type.
1. Disconnect and Secure the Door
Unplug the opener and clamp the door to the track so it cannot move while you work.
2. Use Proper Tools Only
Winding bars, locking pliers, gloves, and eye protection are required. Never substitute screwdrivers or makeshift tools.

3. Understand the Risks Clearly
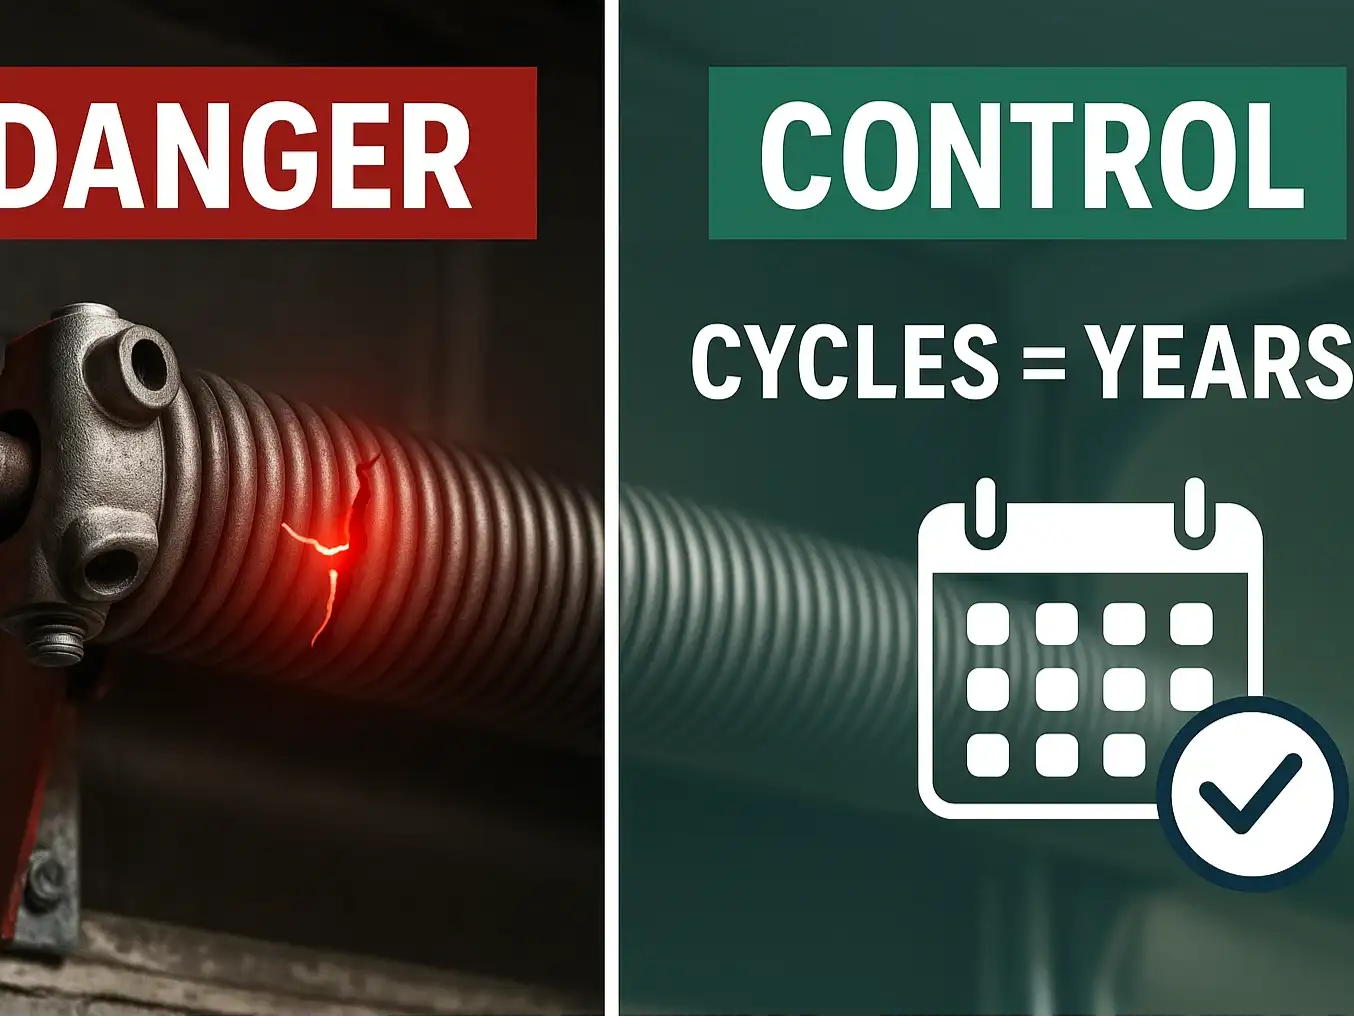
The dangers of DIY garage spring repair include sudden spring release, falling doors, and broken hardware. If anything feels unclear or unsafe, stop.
For a deeper explanation, read why garage door springs are dangerous.
4. Identify Your Spring System
- Torsion springs are mounted horizontally above the door. They hold tension in a controlled way and are the only type that advanced DIYers should consider replacing.
- Extension springs run along the sides of the tracks. They are riskier to work on and should only be replaced if the spring has fully snapped or lost all tension.
If you’re not sure what type you have — or if it’s under tension — don’t risk it.
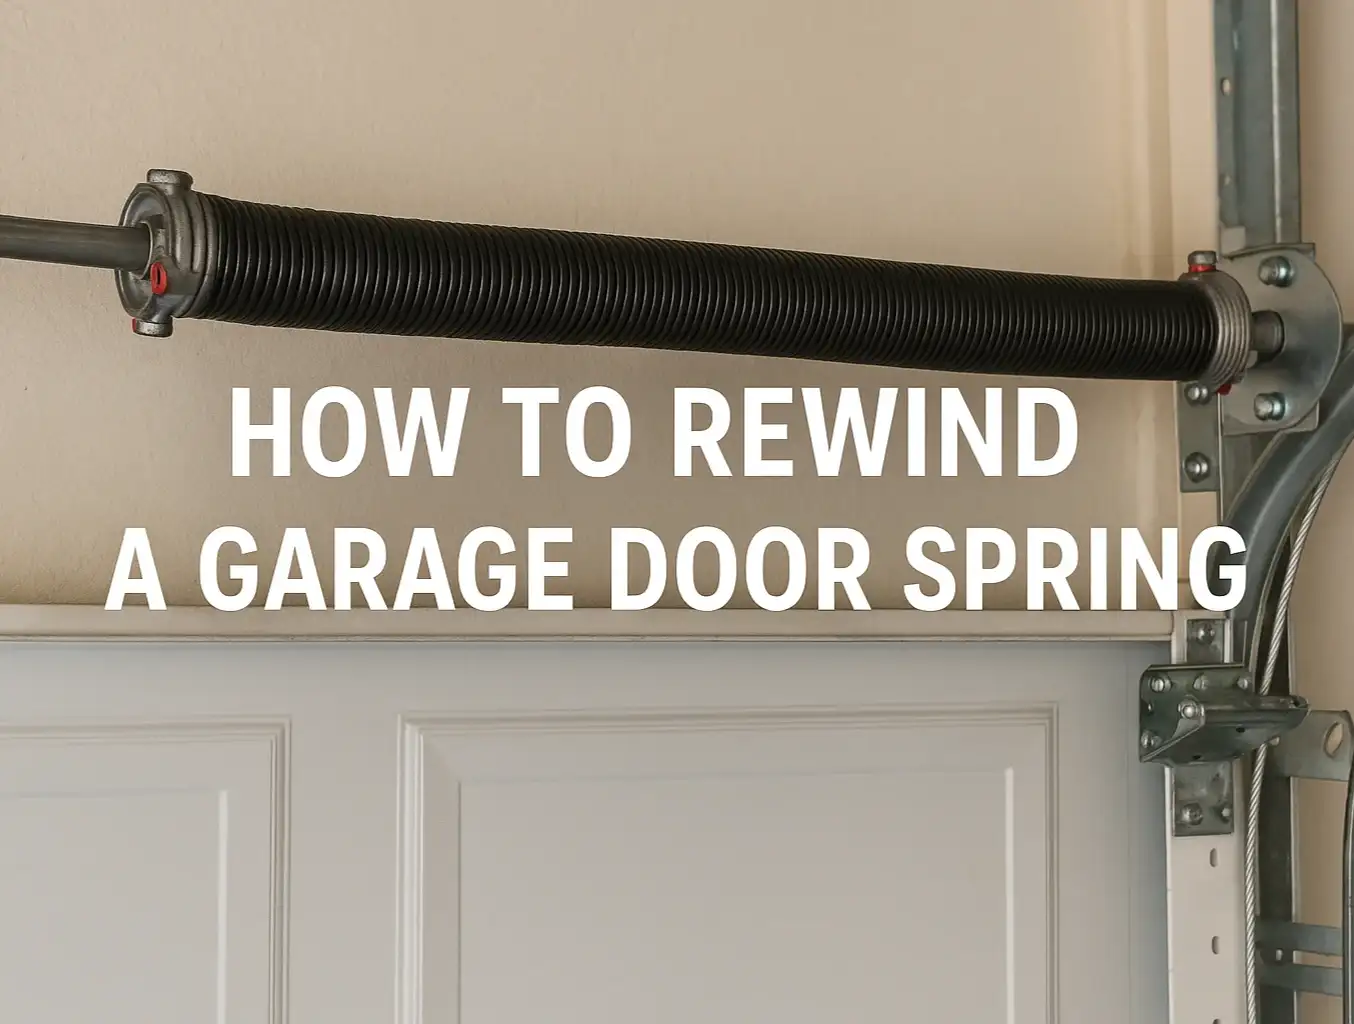
Step-by-Step: How to Replace a Broken Garage Door Torsion Spring
If you’re a confident DIYer, follow the steps below carefully with all safety precautions in place.
Step 1: Measure Your Replacement Spring
Measure the old torsion spring’s inside diameter, wire size, and length. You’ll need an exact match for proper balance. Always replace both springs on the shaft, even if only one is broken.

Step 2: Unwind the Broken Spring
Insert winding bars into the cone and unwind quarter-turn by quarter-turn until all tension is released.
Step 3: Remove and Replace
Loosen set screws, slide off the old spring, and install the new one in the correct direction.
Step 4: Wind the New Spring
Wind the spring the correct number of turns based on door height, then tighten the set screws.
Step 5: Test Door Balance
Lift the door halfway by hand. It should stay in place. Adjust tension slightly if needed.
We go into more detail on these steps — and offer tips to prevent future snaps — in our comprehensive guide on how to fix a broken garage door spring.
How to Replace a Broken Extension Spring (Only If It Has Lost All Tension)
Extension springs run along the sides of the door and are more dangerous than torsion springs. DIY work is only acceptable when the spring has fully lost tension or snapped. Replacement may be done only if the spring is completely relaxed, the door is clamped down, and safety cables are used.
Step 1: Open the Door
Fully open the garage door to take most of the tension off the springs and secure it with clamps. If you’re not sure how to lift the door safely, follow this guide on how to open a garage door with a broken spring.
")
Step 2: Disconnect the Spring
Remove the pulley bolt and the safety cable. Keep your hands clear of brackets, and be prepared for slight movement if any tension remains.
Step 3: Replace the Hardware
Install the new spring and reattach the safety cable. This cable is vital because it prevents a snapping spring from flying across the garage.
Step 4: Check Tension
Ensure both sides have equal tension so the door opens straight and evenly. If it feels unbalanced or noisy, stop and inspect the spring position again.
If the spring still shows signs of tension or you’re unsure about the setup, it’s best to stop and call a professional. It’s not worth the risk.
Why Calling a Professional Is Often the Safest Choice
Even experienced homeowners often underestimate how powerful garage door springs can be. Incorrect spring replacement can damage the opener, throw off the door balance, or cause injury.

Here are 3 clear reasons it’s worth calling a pro for a garage door spring replacement:
1. Spring Repairs Are High-Risk
Even confident DIYers can misjudge the danger. Springs under tension can snap back suddenly, causing serious injury or property damage.
2. One Mistake Can Ruin Your System
Incorrect tension or alignment can damage your opener, tracks, or cables — and often costs more to fix than a professional job.
3. Professionals Work Faster and Safer
Trained technicians handle these repairs daily. They come with the right tools, knowledge, and parts to get it done right the first time.
Need more information?
Get a free quote
Replace Your Garage Door Safely with Up & Down Garage Doors
Garage door spring work isn’t for everyone. Torsion springs may be manageable for experienced DIYers with the right tools and patience. Extension springs, on the other hand, should only be replaced if they’ve completely lost tension. When in doubt, it’s always safer to step back and call a professional.
At Up & Down Garage Doors, we specialize in safe, precise spring replacements for all types of garage doors. Whether your spring has snapped, lost tension, or your door simply won’t open, our trained technicians are ready to help. We proudly serve homeowners, builders, and property managers across the U.S. with honest, fast, and safety-focused service.
Not sure what kind of spring you have, or if it’s safe to touch? Let us handle it the right way. Book your service with Up & Down Garage Doors today.
FAQs: Garage Door Spring Replacement
How to replace old-style garage door springs?
Old-style systems usually use extension springs. Replace them only if they’ve lost all tension, and always install new safety cables to prevent injury if a spring breaks again.
What is the standard torsion spring cycle life?
The standard torsion spring cycle life is about 10,000 cycles, or 7–10 years for most homes. Maintenance like lubrication and balance checks can help extend that lifespan — learn more in our guide on how to extend the garage door springs lifespan.
How to replace a broken garage door extension spring?
Clamp the door open, remove the relaxed spring, and replace both sides with matching parts and safety cables. Never attempt this repair if the spring still holds tension.
How to replace a broken garage door torsion spring?
Unplug the opener, unwind the old spring using winding bars, install a matched replacement, wind it to the correct tension, and test door balance by lifting manually.
How hard is it to replace a broken garage door spring?
It’s physically demanding and potentially dangerous. Even skilled DIYers can get hurt — that’s why many homeowners prefer to call a professional for safe spring replacement.
You may also like