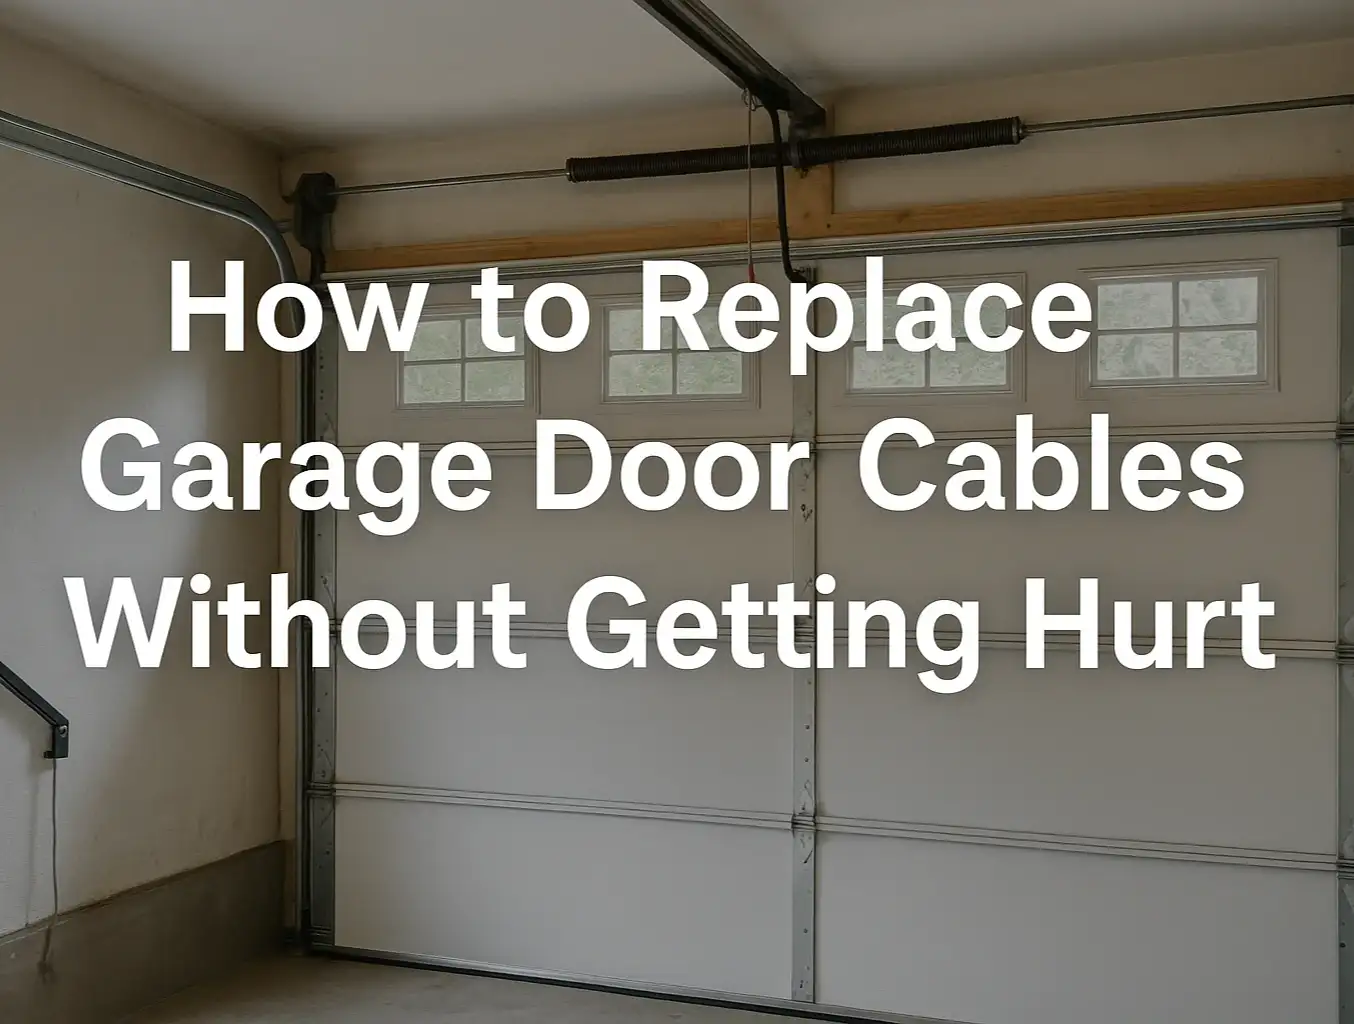
How to Replace a Garage Door Motor: Safety Guide from a Pro
Published: Oct 21, 2025
New place, same loud opener. For garage door opener safety and less noise, move to a belt-drive with a DC soft-start. It’s one of the first upgrades new homeowners tackle to cut noise and add reliability. With the right tools and a clear plan, swapping an opener motor can be a manageable weekend project—but only if you follow strict safety steps around power lockout, wiring, and travel limit settings. In this guide, Up & Down Garage Doors explains how to change a garage door motor — including preparation, parts, and the sequence you’ll follow—to do the job safely and get a smoother, quieter lift.
Do I Need a New Garage Door Motor?
Before attempting a garage door motor replacement, it’s important to confirm the motor is the problem.

- Hums or grinds but no lift: The motor runs while the door doesn’t move—often worn gears or a failing motor.
- Works sometimes, then quits: Intermittent operation even after fresh remote batteries can point to an aging control board.
- Flashing lights or sensor issues: If the light blinks in error patterns or the photo-eye sensors stop reversing the door, electronics may be failing.
- Won’t learn new remotes/keypads: When pairing fails repeatedly, the unit may be at the end of its service life.
If you rule out simple fixes and still see these symptoms, the team at Up & Down Garage Doors can diagnose the motor and steer you to garage door opener repair or replacement.
Choosing the Right Motor: AC vs. DC, Chain vs. Belt Drive

When you decide to replace your garage door opener, you’ll make a few key choices — drive type and motor type. Chain-drive openers are durable and budget-friendly, but they’re the loudest. Belt-drive openers use a steel-reinforced belt and run much quieter, which is ideal for attached garages near bedrooms. For the motor, AC units are time-tested and reliable, while DC models add advantages like a DC motor soft-start that gently ramps up and slows down, reducing wear and producing smoother, quieter operation. DC units are typically more energy-efficient and often include a battery backup.
Belt Drive vs. Chain Drive: Which One Should You Choose?
- Pick a belt-drive if you want the quietest operation, plan to use a DC soft-start, or have bedrooms over or near the garage.
- Pick a chain-drive if cost and ruggedness matter more than noise, or if the garage is detached.
If you’re still weighing options, Up & Down Garage Doors can recommend the right setup for your door size, spring type, and usage patterns.
An Overview of the Professional Installation Process

A safe garage door opener replacement starts by disconnecting power to the old unit — unplug it from the ceiling outlet or switch off the breaker. Next, disengage the door from the opener using the emergency release cord. For added safety, review how to deactivate a garage door opener before you begin. Then unbolt the opener head from its mounting bracket and detach the rail from the header above the door.
Once the old unit is down, you can install new garage door opener components: assemble the rail and trolley, mount the new motor unit, and reconnect the door arm. Wire the wall console and align the photo-eye safety sensors so they meet UL 325 standards. Finish with the travel limit adjustment — program the open and close stop points, and verify that the auto-reverse works correctly. If anything feels uncertain, a professional service can complete the work and check the system. For safe access during troubleshooting, see how to open a garage door opener.
For a Safe and Warrantied Installation, Contact Our Experts

If you came here to learn how to change a garage door motor, you now know the big pieces: confirm the motor is the issue, pick the right drive and power, cut power before you touch anything, and finish with photo-eye alignment and precise travel limit adjustment. That’s the recipe for a smooth, reliable opener. Still, one loose bracket, a wiring mistake, or a mis-set travel limit can lead to noise, weak lifting force, or safety problems.
If the project feels outside your comfort zone — or you want the confidence of a professional warranty — contact the experts at Up & Down Garage Doors. We provide safe, efficient installation to get your garage door running perfectly.
Your Opener Questions, Answered
How long does it take to replace a garage door opener?
For a handy homeowner, plan 4-6 hours, including assembly, wiring, and programming. Professional installation is typically 2-3 hours, especially for a standard belt-drive DC unit.
What’s the difference between a belt drive and a chain drive opener?
With a chain-drive opener, the motor drives a metal chain that moves the door. A belt-drive opener uses a steel-reinforced belt and runs much quieter — ideal for garages attached to living spaces.
Do I need a professional for my garage door motor replacement?
Many homeowners complete a swap, but a pro will handle wiring, mounting, sensor alignment, and travel limit adjustment quickly and safely. If you’re unsure at any step, Up & Down Garage Doors can help — repair, replace, or install new garage door opener hardware.
What does the DC motor soft-start feature do?
It gradually accelerates and slows the door, which reduces noise and wear on hinges, rollers, and the opener. You’ll notice smoother starts and stops.
Do I need a LiftMaster motor replacement or a whole new opener?
If the motor hums/grinds without lifting, overheats, or won’t learn new remotes, a LiftMaster motor replacement can be the fix. If the logic board, rail, or safety sensors are failing too, a full LiftMaster opener swap is usually smarter.
You may also like