How to Replace a Garage Door Panel: Step-by-Step Repair Guide
Published: Sep 1, 2025
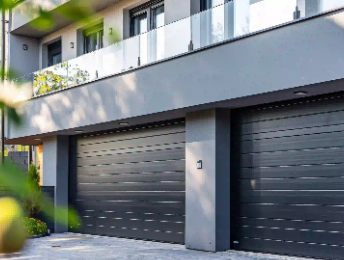
A crack or dent in one of the garage door panels isn’t all that rare. In fact, it’s actually quite common. Maybe someone accidentally backed into it, or a recent storm caused the damage.
While a broken panel might seem overwhelming at first, with the right steps, it’s a repair you can handle. Up & Down Garage Doors explains how to replace a garage door panel safely and correctly.
How to Change a Garage Door Panel
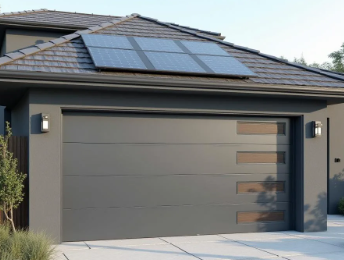
One cracked panel doesn’t mean you need to pay for a whole new garage door. However, it’s still important to fix it — dents and gaps can let in moisture, mess with insulation, or even weaken the whole door over time. In most cases, you can simply replace a garage door panel to restore your door’s function and appearance.
What you’ll need: a matching panel, a drill, socket wrenches, pliers — and a friend to help. Those panels aren’t exactly lightweight.

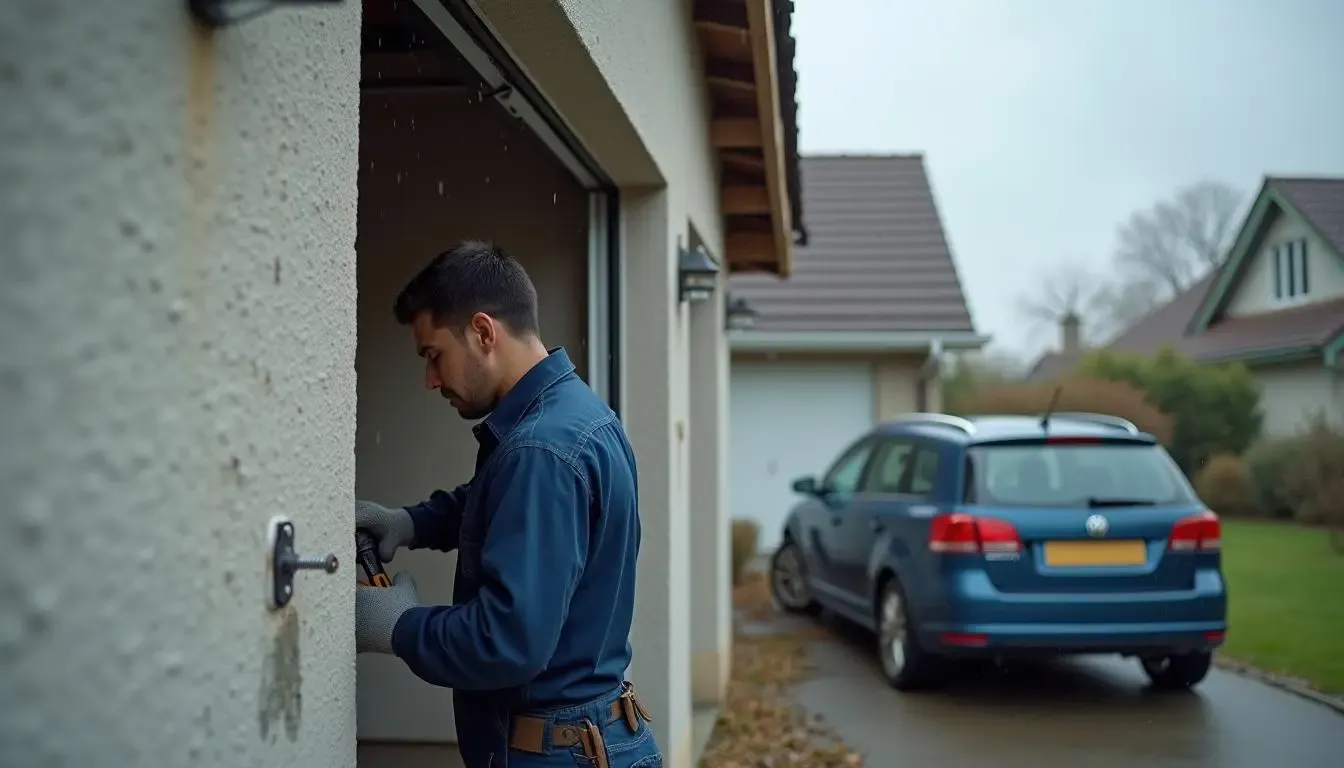
- Start with Safety. Unplug the garage door opener from the power outlet. Manually lift the door to a height that gives you easy access to the damaged panel, then clamp it in place on both tracks to keep it from sliding around.
- Take Out the Damaged Panel. Remove the screws from the hinges and carefully disconnect the side rollers. Keep a hand on the door so it doesn’t shift. Once the panel is free, you can slide it out of the tracks.
- Slide in the New One. Insert the new panel into the tracks. You may need a friend to hold the other sections of the door in place to keep them stable.
- Reconnect and Give It a Test Run. Reattach the hinges and rollers. Once everything is secure, remove the clamps, plug the opener back in, and test the door’s movement. It should move smoothly. If it doesn’t, or if something feels off — especially if your garage door frame is out of shape — don’t stress. The team at Up & Down Garage Doors can step in with professional garage door panel replacement services to finish the job right.
Garage Window Panel Replacement: A Quick Upgrade for a Fresh Look
A cracked or fogged-up window panel can hurt your home’s curb appeal. Thankfully, replacing it is a small upgrade that can instantly refresh your garage’s appearance. The process is similar to when you replace a garage door panel, but with a few extra details to keep in mind for proper window installation.
The first step? Find a window insert that matches the rest of your door. Many garage door companies carry replacement parts for their specific door models, so give Up & Down Garage Doors a call — we’ll help you find the perfect match.
Once you’ve got the right part, follow these steps to install it properly.

- Remove the Damaged Window. Use a screwdriver or putty knife to gently remove the trim or frame holding the old window in place. If the window is shattered, use gloves and safety glasses to remove the broken pieces.
- Clean the Area. Wipe down the inside of the panel where the new window will go. Any leftover sealant or debris can stop the new window from sitting properly.
- Install the New Window. Carefully fit the new window into the opening. Some just snap right in, while others need to be secured with a few screws. Either way, make sure everything lines up nicely and feels secure.
These small touches can restore your garage’s overall appearance. If you’re looking to go a bit further, here’s our guide on how to repaint your garage door for a fresh look.
Summing Up
Taking on a garage panel replacement can be a rewarding project, whether you’re dealing with a standard panel or a window section. Now that you know how to replace a garage door panel, you’ve got the knowledge to decide if it’s a DIY project or one to leave to the experts.
When you’re ready for that extra support, the team at Up & Down Garage Doors is just a call away. We’re always happy to take care of all your garage door needs.
You may also like