How to Replace Garage Door Keypad: A Complete Guide for Easy Installation
Published: Jun 26, 2025
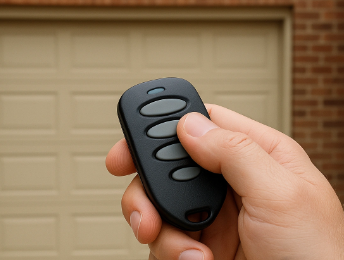
Garage door keypads offer convenience and security — no more fumbling for remotes or keys. But like any piece of tech, they wear out over time. If the buttons stop responding, access becomes spotty, or the unit quits altogether, it might be time to figure out how to replace your garage door keypad.
Whether your keypad has stopped responding or it’s just outdated, this guide will walk you through a simple, homeowner-friendly way to swap it out. You don’t need to be an expert — just some patience and a screwdriver.
Tools You’ll Need
Before we get into how to replace a garage keypad, make sure you’ve got a few things handy. Grab your replacement garage door keypad — just be sure it’s compatible with your opener’s brand. You’ll also need a Phillips screwdriver, some fresh batteries (if your new unit requires them), a small level to help keep it straight, and maybe a step stool or ladder.
Step-by-Step Guide: How to Replace Garage Door Opener Keypad
Step 1: Remove the Old Keypad
Start by opening the cover on your current keypad. You’ll probably see a couple of screws holding it in place. Use your screwdriver to remove them, then gently detach the keypad from the wall. If it’s hardwired, take note of the wiring layout or snap a photo for reference — it’ll make reconnecting much easier.

Step 2: Prepare the Surface
Check the mounting surface for damage or debris. Clean the area before installing the new unit. If you’re installing a wireless model, make sure it’s within the signal range of your garage door opener.
Step 3: Mount the New Keypad
Use the included template or backplate to line up your mounting holes. Drill pilot holes if needed. Secure the new unit to the wall with screws. If you want to make it look tidy, a level can help keep it straight.
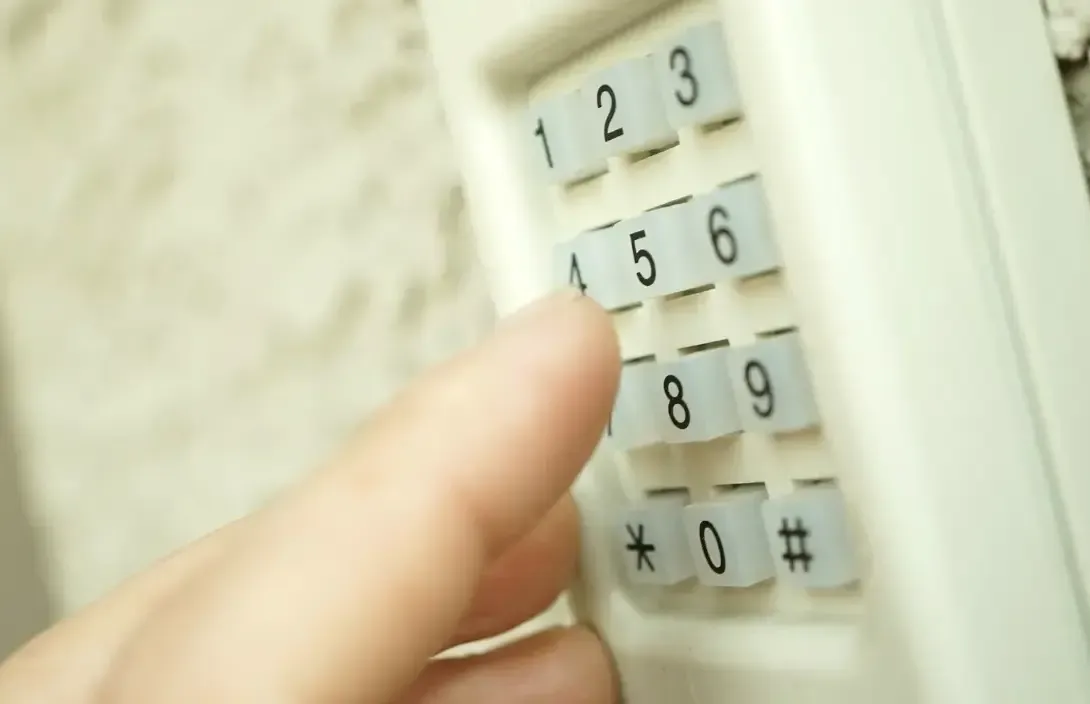
Step 4: Program the Keypad
Once mounted, it’s time to program the new keypad. This part can vary depending on the brand, so follow the instructions that came with it. Usually, this involves entering a code and pressing a learn button on your opener.
Step 5: Test the System
Enter your new access code and test the door. If it doesn’t respond the first time, double-check your programming steps and confirm that the batteries are fresh and properly installed.
Common Questions About Replacing Garage Door Keypads
How do I know if my keypad needs replacing?
If the keys stop responding and you’re wondering why your garage door keypad is not working, start with the basics — check the batteries and try reprogramming. If that doesn’t solve it, it’s probably time for a replacement.
Do I need a professional to replace the keypad?
Not usually. Most keypads — especially wireless models — are easy enough to install yourself. However, if your setup involves wiring or you’re running into trouble, hire a technician through our garage door repair service to save time and hassle.
Will I lose access to my garage during the process?
Only temporarily. You’ll still be able to open and close the door using your remote or the wall switch while replacing the keypad.
Summing Up
Replacing your garage door keypad doesn’t have to be stressful. With a few basic tools and a little patience, even first-timers can usually get it done in under an hour. Now that you know how to change a garage door keypad, just remember a few simple tips. Write down your new access code and keep it somewhere safe — not on the keypad. Also, plan to replace the batteries once a year or whenever the response slows down.
If the setup gives you trouble, check out our guide on how to reprogram garage door keypad models — sometimes a quick reset is all it takes. If you’d rather have a technician handle it, Up & Down Garage Doors is ready to help. Contact us today for a quote or to schedule a service visit.
You may also like