How to Replace Garage Door Weather Stripping: DIY Guide
Published: Nov 13, 2025
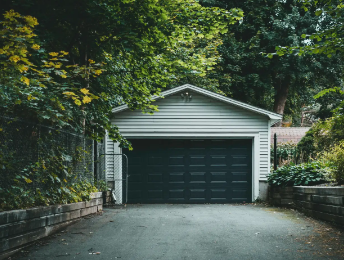
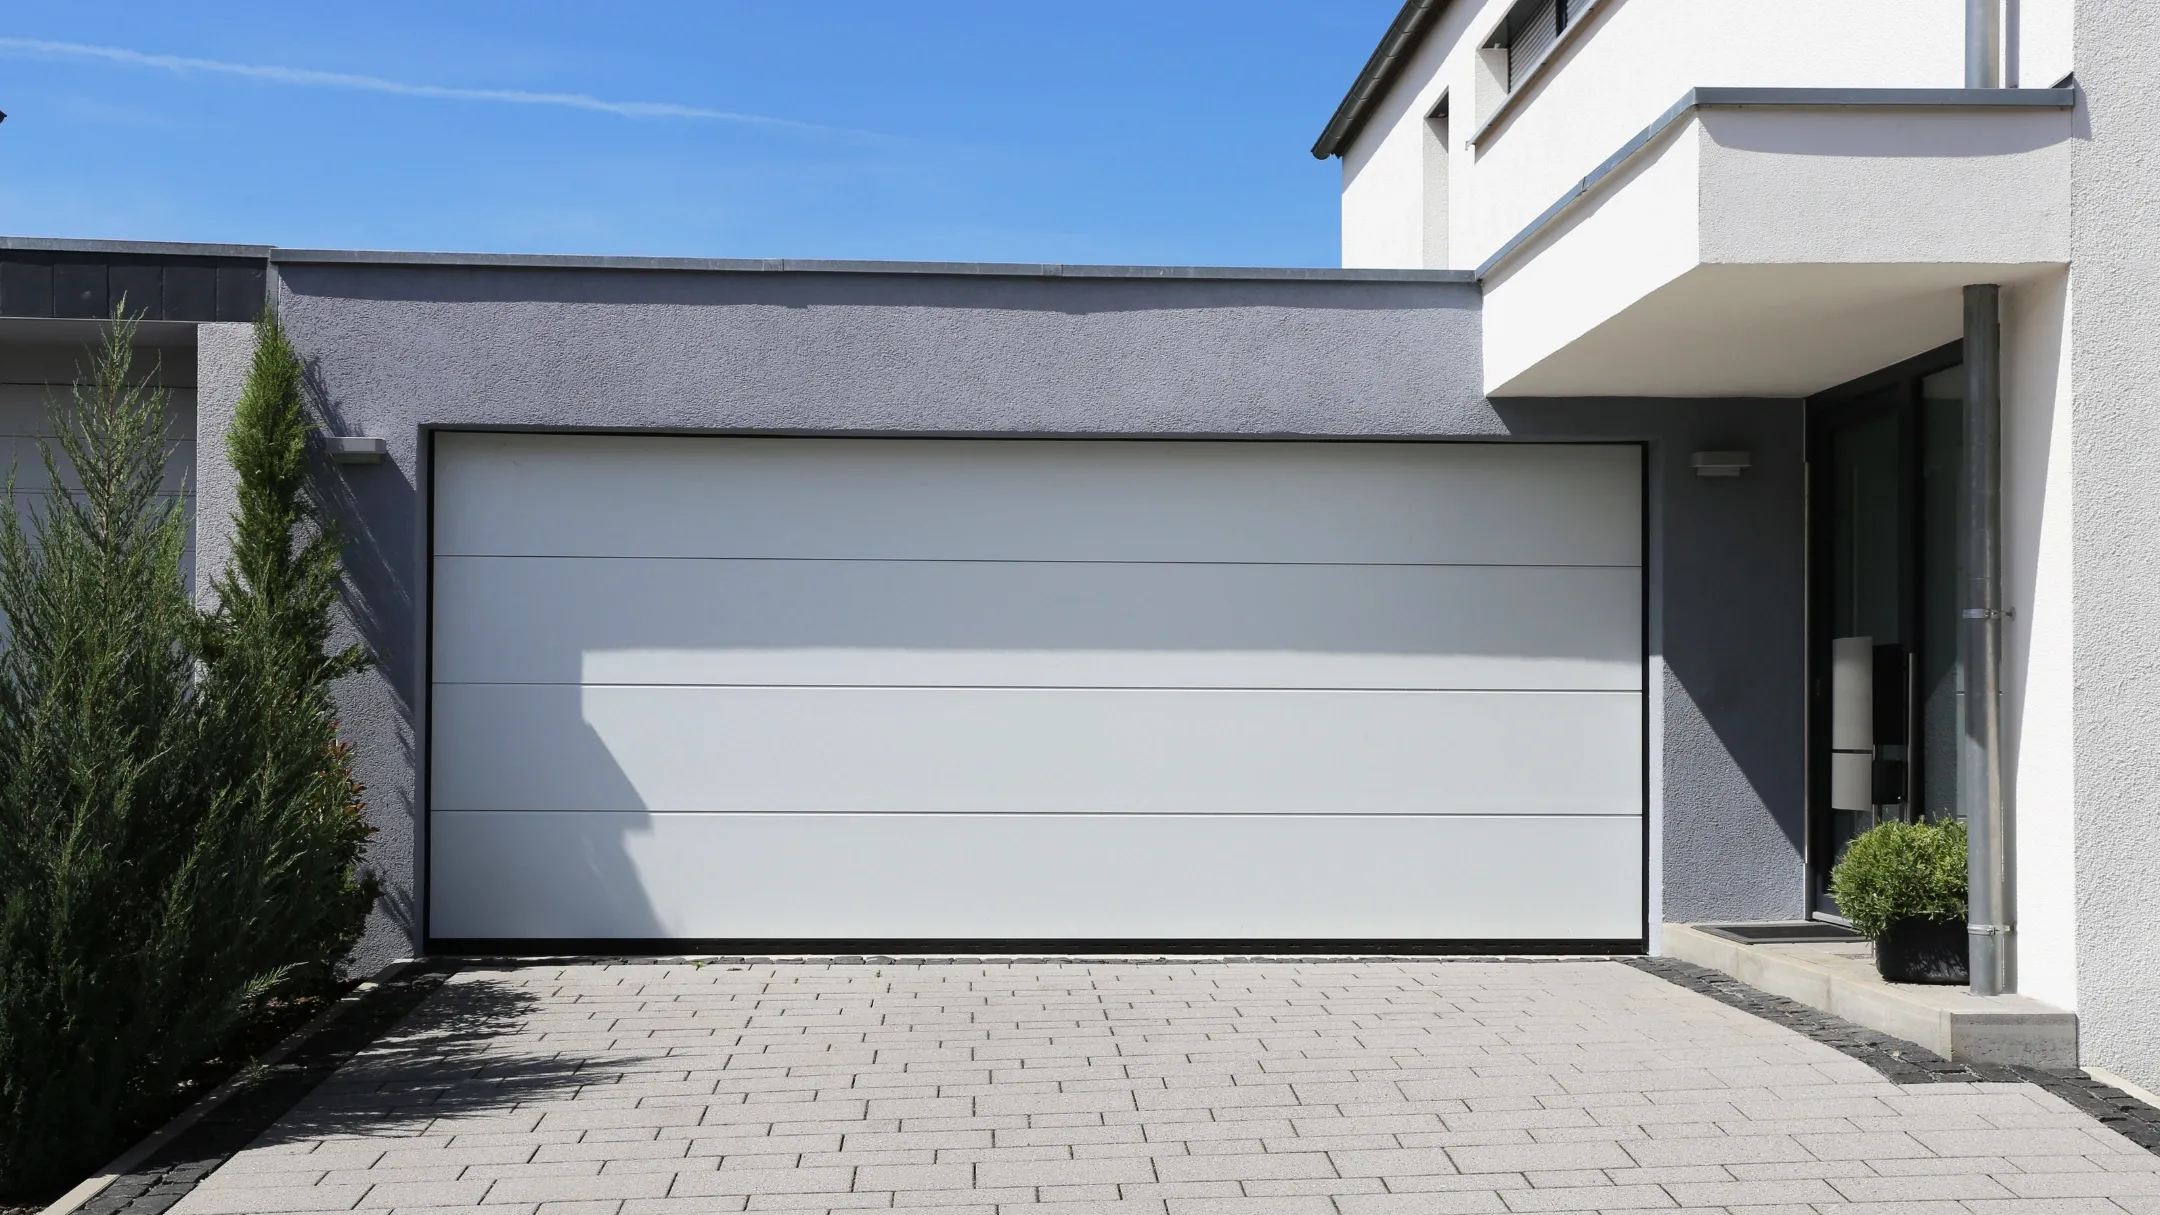
Seeing daylight around a closed garage door? Feeling drafts or finding pests and water inside? These are common signs that your garage door’s weather stripping is worn out. Replacing these seals is a practical and effective weekend project that can improve your home’s energy efficiency, reduce drafts and pests, and protect your garage’s contents. In this guide from Up & Down Garage Doors, you’ll learn how to replace garage door weather stripping — including the bottom seal and the side and top vinyl stop molding — so you can restore a tight, reliable seal with basic tools.
Weather Stripping for Garage Door: Choosing Materials and Why It Matters

Picking the right weather stripping for your garage door use is simple yet makes a real difference. The goal is a complete door gasket replacement that seals out drafts, water, and pests while supporting an energy-efficient garage. A garage door draft stopper (threshold seal) can also help with uneven floors.
- Bottom seals: Most are rubber or vinyl (PVC). Vinyl resists cold and sun well. Rubber stays flexible in extreme cold. Common types of garage door bottom seals include T-style, U-style, and bead-end profiles — match the seal to your retainer.
- Side and top seals: Vinyl stop molding is the modern standard. It’s low-maintenance, weather-resistant, and won’t rot or warp like older wood trim.
Why does this matter? Worn seals do more than let in a draft. They let in rain, snow, and dust that can damage tools, vehicles, and stored items, and make it easier for pests to slip inside. A properly sealed door is the first step toward an energy-efficient garage, especially if the garage is attached to your home. To boost savings even more, pair new seals with quality garage door insulation.
Garage Door Bottom Seal Replacement: A Step-by-Step Guide
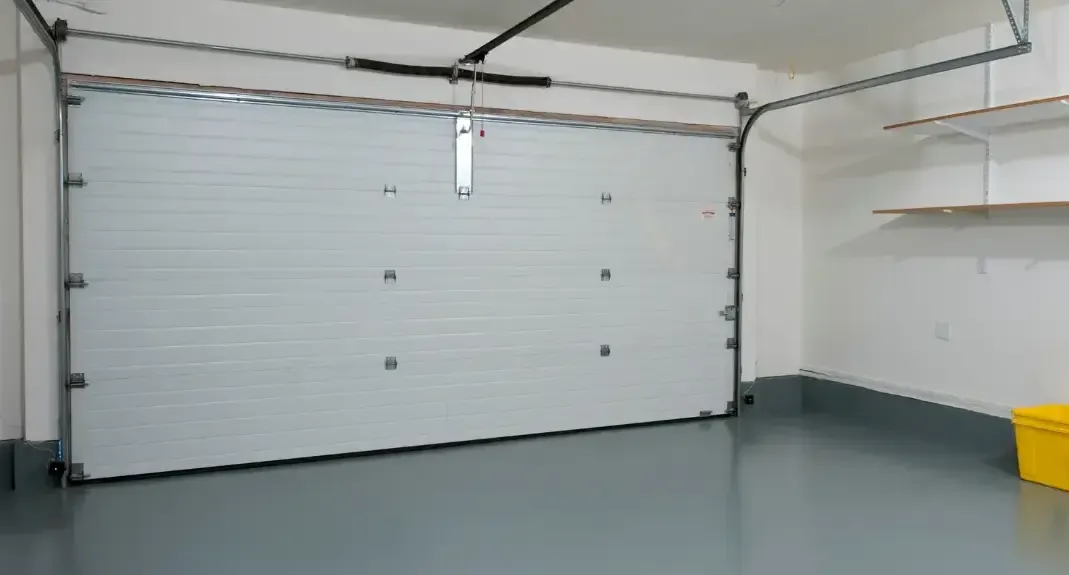
Replacing the garage door bottom seal is often the most important part of this job. This flexible gasket at the bottom of the door takes the most abuse and is the first line of defense against drafts and water.
Before you start, identify your seal type. Most modern doors use a “T”- or “U”-shaped vinyl or rubber seal that slides into one or two tracks (the retainer) on the door’s bottom edge. If your door has old garage door weather stripping, it may be a different style — sometimes nailed directly to a wooden door.
Use these steps to learn how to install a garage door seal on a standard retainer:

- Open the door. Raise the door fully so you can reach the bottom edge. For safety, unplug the opener.
- Remove the old seal. If it’s brittle, use pliers to grip one end and slide it out of the retainer. A utility knife can help free stuck sections.
- Clean the track. Brush out the retainer and wipe with mild detergent to remove dirt, debris, and any old adhesive.
- Measure and cut. Measure the new seal against the door’s width. Cut it about 2–3 inches longer so you can fold the ends.
- Install the new seal. Lightly coat the tracks with soapy water or silicone spray, then feed the seal in from one side and guide it across. For replacing the garage door seal single-channel, start at the crimped end of the retainer and use extra lubricant to guide the seal.
- Finish the ends. Trim excess and fold the extra inch or two back into itself at each end to improve the seal and prevent sliding.
While these steps cover the basics of how to replace the garage door weather stripping at the bottom, every door is slightly different. For more detailed instructions, Up & Down Garage Doors explains how to install a garage door bottom seal.
How to Install Garage Door Weather Stripping on the Sides and Top
The weather stripping on the sides and top of your garage door is just as important. This is typically a piece of stop molding, which is a strip of vinyl garage door trim or wood with a flexible flap that presses against the outside of the door, creating a seal when the door is closed. Replacing this trim is a great way to stop drafts and make your door look fresh.
These steps cover installing garage door weather stripping side and top with a light, even seal:

- Work with the door closed. Keeping the door fully closed helps you set the new molding for a light, even seal.
- Remove the old molding. Carefully pry the stop molding up with a pry bar. Go slowly to avoid damaging the frame.
- Clean the surface. Scrape away old caulk and wipe the frame where the molding sat.
- Measure and cut. Start with the top piece. Measure the opening’s width and cut the new molding to fit. If you’re mitering, cut the ends at 45°.
- Install the top piece. Position it so the flap just touches the door — snug, not tight — then fasten with galvanized nails or screws every 10–12 inches.
- Install the side pieces. Cut the two sides (45° at the top to meet the header, straight at the bottom). Fasten them with the same light contact against the door.
- Caulk (optional). Run exterior-grade caulk along the outer edge where the molding meets the frame to keep water out.
Learning how to install a garage door weather seal correctly is the most effective way to stop drafts. If you’ve replaced your seals and still see light, you may need to learn how to seal garage door gaps that are caused by an uneven floor or frame. If you’d rather have a professional handle tricky fits, Up & Down Garage Doors can take care of the installation.
Summing Up
Knowing how to replace garage door weather stripping is a valuable skill for any homeowner. It’s a relatively low-cost DIY project that pays for itself in energy savings, pest control, and comfort. Whether you’re replacing a single garage bottom seal or all the vinyl garage door trim, getting a snug, continuous seal matters most.
If you start the job and find that your door’s retainers are damaged, the frame is rotted, or the door itself isn’t balanced, it might be time to call a professional. For garage door repair and installation, contact Up & Down Garage Doors. We’re here to make your door safe, secure, and efficient.
Frequently Asked Questions
How often should I replace my garage door weather stripping?
You should inspect your weather stripping annually. On average, most seals last between 2 and 5 years. If you see visible cracks, tears, or flattened or brittle sections, or if you can see daylight or feel a draft, it’s time to replace it.
What’s the best garage door weather stripping for an uneven floor?
For an uneven concrete floor, look for an extra-wide or “large-format” bottom seal. These U-shaped seals are typically wider and more flexible, allowing them to compress and conform to gaps more effectively than a standard seal.
Can I paint my new vinyl garage door weather stripping?
It’s generally not recommended. Paint does not adhere well to the flexible vinyl flap and will likely crack, peel, and flake off, which can interfere with the seal and look messy. It’s best to purchase the vinyl trim in a color that matches your home.
How do I know which type of bottom seal to buy?
The easiest way is to remove a small piece of your old seal and take it to the hardware store. You need to match the shape of the seal that slides into the track (for example, “T” shape or “U” shape) and the width of the track (for example, 1/4 inch or 5/16 inch).
How to replace the garage door side weather stripping?
Work with the door closed, set light contact, and fasten from top to bottom.
How to fix weather stripping on a garage door if it’s loose but not torn?
Tighten fasteners on the stop molding, re-seat any gaps, and replace worn sections; if the bottom gap remains, consider a threshold.
How to install weather stripping on a garage door if the frame isn’t square?
Set light contact at the tightest point, then shim the low spots and re-fasten.
How to replace weather stripping on an overhead garage door?
Unplug the opener first. For the bottom seal, raise the door, pull the old seal from the retainer, clean the track, cut the new seal 2–3” longer, lubricate the track, slide it in, and fold the ends. For the sides/top, keep the door closed, remove the old stop molding, cut new vinyl trim, set light contact against the door, fasten every 10–12”, and caulk the outer edge if needed.
You may also like