How to Reset Garage Door Sensors: Safe DIY Methods
Published: Oct 29, 2025
Boxes everywhere, bikes leaned against the wall — you’re mid-garage cleanout when you hit Close. The door starts down, pops back up, and the opener’s status light starts flashing. That’s classic photo-eye behavior: the two little sensors near the floor (one sender, one receiver) lost alignment. Before you touch brackets or start guessing, try a quick garage door sensor reset — a safe power cycle that often clears a momentary glitch on the opener’s logic board.
In this guide, Up & Down Garage Doors explains how to reset garage door sensors the right way, what each LED pattern means, and when a simple reboot turns into an alignment or wiring fix.
Need more information?
Get a free quote
When to Try a Garage Door Sensor Reset

A garage door sensor reset means unplugging the opener for 30-60 seconds and plugging it back in. This reboots the opener’s logic board and the photo-eye safety sensors. Try a reset first when you notice:
- The door starts to close, then reverses immediately
- The opener light flashes 10 times (a common sensor code on many LiftMaster/Chamberlain models)
- The sensor LEDs are off or flickering even with a clear path
- After a recent power outage or storm, the opener starts blinking or won’t close
Make sure the doorway is clear before you test. If these symptoms persist after a reset, see garage door sensors not working for next steps and professional diagnostics.
Step-by-Step Guide: How to Reset Garage Door Sensors
Ready to get the door closing again? Follow these steps to perform a safe garage door sensor reset power cycle. This process works for most modern openers, including LiftMaster, Chamberlain, and Genie.
Step 1: Unplug the Garage Door Opener
Find the power cord for your garage door opener motor unit (the large box mounted to your garage ceiling). Unplug this cord directly from the electrical outlet. If your opener is hardwired, you’ll need to turn off the corresponding breaker in your home’s main electrical panel. Turning off the wall control is not enough — you must cut all electrical power to the motor unit.

Step 2: Wait 60 Seconds to Clear the Logic Board
This is the most important part of the reset. Wait for at least one full minute. This delay ensures that any residual power stored in the opener’s logic board has time to dissipate completely. This “hard reboot” clears its temporary memory, including any fault codes that may have been triggered by the sensor issue.
Step 3: Plug the Opener Back In
After waiting 60 seconds, plug the power cord back into the ceiling outlet (or flip the breaker back on). The opener’s main light may flash, and you might hear a click as the logic board reinitializes. The wall control panel should also light up again.
Step 4: Check the Sensor Lights and Test the Door
Go back to the photo-eye sensors near the bottom of the garage door track. You should now see solid lights on both the sending (often amber) and receiving (often green) units. If the lights are solid, the connection is good. Test the door by pressing the wall control button to close it. If the door closes normally, the reset was successful. If the opener itself is making grinding noises or failing to move the door, stop and schedule professional garage door opener repair with Up & Down Garage Doors.
What to Do if a Reset Doesn’t Work
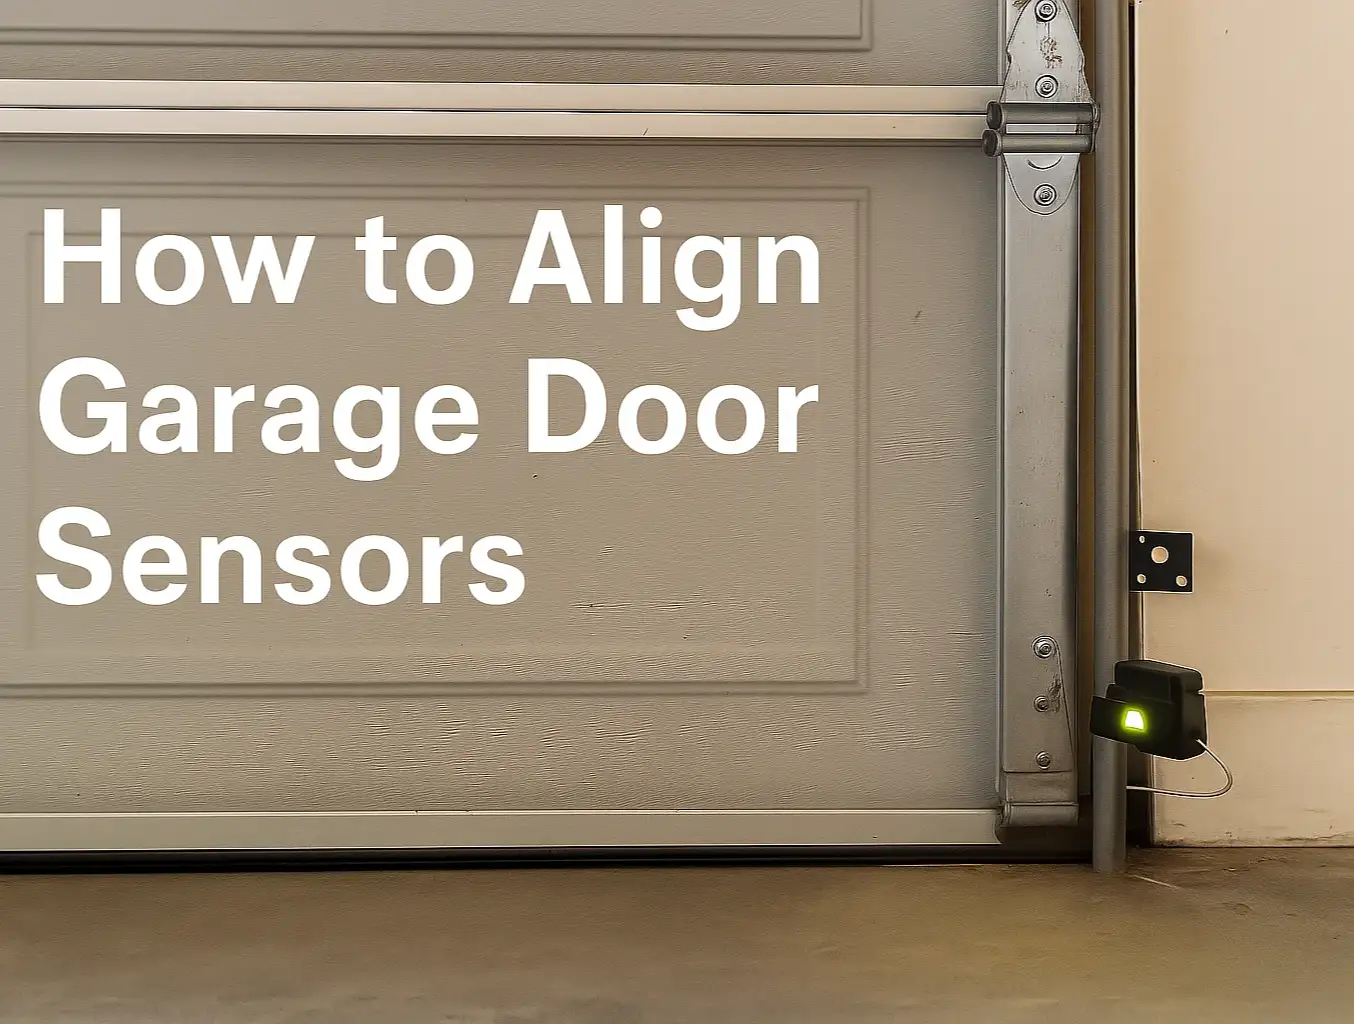
If your garage door won’t close after the reset, it’s probably not a logic board glitch but a physical sensor issue. The most common problem is misalignment.

- Check alignment: Kneel and look closely at the sensor lights. If the receiving (green) light is off or flickering, the sensors are not aligned. Gently bend the sensor bracket with your hand until the green light comes on solid. You can use a string line to ensure they are pointing directly at each other.
- Clean the lenses: The photo-eye lenses can be obscured by dirt, cobwebs, or dust. Wipe each lens with a soft, dry cloth.
- Inspect the wiring: Look for obvious damage to the thin sensor wires. These wires can be easily damaged by a shovel, bicycle, or even rodents. Check for staples that may have pierced the insulation or any loose connections at both the sensor end and at the motor unit. If you notice frayed wires or broken connections, you may have found why your garage door sensors are not working.
Sometimes, the sensors themselves fail due to age or water damage. It can be difficult to diagnose this without testing equipment, but this guide on how to tell when to replace your garage door sensor can help you decide if it’s time for a new pair.
Need Help with Your Garage Door Sensors?
Knowing how to reset your garage door sensors is a handy troubleshooting skill that can save you time. This simple power cycle, along with checking for alignment and cleaning the lenses, often fixes common sensor issues. However, if your sensors are still blinking or the door refuses to close safely, you may have a wiring problem or a failed sensor.
Up & Down Garage Doors can diagnose the wiring, test the opener, and replace bad photo-eyes if needed, so your door closes safely again. Book an appointment — we’ll get you back to smooth, reliable operation.
Frequently Asked Questions About Garage Door Sensors
How do I know if my garage door sensors are bad?
The most common sign is a garage door that won’t close, reversing as soon as it starts to go down. This is usually paired with a flashing light on the motor unit (often 10 flashes). Check the sensor LEDs — if they’re off, blinking, or not solid, there’s a problem.
Why are my garage door sensors blinking?
A blinking or flickering light on a garage door sensor means it’s not receiving a clear signal from the other sensor. This is almost always due to misalignment (they aren’t pointed at each other), an obstruction blocking the beam, or a dirty lens.
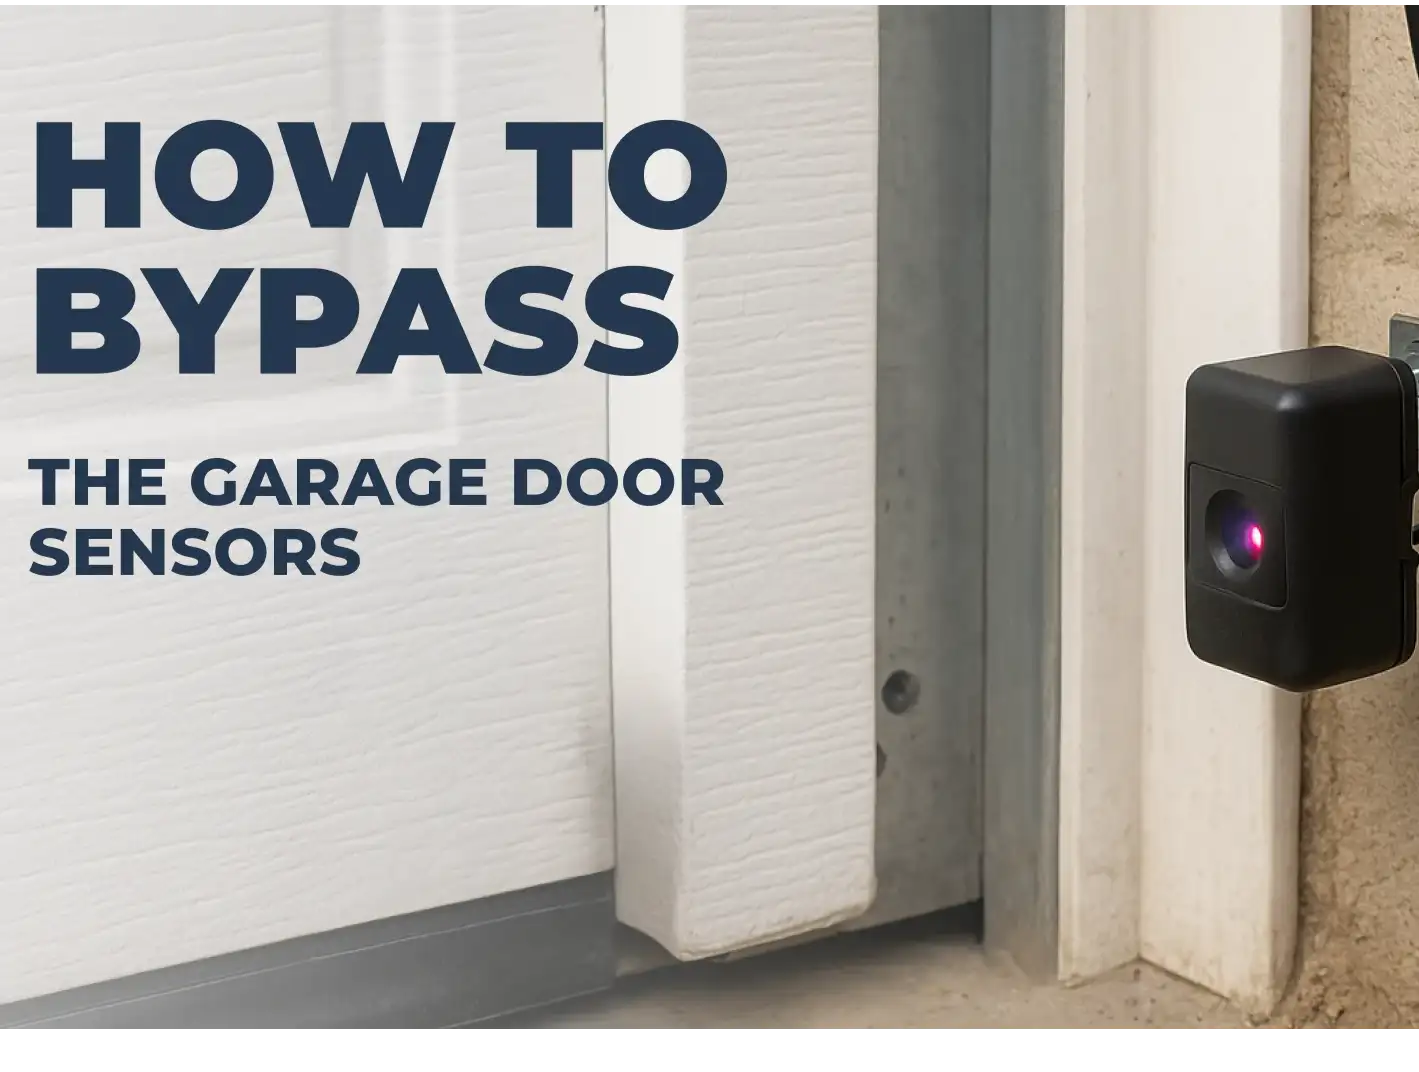
Is there a way to bypass garage door sensors?
Yes. On most modern openers, you can bypass the sensors to close the door by pressing and holding the wall-mounted control button. You must keep the button held down until the door is fully closed. This is an override, not a fix. If you must do this, it means your sensors need immediate troubleshooting garage door sensors professional repair.
Can I do this type of garage door repair myself?
Yes, resetting by unplugging, cleaning lenses, and gently realigning the brackets are all safe DIY garage door repair tasks for a homeowner. However, any repairs involving wiring, spring, or cable adjustments should be left to a professional.
Will a LiftMaster sensor reset erase my remotes or keypad codes?
No. Power cycling won’t delete programmed remotes, keypads, or MyQ settings.
You may also like