Our company logo

State

How to Tell When to Replace Your Garage Door Sensor | Simple Replacement Tips


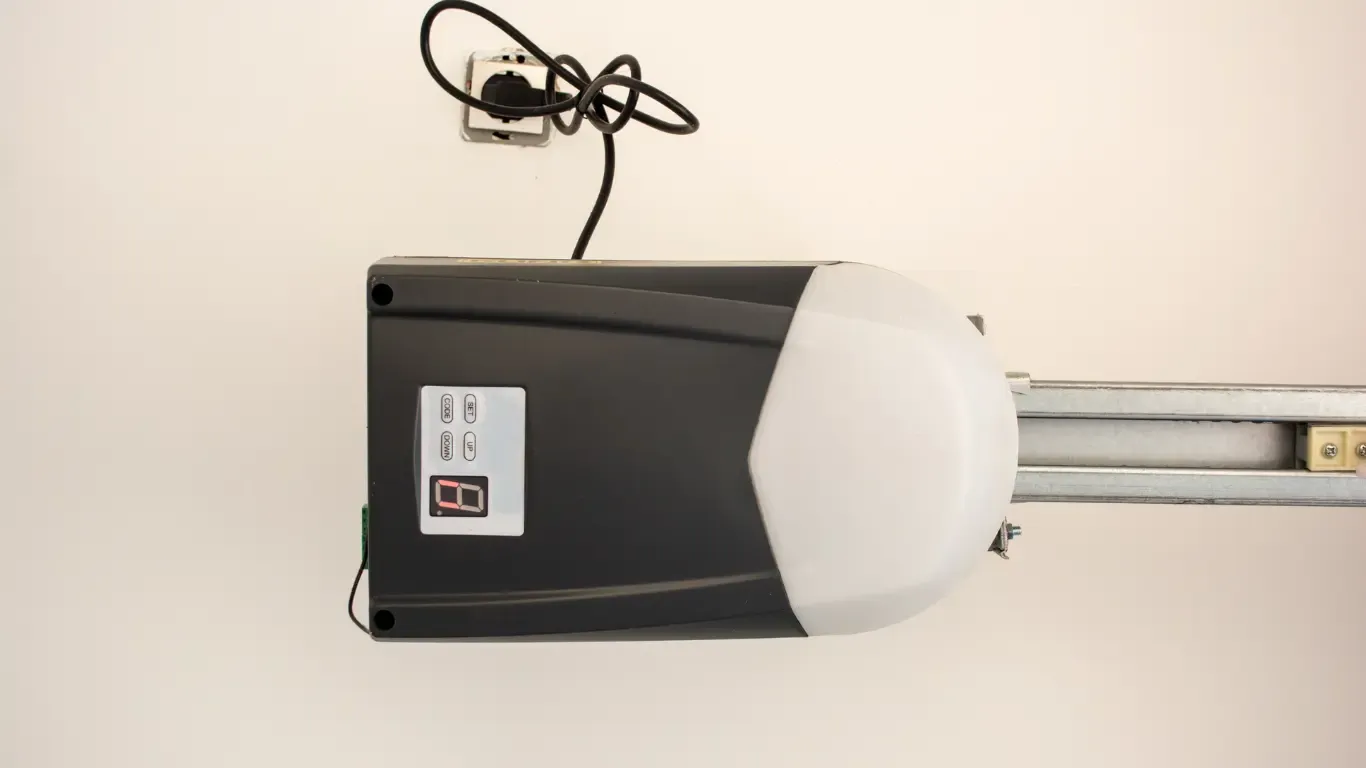
Your garage door sensor is key to the safety and operation of your garage door. These little sensors, usually at the bottom of your garage door track, stop the door from closing if an obstacle is detected. However, sensors can wear out or break over time, compromising the operation and safety of your garage door.

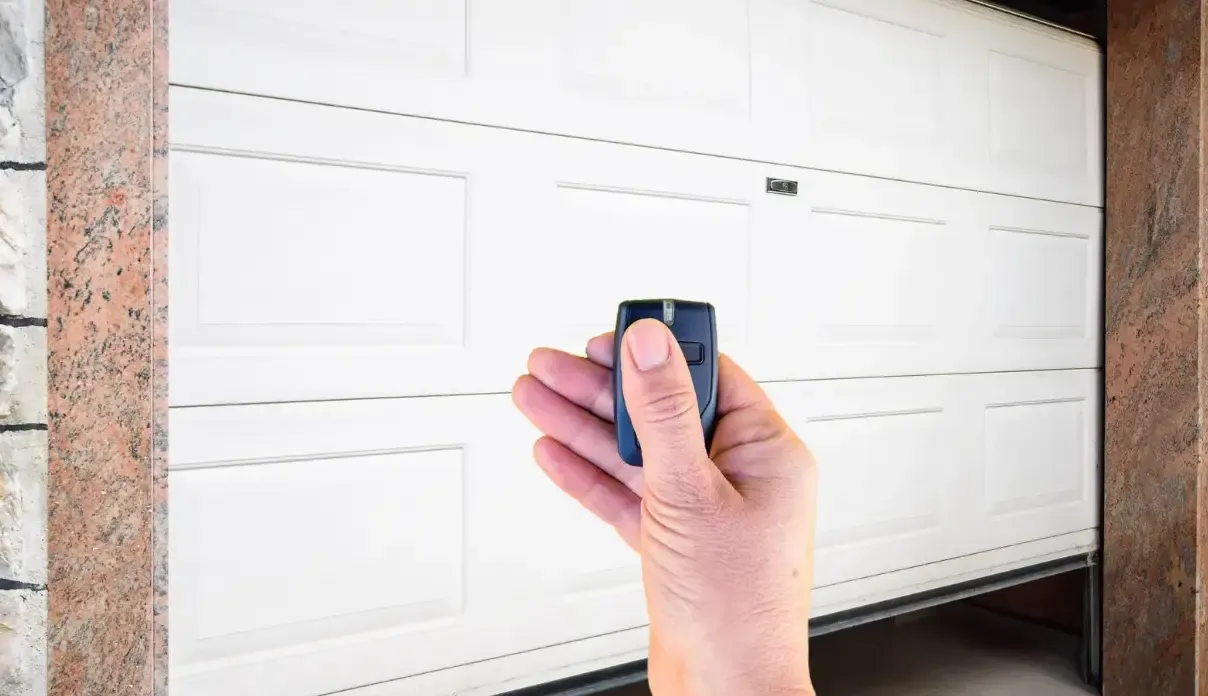
Knowing when and how to replace your garage door sensor will save you time, money, and hassle. In this tutorial, we will go through the signs that your sensor needs to be replaced, such as inconsistent door performance and visible damage to the sensor. We will also give you clear step-by-step instructions on how to replace your garage door sensors so you can do this maintenance with confidence. Whether you’re a DIY enthusiast or just want to understand your garage door better, this post will give you the information you need to keep your garage door safe and running smoothly.

For professional garage door repair services, do not hesitate to call UAD. We are here at your convenience.

Signs Your Garage Door Sensor Needs Replacement


Knowing when to replace your garage door sensor is key to a safe and functioning garage door system. Here are a few signs on which you can determine that fixing your garage door sensors is not an option:
  1. Inconsistent door operation: If your door keeps reversing or won’t close all the way, faulty sensors are likely the cause.
  2. Blinking LED lights: Most sensors’ LED lights shouldn’t blink when properly aligned. Blinking lights mean there’s a problem.
  3. Physical damage: Visible cracks, dents, or water damage to sensor components can affect their functionality.
  4. Age: Sensors typically last 10-15 years. If yours are old, they may need to be replaced.
  5. Misalignment: If you must constantly realign your sensors, they may be worn out.
  6. The door closes too hard: This could mean the sensors aren’t recognizing obstacles properly.
  7. Unresponsive to obstacles. Place an object in the path of your sensors to test them. If the door doesn’t reverse, the sensors have failed.
Check for these signs regularly to prevent accidents and keep your garage door working.

Step-by-Step Guide to Replacing Your Garage Door Sensor


Replacing your garage door sensor is easy if you follow these steps:
1. Safety first: Turn off the power to your garage door opener to avoid electrical shock.
2. Remove old sensors by unscrewing the brackets and unplugging the wires.
3. Prepare new sensors: If needed, attach mounting brackets to your new sensors.
4. Install new sensors: Place the new sensors in the same spot as the old ones, about 4-6 inches off the ground.
5. Connect wires to the new sensors to the opener. White wires go to white terminals, and striped wires go to colored terminals.
6. Align sensors: Make sure both sensors are facing each other. Most have lights that show when they’re aligned.
6. Test the system. Reconnect power and test the sensors by placing an object in the door’s path as it closes.
8. Adjust sensor placement as needed for best performance.
Install new garage sensors
If you’re unsure, ask an expert to do it safely and correctly at any time.
Install new garage sensors

Summing up


A garage door sensor is an essential accessory for any garage door to ensure it opens and closes safely when needed, but it can become damaged or break as time passes. Some of the signals that may indicate that your sensor needs replacement include irregularity in the door’s functionality, the existence of blinking LEDs, physical shock, and misalignment. If you experience any of these problems, it is important that you get a new sensor to ensure that you continue to have a perfect working garage door system. These tips explain how to replace the garage door sensor if you follow simple instructions step by step, and if not, just call a professional.
Seeking professional assistance? Call Up & Down Garage Doors! We are here to assist you!

You may also like