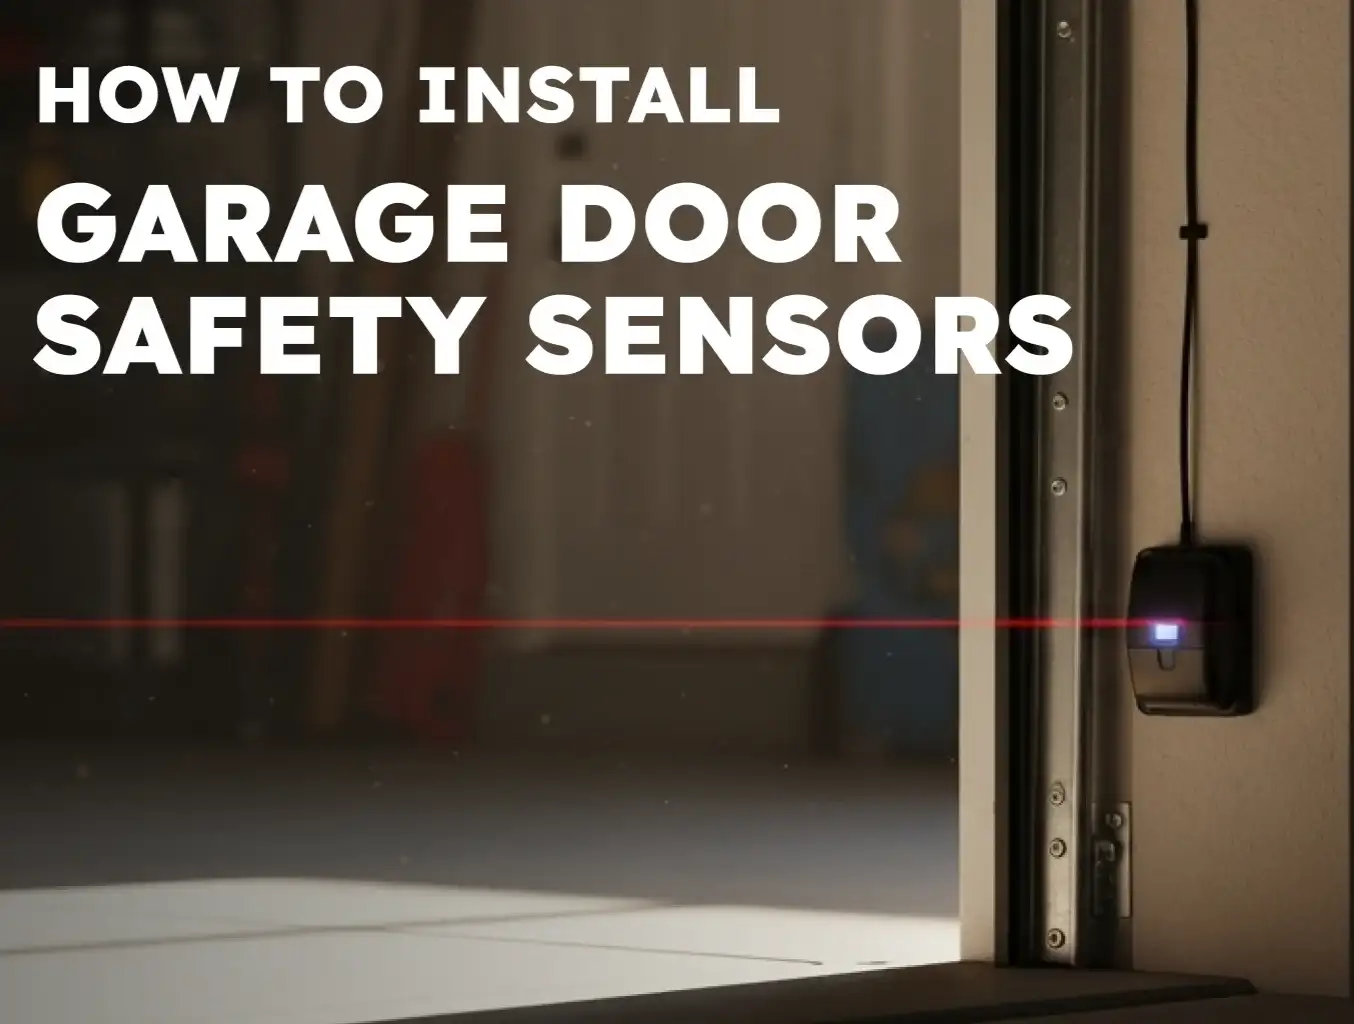
How To Wire Garage Door Sensors: Wiring Guide for Safety
Published: Nov 12, 2025
Your garage door safety sensors help protect your family, pets, and property by stopping the door from closing when something’s in the way. If they aren’t working properly, your door may refuse to close — or worse, create a safety risk. Whether you’re installing new sensors or replacing damaged wires, this guide will show you how to wire garage door sensors the right way. With expert insights from Up & Down Garage Doors, you’ll feel confident every step of the way — and if anything’s unclear, our team is always just a call away.
Step 1: Prepare the Sensor Wires for Connection

Before connecting anything to the garage door opener, start by preparing the wires from both sensors. Each sensor includes a garage door opener wire — a two-conductor cable that connects to the motor unit. Typically, you’ll see distinct garage door sensor wire colors: one solid white and one white wire with a black stripe.
- Strip the Ends: Carefully strip about 7/16 inch of insulation from each of the four conductors (two per sensor).
- Identify and Pair: You should now have four wires — two solid white and two with a black stripe. Separate them by color.
- Twist the Pairs: Twist the two solid white wires together. Then twist the two black-striped wires together. You’ll end up with two bundled wire pairs, ready to connect.
This part of the garage door sensor wiring is critical for smooth operation. If you notice any fraying, nicks, or corrosion during this step, you may need to fix the garage door sensor wire before proceeding.
Step 2: Connect Wires to the Garage Door Opener
With your wires prepped, it’s time to connect them to the main garage door opener motor unit. This process involves matching your twisted wire pairs to the correct terminals.

- Locate the Terminals: Look on the back of your opener unit. You should find two terminals specifically for the garage door safety sensors. These are often marked, labeled (like “sensor” or “safety”), or color-coded. A common setup uses a white or common terminal and a red or gray terminal.
- Connect the White Wires: Take your twisted pair of solid white wires. Loosen the screw for the white/common terminal, insert the twisted wires, and tighten the screw securely.
- Connect the Striped Wires: Take your twisted pair of white-with-black-stripe wires. Connect these to the red/gray terminal in the same way.
This garage door opener sensor wiring method is standard for many brands. For example, Liftmaster sensor wiring follows this same two-terminal principle. The critical part of garage door photo-eye wiring is ensuring the “like” wires are twisted together before connecting.
Step 3: Align and Test the Sensors
Now that your garage door sensor wiring is complete, it’s time to test and fine-tune the setup.

- Mount the Sensors: Position them on each side of the garage door, about 6 inches from the floor. Make sure they’re facing each other directly.
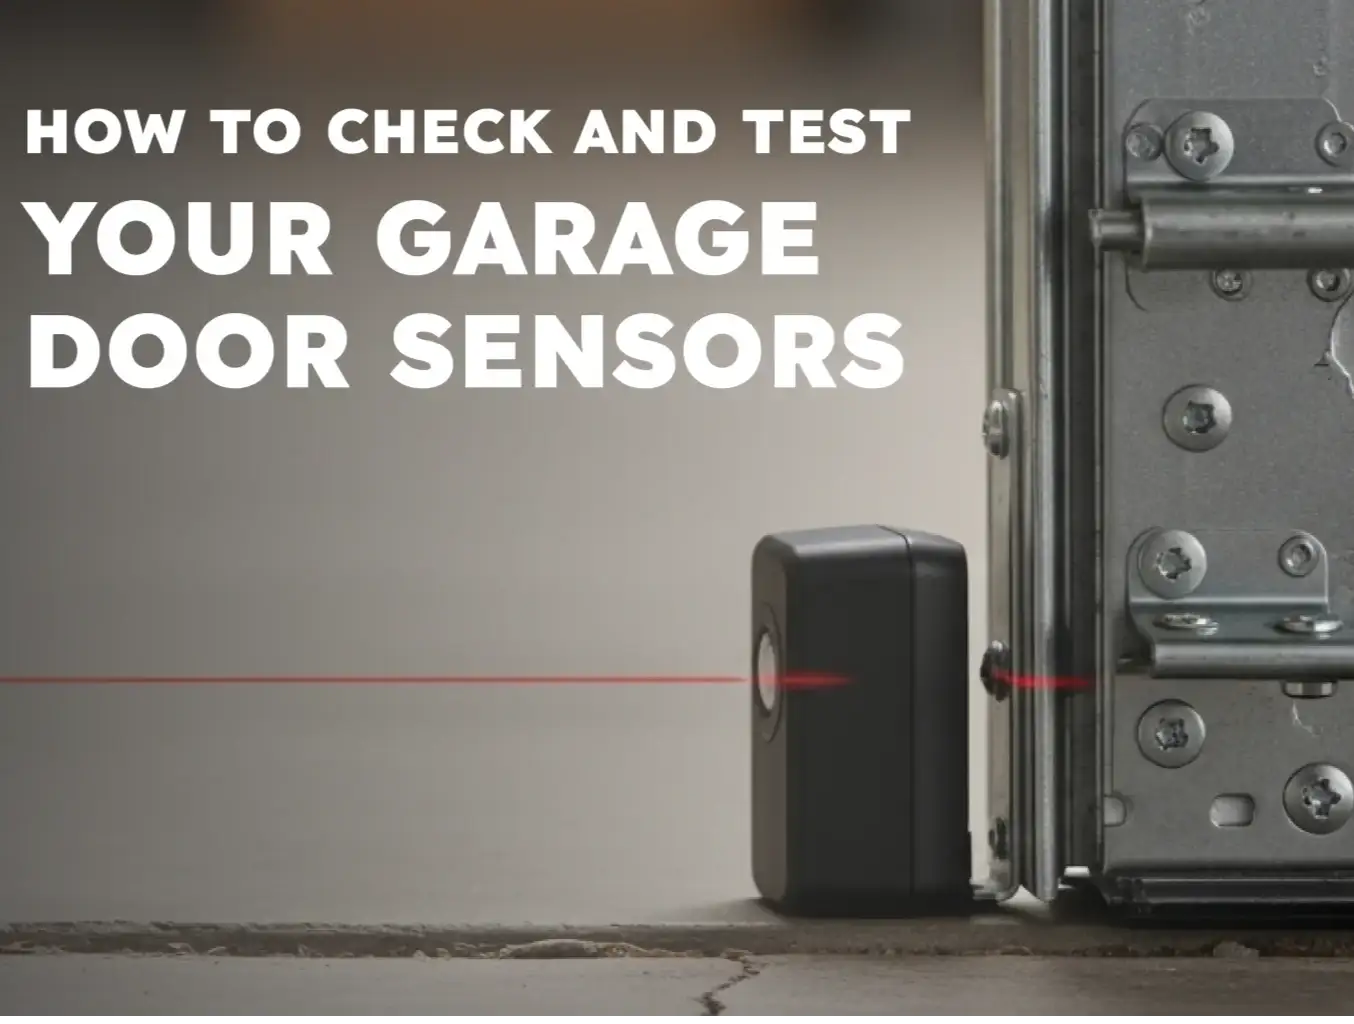
- Check the Lights: Most models display a solid green light when properly aligned. If one or both lights are off or blinking, it may indicate a wiring or alignment issue. You can refer to our detailed garage door sensor troubleshooting guide to understand what those light signals mean and how to correct them.
- Test Operation: Press the garage door remote to close the door. While it’s closing, wave an object (like a broom handle) between the sensors. The door should immediately stop and reverse. If it doesn’t, revisit your wiring, realign the sensors, and check for debris.
Final Tips on Sensor Wiring from Up & Down Garage Doors

Correctly wired garage door safety sensors are non-negotiable for a safe home. The key steps are simple: pair your sensor wires by color, connect the white pair to the common terminal, and the striped pair to the red or gray terminal. Always test the obstruction-reversal function to make sure everything’s working properly.
- Helpful Tip: When installing new garage door opener wire, use insulated staples to secure it neatly along walls or ceilings — but be careful not to pinch the wire, as this could cause a short.
- Pro Tip: If your sensor lights won’t stay on, double-check that the solid white and striped wires weren’t accidentally twisted together. Still having trouble? Visit our full guide on how to check and test your sensors for a complete step-by-step inspection.
Conclusion: Trust Your Garage Door Sensor Wiring to the Pros
Wiring sensors may sound easy, but even small mistakes can prevent your door from closing or compromise safety. If you’re not completely confident in your garage door sensor wiring, or if you keep running into problems, it’s better to let the pros handle it. The experienced team at Up & Down Garage Doors has helped thousands of homeowners get their doors working safely and reliably.
Need help wiring or troubleshooting sensors? Get fast, expert service — schedule garage door opener repair today with Up & Down Garage Doors.
FAQ: Wiring Garage Door Sensors
How do I know if I wired the sensors correctly?
If the sensor lights are solid and the door closes properly, your garage door sensor wiring is likely correct. Flashing lights may mean misalignment or wiring issues.
How to wire garage door sensors Genie brand?
To wire Genie garage door sensors, connect the matching wire colors to your opener’s terminals and align the sensors properly. Always test for a solid green light to confirm correct setup.
How to wire a garage door opener without sensors?
While older systems allowed it, wiring a garage door opener without sensors is no longer recommended. Modern openers are designed with safety sensors as a required feature.
How to wire up garage door sensors if replacing old ones?
To wire up garage door sensors, twist the solid white wires together and do the same for the striped ones. Connect them to the proper terminals on your opener and ensure the sensors are aligned.
How to wire Liftmaster garage door sensors?
To wire Liftmaster garage door sensors, connect the solid white wires to the white terminal and the black-striped wires to the red or gray terminal. Check that both sensors light up after installation.
What if I replaced the sensor wire and the lights still won’t turn on?
After completing a garage door sensor wire replacement, double-check all connections, make sure the wire isn’t pinched, and confirm both sensors are securely aligned and receiving power.
You may also like