Our company logo

State

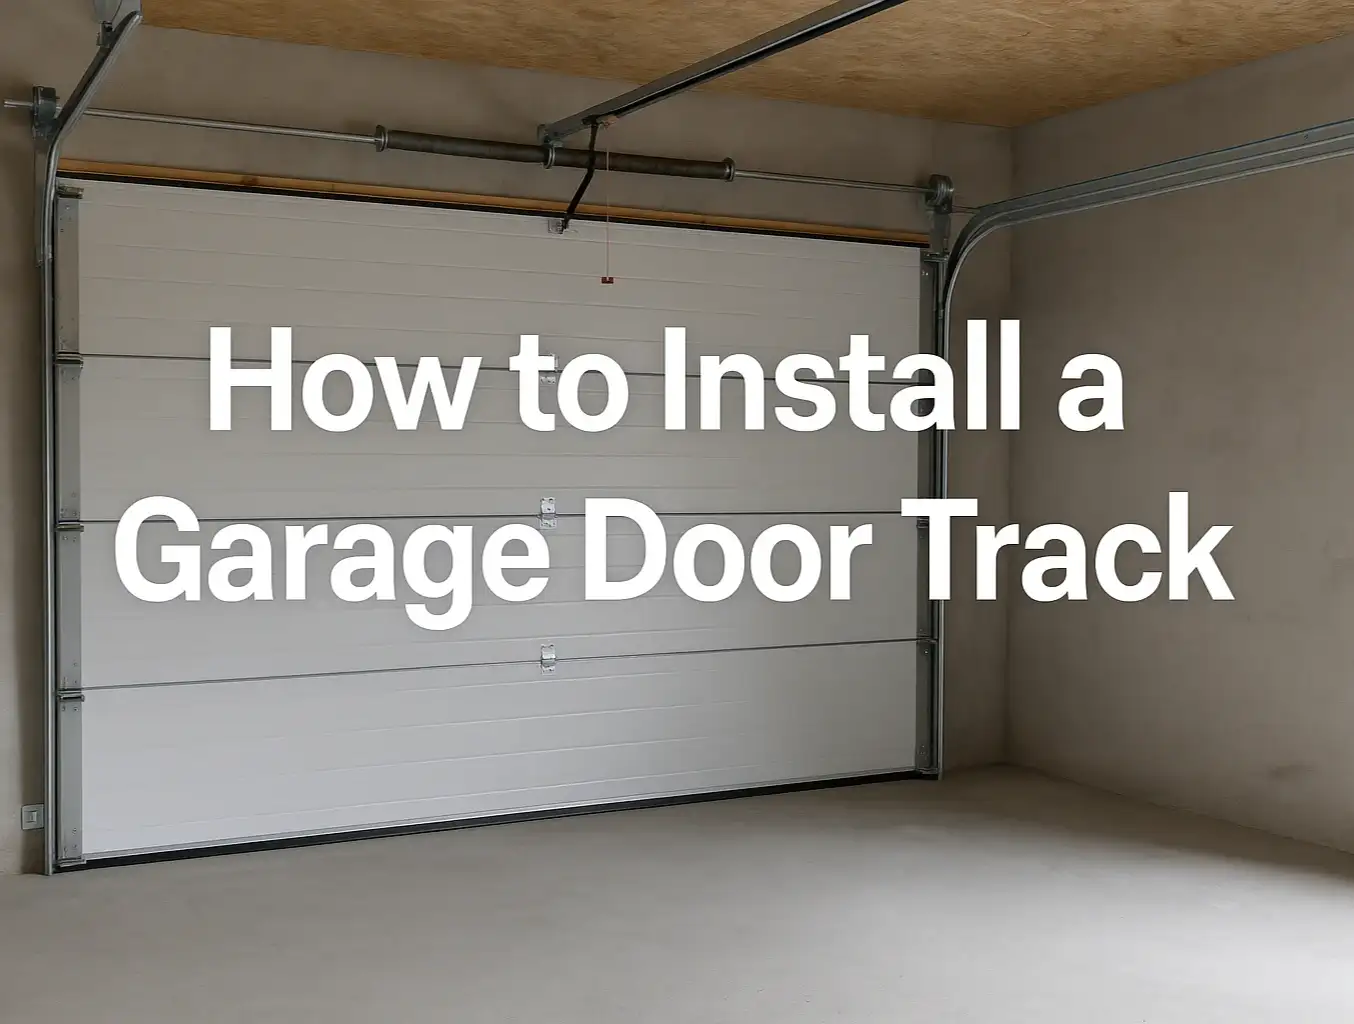
How to Square and Level Garage Door Tracks on Uneven Garage Floors


Published: Apr 30, 2026

That wedge-shaped gap under your garage door isn't just an eyesore—it's a puzzle. You’ve probably tried everything, nudging the tracks left and right, hoping to close it. But the more you adjust, the worse the door seems to run, grinding and binding in its new position.

Here’s the secret the pros know: The gap under your garage door isn't the real problem. It’s a symptom. The real problem is that you’re trying to make your garage door conform to an uneven floor, but it was designed to operate in a perfectly square and level world.

Trying to fix the gap by adjusting the tracks is like trying to fix a crooked picture by tilting the wall. It’s a frustrating, counterintuitive process that will never work. In this guide, we'll show you the right way to think about alignment, so you can achieve a perfectly smooth-running door, even if your garage floor has more slopes than a ski resort.

The Golden Rule of Garage Door Alignment: Ignore Your Floor


This is the most important concept you will learn, and it changes everything. To properly align your garage door, you must level it to the world, not to the floor.
Diagram showing why tracks must be plumb and doors level
Your garage door is a precision-engineered system. It needs its vertical tracks to be perfectly plumb (straight up and down) and the door itself to be perfectly level (parallel to the horizon). When these conditions are met, the door operates with minimal friction and stress.
Your garage floor, however, was likely poured to slope away from the house for drainage. It’s intentionally uneven.
When you force the tracks to follow the slope of the floor, you put the entire system into a bind. This leads to premature wear on rollers, strained cables, and a door opener that works overtime. The solution is to set up the tracks correctly first and then deal with the resulting gap later.
Once you embrace this "Golden Rule," the entire process becomes clear. You’re no longer fighting the gap; you’re perfecting the system.

Diagram showing why tracks must be plumb and doors level

Diagnostic Checklist: What’s Really Going On?


Before you loosen a single bolt, let’s diagnose your situation. Grab a 4-foot level and check three key things. This will help you understand if you're dealing with a simple alignment issue or a more complex problem.
Compare leveling methods to protect your garage door investment

  1. Is the Door Itself Level? With the door closed, place your level on top of the bottom section. Is the bubble centered? If not, the door itself is unlevel. This is often caused by unbalanced spring tension or a cable issue. If your garage door is off track and crooked, it may require professional spring adjustment.
  2. Are the Vertical Tracks Plumb? Open the garage door. Place your level against the side of one of the vertical tracks. Check it in two directions (facing the door and facing the side). The bubble should be perfectly centered in both directions. Repeat on the other track. If they aren't plumb, they need adjustment.
  3. Is the Door Binding? As you operate the door manually, does it move smoothly, or does it catch, grind, or stutter? Binding is a sure sign that the tracks are too narrow, too wide, or out of plumb, forcing the rollers to scrape against the track edge.
Compare leveling methods to protect your garage door investment

Before You Touch a Single Bolt: Safety and Tools


Working on a garage door can be dangerous if you don’t take precautions. The most significant danger comes from the springs, which are under extreme tension.
CRITICAL SAFETY WARNING: Never, under any circumstances, attempt to adjust, loosen, or remove the garage door springs or the red-painted brackets they are attached to. This system can cause serious injury or death. This guide focuses only on adjusting the tracks, which does not require touching the springs.

Tools You'll Need:


  • A 4-foot level (a 2-foot level can work in a pinch)
  • Socket wrench set
  • Tape measure
  • Rubber mallet
  • Pencil or marker
  • Wooden or plastic shims (like those used for installing doors or windows)
  • A sturdy ladder

The 4-Step Alignment Process for Uneven Floors


With your diagnosis complete and tools ready, follow these steps methodically. Remember the Golden Rule: Plumb is perfect, level is law.

Step 1: Loosen the Vertical Track Brackets

First, close the garage door completely. This ensures the door sections are holding the tracks at the correct distance from each other.
Using your socket wrench, slightly loosen the bolts on the brackets that hold one of the vertical tracks to the wall. Don't remove them completely—just loosen them enough so you can gently tap the track into a new position.

Step 2: Make the Vertical Track Perfectly Plumb

Place your level against the side of the track. Gently tap the top or bottom of the track with your rubber mallet until the bubble is perfectly centered. Now, place the level against the front edge of the track (the part facing you). Tap the track left or right until it’s perfectly plumb in this direction as well.
The ideal spacing is to have about a ½ to ¾ inch gap between the edge of the garage door and the track. This prevents binding.
Once the track is perfectly plumb in both directions, carefully tighten the bracket bolts, making sure the track doesn't shift. Re-check with your level after tightening. Repeat this entire process for the vertical track on the other side.
Infographic on using shims for precise track leveling

Step 3: The Uneven Wall Solution (Shimming Mastery)

This is where you solve the problem of an uneven wall or foundation. If you can’t get the track plumb because the wall itself isn't flat, you'll need shims.
With the track brackets still slightly loose, place your level against the track. You'll see a gap between the level and the track at either the top or bottom. This is where a shim is needed.
Slide one or more shims behind the track bracket until the track becomes perfectly plumb. Once it’s plumb, hold the shims firmly in place and tighten the bracket bolts. You can score the shims with a utility knife and snap off the excess for a clean finish. For a detailed walkthrough, our guide to garage door track installation offers additional visual aids.

Step 4: Align the Horizontal Tracks

The horizontal tracks should be parallel to the door sections as they open. They also need a very slight slope down towards the back of the garage (about ½ inch) to prevent the door from trying to roll back on its own.
Use your level and tape measure to ensure the horizontal tracks are at the same height and have this slight backward slope. Adjust their supporting brackets as needed. For a complete overview of this system, explore our post on understanding garage door track alignment.
Infographic on using shims for precise track leveling

Solving the Gap You've Created


Congratulations! Your door tracks are now perfectly plumb, and your door is level with the world. It will operate smoothly and safely for years to come.
But now you see it: a perfect, triangular gap at the bottom of the door, mirroring the slope of your floor. You didn't create this gap—you revealed it. This is the gap that was always there, just hidden by a misaligned door.
Do not try to "fix" this by misaligning your tracks again. Instead, you solve it by upgrading your weather seal.
Roadmap to choose and install the right garage door seal

  1. Install a Taller Bottom Seal: Most garage doors have a vinyl or rubber weather seal that slides into a channel on the bottom. You can buy extra-tall or "jumbo" seals that are wide enough to compress and conform to the uneven floor, sealing the gap completely. Learning how to replace garage door weather stripping is a simple and effective final step.
  2. Add a Garage Door Threshold Seal: This is a rubber ramp that you glue to the garage floor itself. It creates a new, level surface for the door's existing bottom seal to press against, effectively sealing out water, dust, and pests.
By addressing the gap this way, you get the best of both worlds: a perfectly aligned, smooth-operating door and a fully sealed garage.
Roadmap to choose and install the right garage door seal

Need more information?

Frequently Asked Questions


Can I adjust the tracks with the door open?

It's safest to adjust the vertical tracks with the door closed. This keeps the door stable and prevents it from falling. The horizontal tracks can be adjusted with the door open, but ensure it is properly supported and disconnected from the automatic opener.

My garage door has a gap on the side, not the bottom. What do I do?

A gap on the side is often caused by the door's stop molding being worn or incorrectly positioned. You may need to adjust or replace it. For more specific guidance, see our step-by-step instructions on how to fix garage door gaps on the sides.

If I level the door, do I need to adjust the garage door springs?

Not always. If the door was already balanced, leveling the tracks won't change that. However, if the door was unlevel because of an imbalanced spring, you will need a professional to perform a garage door spring adjustment. A balanced door should stay put if you lift it halfway and let go.

Your Path to a Perfect Garage Door


By understanding the "Golden Rule"—level the door, plumb the tracks, and ignore the floor—you've unlocked the secret to a perfectly functioning garage door. You now know how to diagnose the real problem, perform precise adjustments using professional techniques like shimming, and solve the inevitable gap the right way.
This foundational knowledge not only empowers you to tackle this project with confidence but also helps you better understand how the entire system works. If you encounter a problem that seems beyond a simple track adjustment, like a significant gap at the bottom of the door that persists, you'll be better equipped to have an informed conversation with a professional.

You may also like


blog photo

How to Read the Signs of a Bent Track

That grating, scraping sound your garage door makes isn't just an annoyance. It’s a warning sign. It’s the sound of metal fighting against metal, a cry for help from a system under immense stress. While it’s tempting to ignore it or crank up the radio, that noise is often the first symptom of a misaligned or bent garage door track—a small issue that, if left unaddressed, can trigger a cascade of expensive failures. Think of it like your car's wheel alignment. A slight pull to one side might seem minor at first, but over thousands of miles, it leads to uneven tire wear, suspension problems, and a costly trip to the mechanic. Your garage door works on the same principle. The tracks are the pristine highway your door travels on every day. When that highway has a pothole or a curve where there should be a straightaway, every component has to work harder, leading to premature aging and eventual breakdown. This guide will help you become fluent in the language of your garage door. You’ll learn to spot the subtle imperfections that cause major wear, understand the chain reaction of damage they cause, and know exactly when it’s time to call in a professional.