Our company logo

State

Your Guide to a Flawless Garage Door Finish


Published: Jan 28, 2026

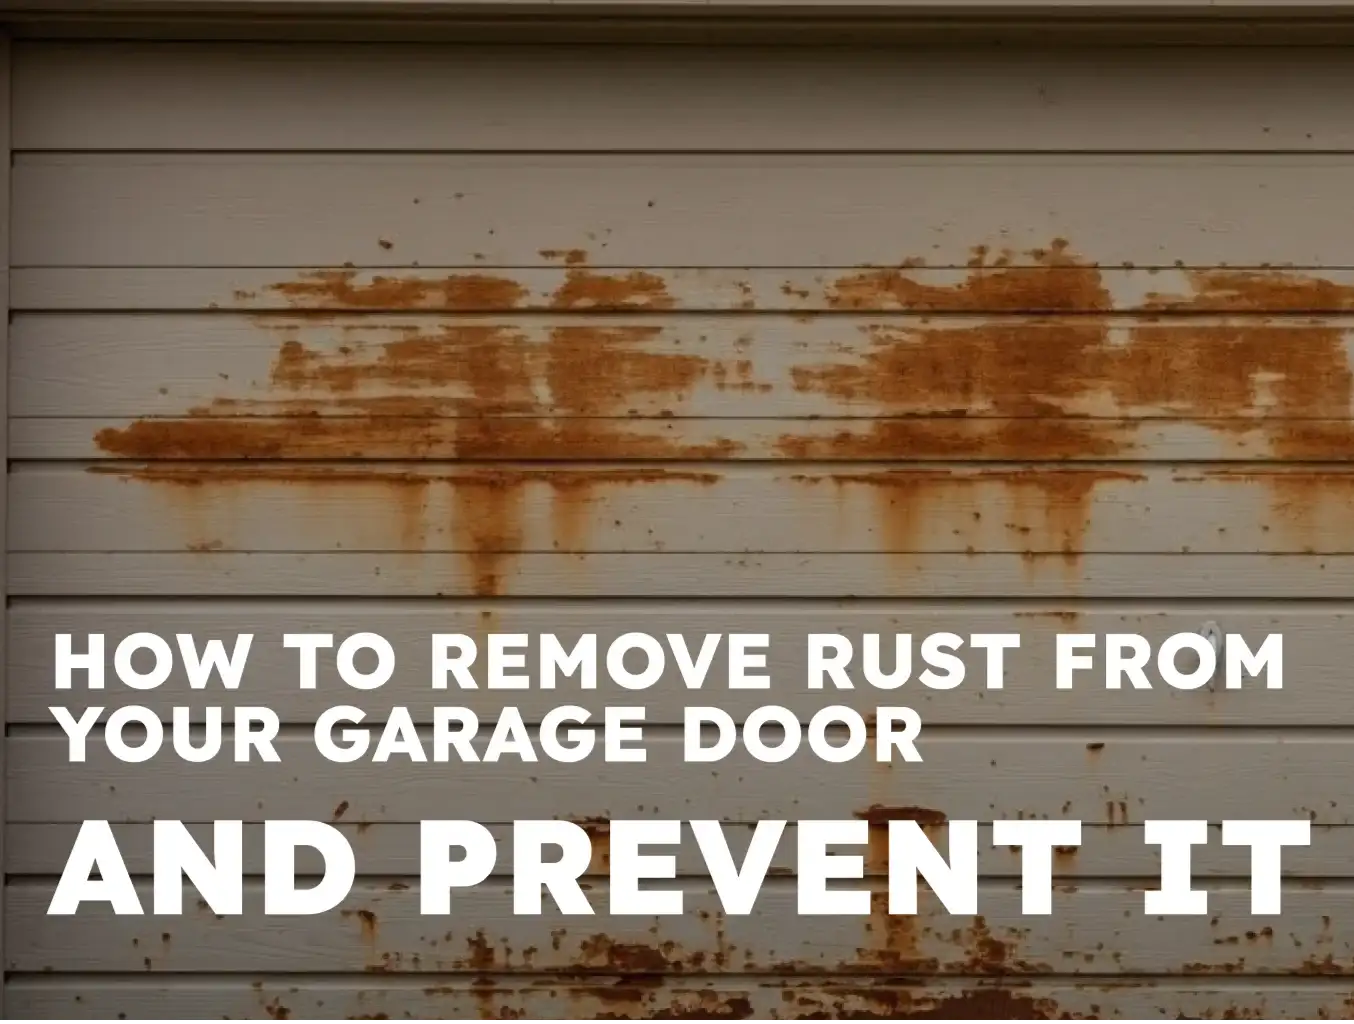
You’ve seen it. That creeping orange-brown stain, starting at the bottom corners and slowly working its way up. Your first thought might be, “I’ll just grab a can of paint and cover it up.” It’s a tempting shortcut, a seemingly easy fix to restore your home’s curb appeal.

But here’s a hard truth: painting over rust is like building a house on sand. It might look good for a few months, but peeling, blistering, and an even worse rust problem are inevitable. The real secret to a durable, factory-fresh finish isn’t in the painting—it’s in the preparation.

This guide will walk you through the why and how of properly prepping and painting a rusted garage door. We’ll go beyond the basic steps to give you the "aha moments" that turn a frustrating chore into a rewarding project with results that last for years.

Foundation: Understanding Your Enemy - A 60-Second Guide to Rust


Before we can defeat the enemy, we need to understand it. You might think of rust as just a stain, but it’s actually a chemical reaction called oxidation.
Infographic explains why paint fails on rust and how proper prep ensures lasting protection.
When the iron in your steel garage door is exposed to oxygen and moisture, it begins to break down, forming a new, unstable compound: hydrated iron oxide (rust). The key word here is unstable.
This new layer of rust is flaky, porous, and has almost no structural integrity. It’s constantly shedding microscopic particles from the base metal. When you apply paint to this surface, you’re not painting your garage door; you’re painting a layer of dust that’s about to fall off. This is the fundamental reason why paint peels and flakes from rusty surfaces.
To get a lasting finish, you must remove the unstable rust and treat the metal to create a solid, stable foundation for the paint to grip.

Infographic explains why paint fails on rust and how proper prep ensures lasting protection.

Building: The 5-Step Prep Process for Maximum Durability


Proper preparation is 90% of the job. The first step is to accurately assess how much rust you’re dealing with. This will determine the tools and techniques you need for the job.
Once you’ve identified your rust level, you can begin the 5-step process.

Step 1: Clean & Degrease (The Non-Negotiable First Step)

You can't properly assess or treat rust if it's hiding under a layer of dirt, pollen, or grease.
What to do: Mix a solution of TSP (trisodium phosphate) or a heavy-duty degreaser with warm water. Using a scrub brush or abrasive sponge, thoroughly wash the entire garage door, paying extra attention to the rusty areas.
Why it matters: Paint and primer cannot adhere to greasy or dirty surfaces. This step ensures you’re working with a clean canvas.

Step 2: Remove Loose Rust (Choosing Your Weapon)

This is where the physical work begins. Your goal is to knock off all the loose, flaking rust and peeling paint until you get to a more solid surface.
  • Good: For light rust, a stiff-bristled wire brush and a paint scraper will do the trick.
  • Better: For moderate rust, a wire wheel or sanding flap disc attached to a power drill will save you significant time and effort. Start with a coarse grit (like 80-grit) to power through the rust.
  • Best: For severe scaling rust, an angle grinder with a wire wheel or grinding disc is the most effective tool. Warning: Always wear safety glasses and gloves during this step, as rust particles and metal filings will be flying.
Side-by-side guide helps identify garage door rust severity and choose the right paint prep.

Step 3: Treat Remaining Rust (The Critical Choice)

After mechanical removal, you’ll likely have pitted areas with dark, residual rust. You cannot paint over this. You have two primary options for treating it. This is where many DIY projects go wrong.
Option A: Rust Converter
What it is: A chemical solution (often a tannic or phosphoric acid base) that chemically reacts with the remaining rust, converting it into a stable, black, paintable compound called iron tannate or phosphate.
When to use it: Ideal for moderate to severe rust with pitting where it’s difficult to remove every last speck of rust mechanically.
How it works: You apply it directly to the remaining rust. It doesn't work on bare metal or painted surfaces, only on rust itself.
Option B: Rust-Inhibiting Primer

  • What it is: A specialized primer that seals the prepared metal surface from moisture and oxygen, preventing new rust from forming. It doesn't convert existing rust.
  • When to use it: Best for light surface rust after you’ve sanded down to mostly bare, clean metal. It's the go-to choice if you've successfully removed almost all visible rust.
  • The "Aha Moment": A converter treats existing rust. A primer prevents future rust. For heavily rusted doors, the best practice is often to use both: treat the pitted spots with a converter, then apply a coat of rust-inhibiting primer over the entire door. Learning how to remove rust from a garage door effectively is key before this step.

Step 4: Feather & Smooth

Your goal is a seamless transition between the repaired areas and the existing paint.
What to do: Use medium-grit sandpaper (around 120-grit) to "feather" the edges of the old paint. This means sanding the perimeter of the repaired areas to create a smooth, tapered edge. Run your hand over it; you shouldn't be able to feel a distinct edge.
Why it matters: If you don't feather the edges, you will see the outline of your repairs through the new paint, resulting in a patchy, unprofessional look.

Step 5: Final Clean & Masking

You’re almost ready for paint, but one final clean is crucial.
  • What to do: Wipe down the entire door with a rag dampened with mineral spirits or denatured alcohol. This removes all the fine dust from sanding. Let it dry completely. Then, use painter’s tape to mask off the weather stripping, handles, windows, and trim.
  • Why it matters: Any remaining dust will mix with your primer and paint, creating a gritty texture and preventing proper adhesion.
Side-by-side guide helps identify garage door rust severity and choose the right paint prep.

Mastery: The Professional's Painting Technique


With your prep work complete, the painting is the easy part.

  1. Prime Everything: Apply one to two thin coats of a high-quality, rust-inhibiting metal primer over the entire door, not just the repaired spots. This ensures a uniform surface and provides the ultimate defense against future rust.
  2. Choose Your Topcoat: Use a high-quality exterior paint designed for metal. Acrylic latex paints are an excellent choice for their durability and flexibility.
  3. Application is Key: For a smooth, factory-like finish, spraying is the best method. If you don't have a sprayer, use a high-density foam roller for the flat panels and a brush for the crevices and details. Apply two thin topcoats, allowing for proper drying time between each as specified by the manufacturer. Our detailed guide on how to paint a garage door offers more advanced techniques.

Action: Your Project Checklist & Long-Term Prevention


A successful project is all about having the right tools and a solid plan. A little preventative care can also save you from having to do this job again anytime soon.
Use this comprehensive checklist to confidently prep and paint your rusted garage door and maintain it for lasting rust resistance and beauty.

Long-Term Prevention Tips:


  • Wash Your Door: Just like your car, your garage door should be washed once or twice a year to remove salt, dirt, and chemicals that accelerate corrosion.
  • Inspect the Bottom Seal: The rubber seal at the bottom of your door is the first line of defense against moisture. If it’s cracked or worn, replace it immediately. The problem of the bottom of garage door rusting is very common and preventable.
  • Address Scratches Promptly: If your door gets scratched, don’t wait for rust to appear. Clean the area and apply a bit of touch-up paint to seal the metal.
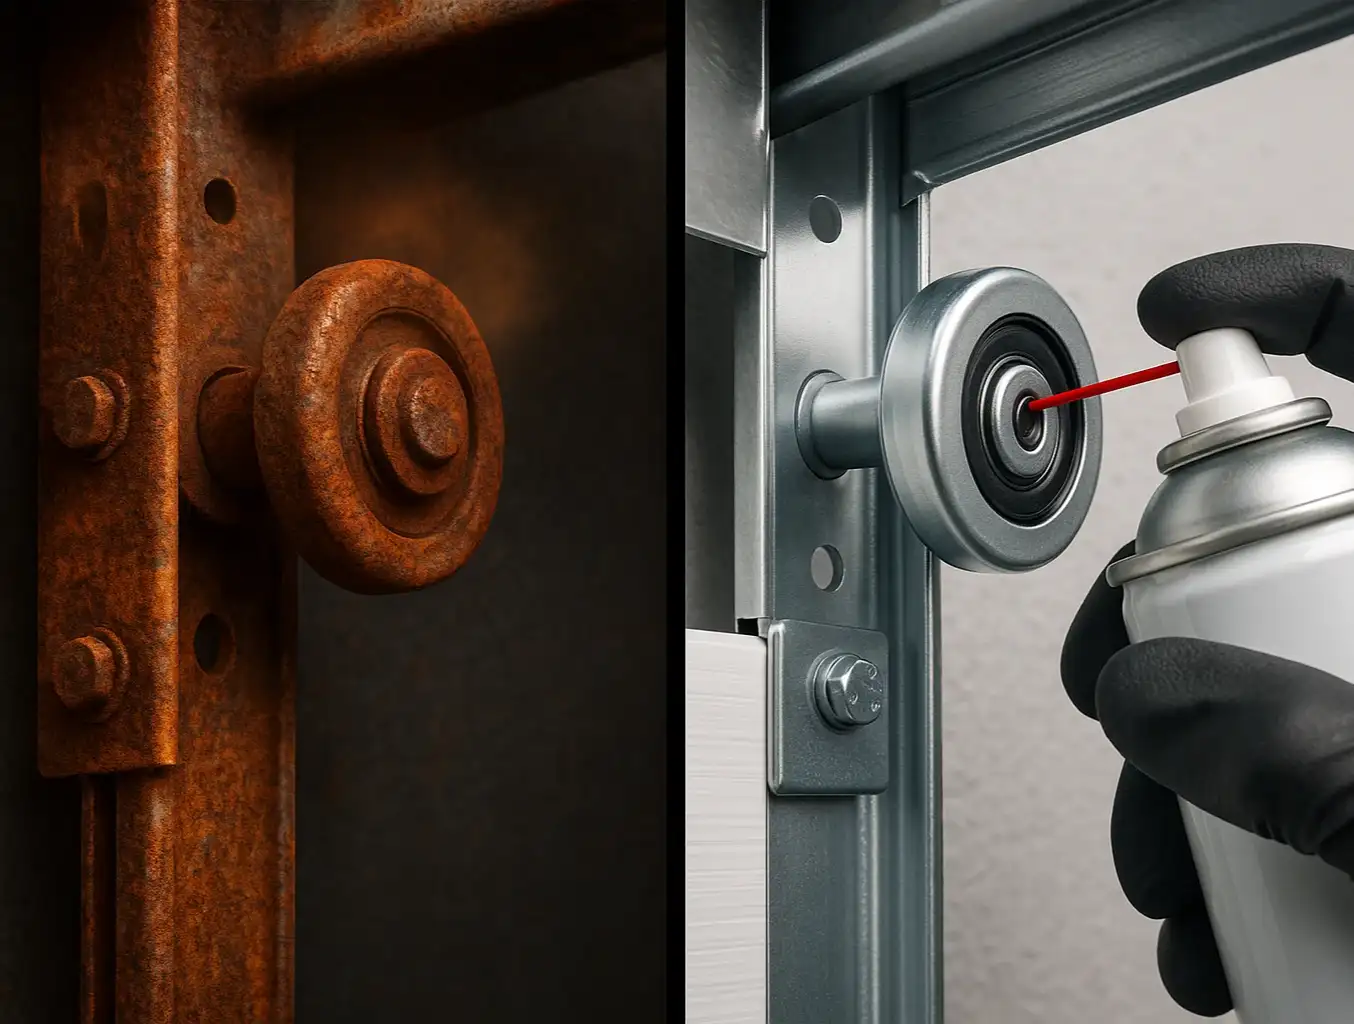
  • Perform Regular Maintenance: Routine garage door maintenance helps you spot small problems before they become big ones.
Use this comprehensive checklist to confidently prep and paint your rusted garage door and maintain it for lasting rust resistance and beauty.

Need more information?

Frequently Asked Questions (FAQ)


What happens if I just paint directly over rust?

The paint will not adhere properly to the unstable, flaky rust surface. It will quickly begin to chip, peel, and blister, trapping moisture underneath and often making the rust problem worse than when you started.

How much rust is too much? When should I consider replacement?

If the rust has eaten completely through the metal, creating holes, or if the structural integrity of a panel feels weak and flimsy, it's a sign that the damage may be too severe. In these cases, a full garage door panel repair or replacement might be the safer and more cost-effective option. If you're unsure, it's always best to consult a professional.

Can I use the same process for my galvanized steel door?

Mostly, yes. However, galvanized steel has a zinc coating that requires a specific type of primer. After cleaning and removing any rust, make sure you use a primer specifically designed for galvanized surfaces to ensure proper adhesion.

Your Path to a Perfect Finish


Tackling a rusty garage door is more than just a paint job—it's a restoration project. By understanding the science behind rust and committing to a thorough preparation process, you’re not just covering up a problem; you're solving it. You’re investing your time and effort into a solution that will protect your investment, boost your home's curb appeal, and give you a deep sense of satisfaction every time you pull into the driveway.

You may also like


blog photo

Fixing Rust on Garage Door Tracks and Rollers

Ever been jolted by a sudden grinding, squeaking, or shuddering noise as your garage door opens or closes? It’s a sound that makes you cringe, and for good reason. That noise isn't just an annoyance; it's a warning sign. Your garage door is trying to tell you something important about its health, and often, the culprit is a small, creeping problem you might not have noticed: rust. Many homeowners see a bit of rust on their garage door tracks or rollers and dismiss it as a cosmetic issue. But that reddish-brown coating is a performance killer. It creates friction, forcing your entire system to work harder and leading to bigger, more expensive problems down the line. The good news? You can often tackle this problem yourself. Understanding what's happening and why it matters is the first step toward a smoother, quieter, and longer-lasting garage door system. If you're looking for a more general guide to a noisy garage door fix, we have you covered, but here we’ll focus specifically on the damage caused by rust.

blog photo

Long-Term Rust Prevention Coatings for Coastal Garage Doors

Living by the coast is a dream. The sound of the waves, the salty breeze—it’s a lifestyle many people crave. But that same beautiful sea air that fills your lungs is quietly waging a war on your home’s biggest moving part: the garage door. It’s a common story. You install a beautiful new door, and within a few years, you spot it: the tell-tale orange-brown freckles of rust, often starting at the bottom or around hinges and handles. This isn't just a cosmetic issue; it's the beginning of a process that can compromise your door's security, function, and lifespan. But here’s the good news: this is a preventable battle. With the right knowledge, you can transform your garage door from a vulnerable target into a fortress that stands up to the salty air for years to come. Let's talk about how to win the war against coastal corrosion.