Smart Garage Door Opener Installation Guide
Published: Dec 1, 2025
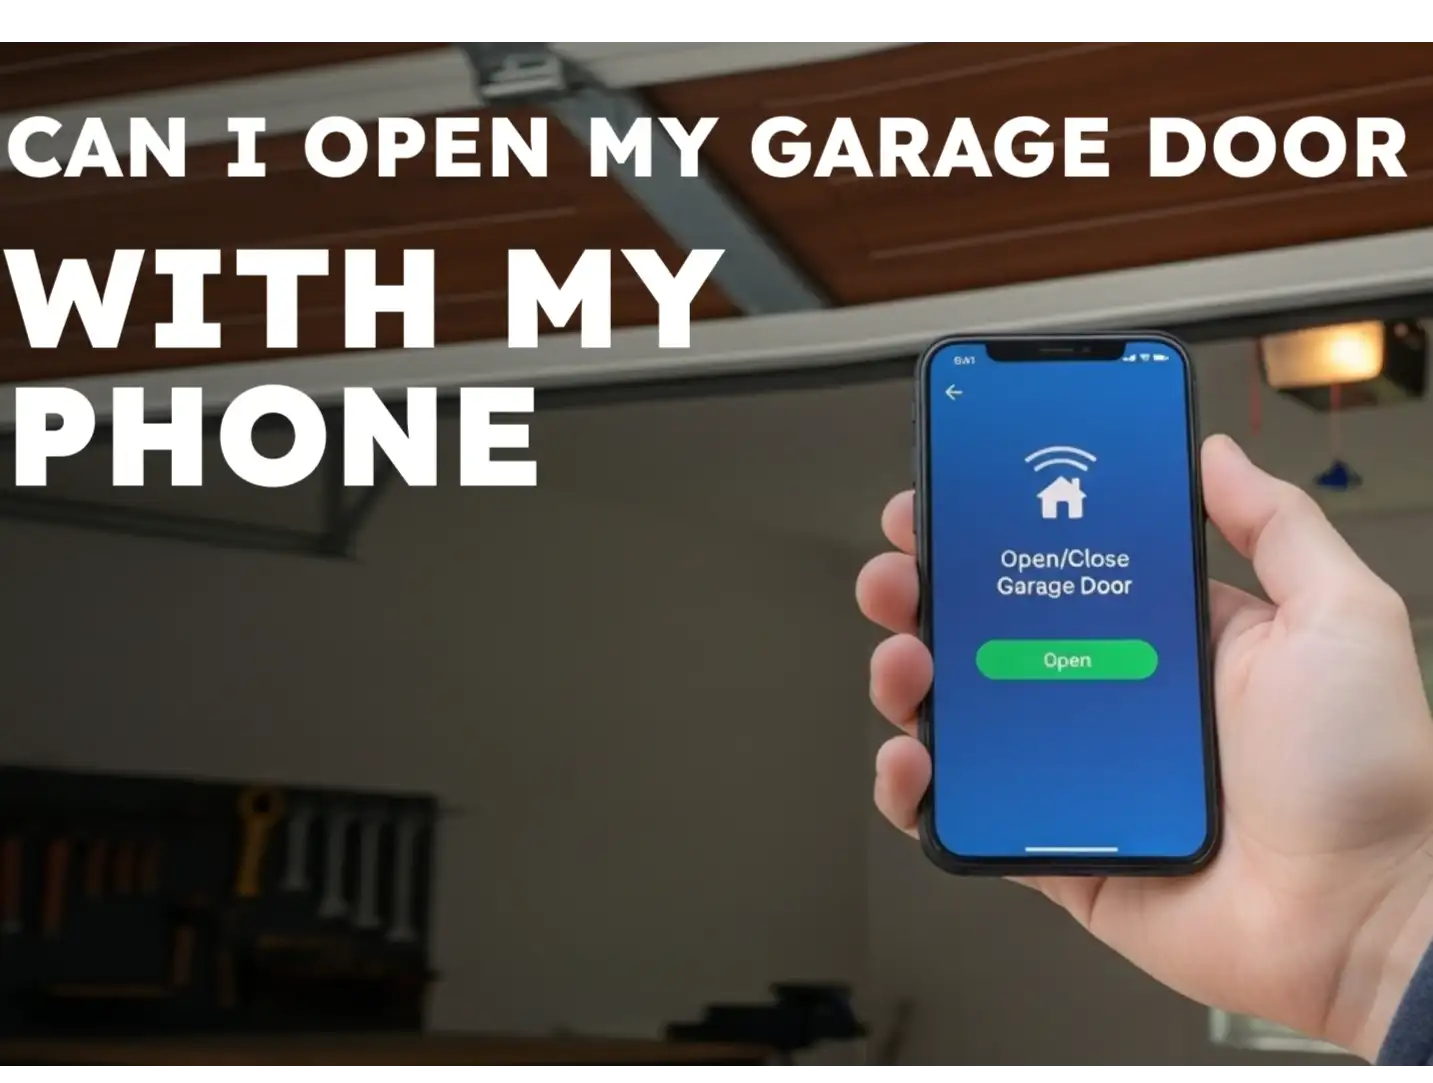
You want the convenience of checking your garage door from anywhere and the easiest way to get it is by adding a smart controller or upgrading to a smart opener. This kind of setup lets you use your phone to open, close, and monitor the door while also boosting home security. Whether you’re adding a smart hub to an existing automatic garage door opener or installing a brand-new smart unit, the job still involves wiring, sensors, and Wi-Fi setup. Wondering whether you can do the job yourself? Up & Down Garage Doors explains the key steps of smart garage door opener installation so you can get your system online and working safely the way it should.
Preparing for Your Wi-Fi Garage Door Opener Setup
Before you climb a ladder, you need to verify that your garage environment is ready for smart technology. Most smart controllers require a stable internet connection to function correctly. If your signal is weak near the door, the device may struggle to stay online.

You also need to check for compatibility. Most openers manufactured after 1993 with standard safety sensors (photo-eyes near the floor) will work with modern smart hubs. If you’re not sure your current model fits those criteria, you may want to look at newer units with built-in smart features and compare options for the best smart garage door opener. For help with that step, you can choose a garage door opener using our detailed buyer’s guide.
Tools You’ll Need
- Sturdy stepladder: For safe access to the ceiling-mounted unit
- Drill and bits: For mounting the bracket or sensor
- Small screwdrivers: For terminal screws
- Wire strippers: For exposing fresh copper on control wires
Always turn off the power at the breaker or unplug the unit before handling any wires. Safety comes first whenever you’re working around electrical parts.
The Smart Garage Door Opener Installation Process
Once you have your tools and have verified compatibility, you can begin the physical installation. The goal is to bridge the connection between your opener’s motor and your home network.

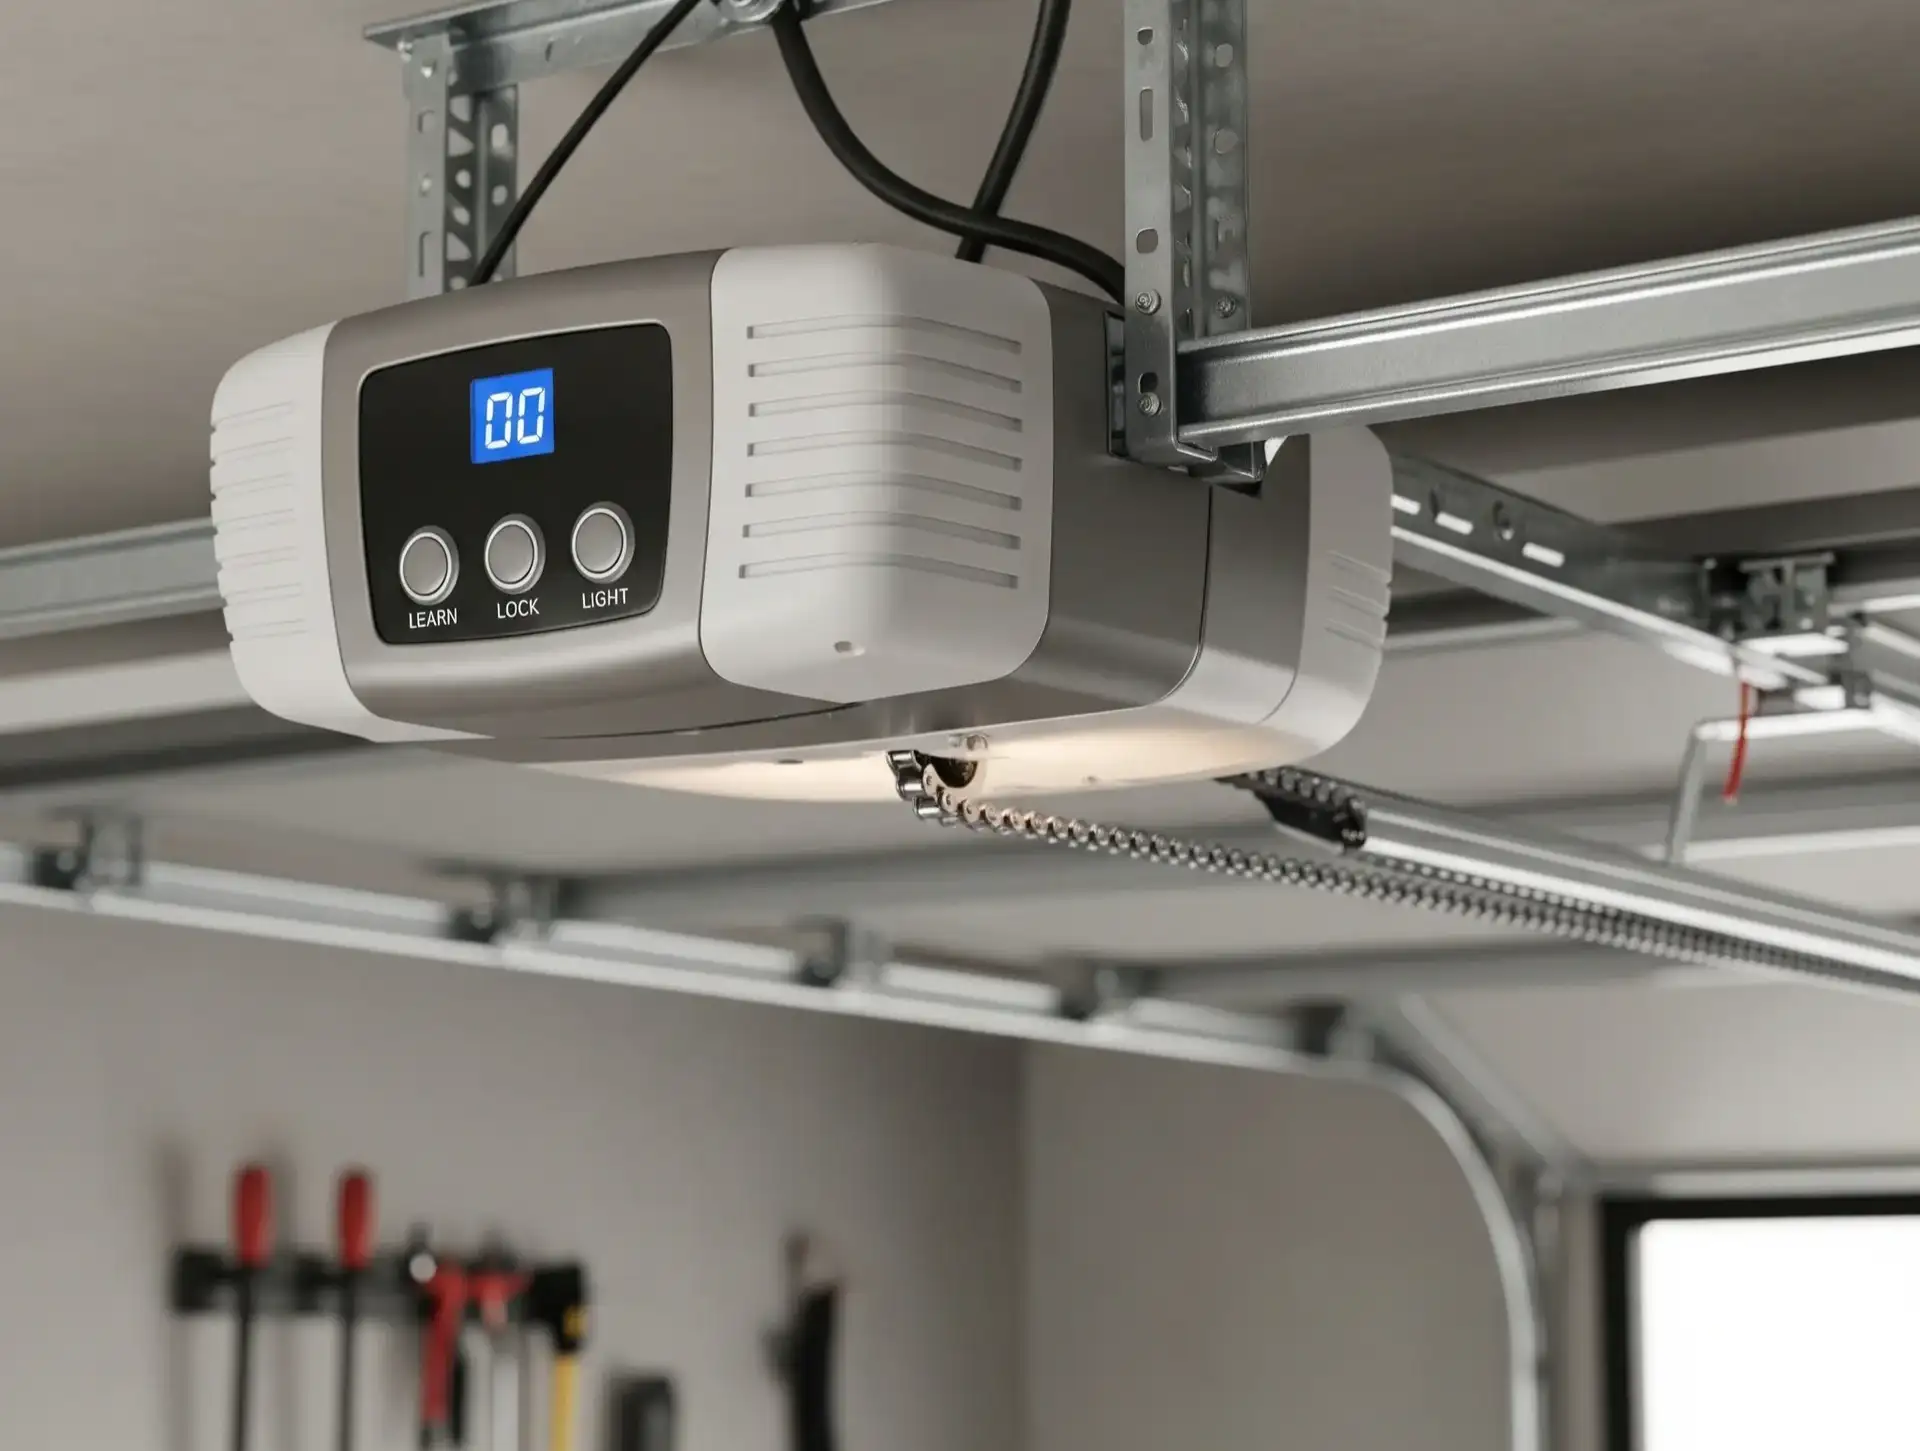
Step 1. Connect and Pair the Device
Plug the smart hub into an outlet near the opener. Use the manufacturer’s app (for example, myQ) to create an account and walk through its setup steps to link the hub to your home Wi-Fi. It’s usually easier to complete this step on the ground before you mount the hardware.
Step 2. Wire the Signal Controls
Locate the terminals on your existing motor where the wall button wires connect. Connect the signal control wires from your new smart device to these same terminals. You may need to strip a small amount of insulation off the wires to get a solid contact. If you’re uncomfortable with wiring, professional garage door opener installation from Up & Down Garage Doors is always an option to make sure everything is hooked up safely and correctly.
Step 3. Install the Door Sensor
Attach the sensor to the top panel of your garage door using the provided adhesive strips or screws. This sensor communicates the door’s position (open or closed) to the hub.
Testing Your Smartphone Garage Door Controller

After the wiring is complete and the sensor is mounted, restore power to the unit. Use the app to test the open and close functions, and watch the door travel to make sure no wires are getting caught in the tracks or the chain.
Securely mount the smart controller hub to the ceiling or a nearby wall using screws. Organize any excess wires with zip ties to keep the installation tidy and prevent snagging. If you are installing a specific brand, such as a LiftMaster smart opener, refer to the manufacturer’s manual for the color-coded wiring diagrams.
Once your system is active, you can monitor your home’s main entry point directly from your pocket and enjoy all the smart garage door opener benefits that come with app control.
Need more information?
Get a free quote
Ready to Upgrade to a Smart Garage Door Opener?
A smart garage door opener installation doesn’t just add a cool phone feature — it changes how you use and secure one of the main entry points to your home. By checking your Wi-Fi signal, following the wiring steps carefully, and testing the app controls, you can turn a standard opener into a connected, convenient part of your daily routine.
If any part of the wiring, sensor setup, or brand-specific programming feels overwhelming, you don’t have to tackle it alone. Up & Down Garage Doors is ready to assist. Contact us today, and we’ll work with you to find the best smart garage door opener for your home or schedule a service visit.
Frequently Asked Questions
Can I add smart features to an old garage door opener?
Yes, most openers made after 1993 with safety sensors are compatible with universal smart hubs. You can check for photo-eye sensors near the floor tracks to verify compatibility.
Do I need a subscription for smart garage door features?
Many basic features, like remote control and alerts, are free with apps like myQ. However, some advanced integrations with third-party platforms or video storage may require a monthly fee.
What happens to my smart opener if the Wi-Fi goes out?
If the Wi-Fi goes down, your garage door opener will still work with the wall button and standard remote controls. You simply lose the ability to control it via the smartphone app until the internet is restored.
Can I use a smart hub with my automatic garage door opener?
In many cases, yes. Most automatic garage door opener models built after 1993 that have photo-eye safety sensors near the floor can work with a universal smart hub. Check your opener’s model number and manual, or look for the sensors on the track. If your opener is very old or doesn’t have safety sensors, you may need to upgrade the unit before adding smart controls.
You may also like