Step-by-Step Guide: How to Install a Garage Door Bottom Seal
Published: Oct 6, 2025
See light under the door or feel a breeze across the floor? That usually means the garage door bottom seal is worn out. In this guide from Up & Down Garage Doors, we’ll show you how to install a garage door bottom seal step by step. You’ll learn how to choose the right seal style for your door, remove the old strip, and slide in a new one for a tight, weather-resistant fit. Follow along to cut drafts, keep out rain and bugs, and make your garage more comfortable. Keep reading to get clear answers and finish the job with confidence.
How to Prepare to Replace a Garage Door Bottom Seal

Before you start garage door weatherstripping replacement, gather a few basics: a tape measure, a utility knife, pliers, a flat-head screwdriver, silicone spray (or soapy water), rags, and two C-clamps. Confirm what’s on your door now by checking the garage door bottom track (the metal retainer along the bottom edge). Retainers are paired with specific garage door seal types, so matching the profile matters.
Common seal profiles to know:
- T-Style Seals: These have T-shaped ends that slide into two parallel tracks on the retainer.
- J-Style Seals: These create a J-shape on each side and are also common on residential doors.
- Beaded Garage Door Seal: This type has a round, beaded edge that fits into a single C-shaped channel.
Measure the width of your garage door and the profile of your current seal to buy the correct replacement. If you’re unsure, bring a small piece of the old seal to the store. Also, check the retainer for bends or corrosion and straighten it now — installation goes more smoothly later. For a quick refresher on why a tight seal saves energy and blocks drafts, see the importance of garage door seals.
A Guide on How to Install a Garage Door Bottom Seal
Once you have the correct replacement seal, you’re ready to begin. The process is straightforward. You can do it solo, but a helper makes the job faster.
- Safety First: Unplug the garage door opener. Lift the door just high enough to reach the bottom comfortably. Secure it in place with C-clamps on the tracks so the door can’t move. If lifting the door or clamping the tracks feels risky, a quick service visit from Up & Down Garage Doors can save time and hassle.

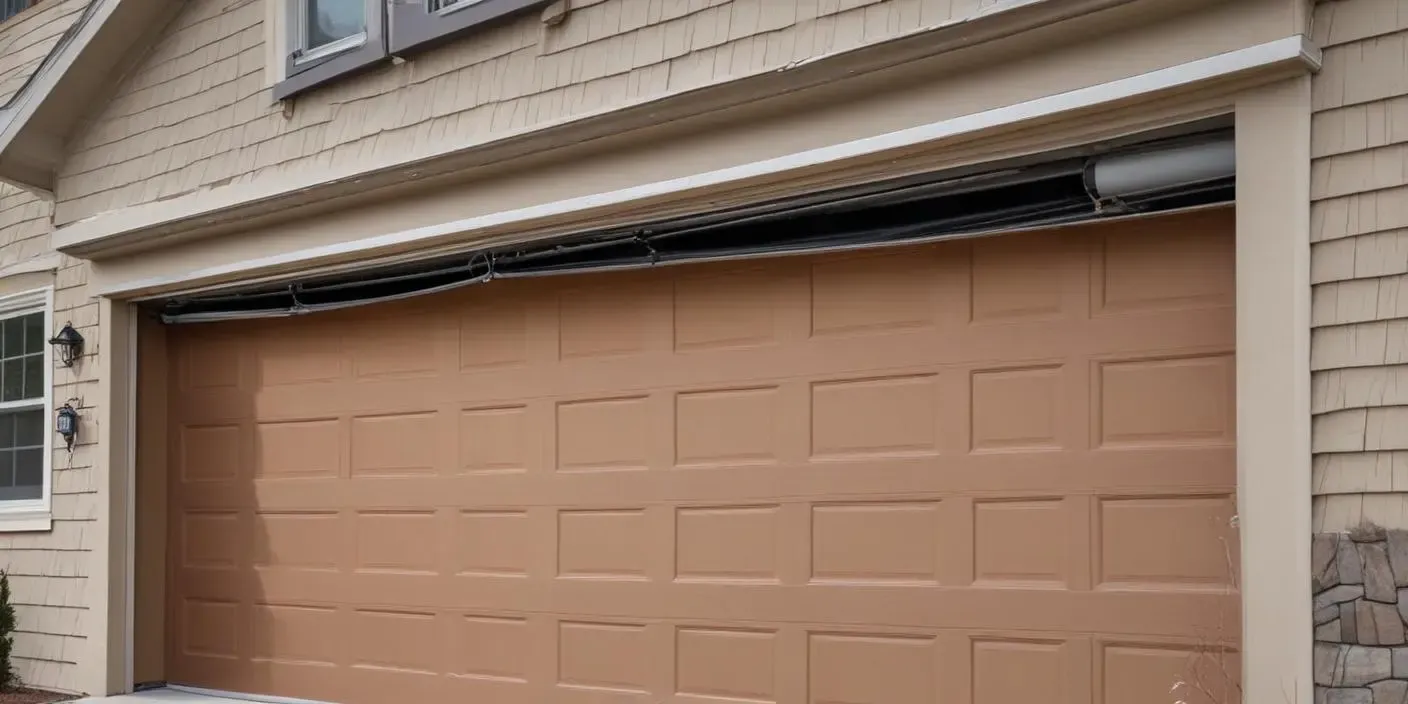
- Remove the Old Seal: The old garage door bottom seal should slide out of the garage door bottom track. If it’s stuck, you may need to use pliers to pull it out. Some retainers have crimped ends, so you’ll need to gently pry them open to release the seal.
- Clean the Track: Use a cloth and a mild solvent to clean out any grit and old rubber from the retainer channels. This helps the new seal slide in.
- Install the New Seal: Lightly spray a silicone-based lubricant inside the clean tracks. With a helper, carefully feed the new seal into the garage door bottom track from one side while the other person pulls from the other. Keep the bead or T-edges fully seated as you go. This is the core of how to install a garage door bottom seal without kinks.
- Trim and Secure: Once the seal is fully in place, trim any excess material, leaving about an extra inch on each side. Tuck the extra material back into the seal to create a cushioned end. If you uncrimped the retainer, use pliers to gently crimp it again to hold the seal securely.
After-Install Checks: How to Seal a Garage Door Tight

- Light Test: Close the door and inspect the corners and sides. You should not see daylight. If you do, lower or raise the door slightly and reseat the garage door bottom seal until the gap disappears.
- Water Test: Mist the threshold with a spray bottle. Water should not enter the garage. If it does, clean the garage door bottom track, confirm the seal is fully seated, and retest.
- Comfort Check: Stand inside on a breezy day and feel along the bottom edge. A tight seal helps keep pests out of the garage and helps maintain steadier temperatures. If air leaks persist, check for uneven flooring and consider a threshold strip.
- Cold-Weather Prep: If winters are harsh where you live, review how to protect your garage door from freezing. These simple steps keep the seal flexible and the door moving smoothly when temperatures drop.
Summing Up
Now you know how to install a garage door bottom seal from start to finish: confirm the profile, prep the garage door bottom track, slide in the new seal, and verify the fit with simple checks. Done right, this quick upgrade blocks drafts, sheds water, and helps keep pests out, all while making the garage more comfortable day-to-day. If any step feels tricky — a warped retainer, uneven floor, or a seal that doesn’t sit right — Up & Down Garage Doors can step in and get everything fitted tightly. For extra comfort and noise control, pair the new seal with garage door insulation. It is an easy next step that works hand in hand with a fresh bottom seal to keep your space steady through every season.
You may also like