Converting a Standard Track Garage Door to a Vertical Lift System
Published: Jan 15, 2026
Ever look up at the ceiling of your garage and see wasted space? That sprawling network of horizontal tracks from your standard garage door eats up a massive amount of overhead real estate—space that could be used for a car lift, a storage loft, or just an open, airy workshop. You've probably thought, "There has to be a better way."
There is. It's called a vertical lift garage door system, and converting to one is one of the most transformative upgrades you can make to your home or business.
But the moment you start researching, you fall down a rabbit hole of confusing forum posts, dense DIY manuals, and videos that skip crucial details. You're left with more questions than answers: Is my garage even tall enough? What's the difference between "high lift" and "vertical lift"? And what happens if I get it wrong?
This guide is your clear path forward. We're going to walk through this fascinating process like a knowledgeable friend, focusing first on the most important question: Is this conversion right for you?
The Ultimate Goal: Maximizing Your Garage Space
- Install a Car Lift: The dream for any auto enthusiast, a two- or four-post lift requires unobstructed overhead space.
- Build Overhead Storage: Create a robust loft for seasonal items, workshop materials, or anything else cluttering your floor.
- Accommodate Tall Vehicles: If you have an RV, a lifted truck, or a commercial van, a vertical lift provides the necessary clearance.
- Create an Open, Modern Aesthetic: Eliminating horizontal tracks creates a cleaner, more industrial, and spacious feel.

Vertical Lift vs. High Lift
- Vertical Lift: The door goes straight up the wall and stays there. This requires a ceiling height that is at least twice the height of the garage door, plus about 12 inches.
- High Lift: This is a hybrid system. The door travels vertically up the wall for a certain distance (higher than standard) and then turns to run parallel with the ceiling. It’s a compromise that provides more clearance than a standard setup but doesn't require the extreme ceiling height of a true vertical lift.
The Foundation: Is This Conversion Right for You? (The Feasibility Checklist)

- Measure Your Headroom: This is the most critical measurement. Headroom is the distance from the top of your door opening to the ceiling (or the lowest obstruction, like a beam or pipe).
- Standard System: Requires ~12-15 inches of headroom.
- High-Lift System: The more headroom you have, the higher the door can travel before turning. You'll need at least 24 inches to see a significant benefit, but 3-5 feet is ideal for maximizing space.
- True Vertical Lift System: You need headroom equal to the height of your door, plus about 12 inches for the spring assembly. (e.g., a 7-foot door needs ~8 feet of clear wall space above the opening).
- Check for Obstructions: Look directly above your garage door. Are there pipes, ducts, support beams, or lighting fixtures in the way? A vertical or high-lift system needs a clear, flat plane to travel on.
- Assess Your Sideroom: You'll need about 5-6 inches of clear space on either side of the garage door opening to mount the new vertical tracks.
Building: Your Toolkit and Parts List

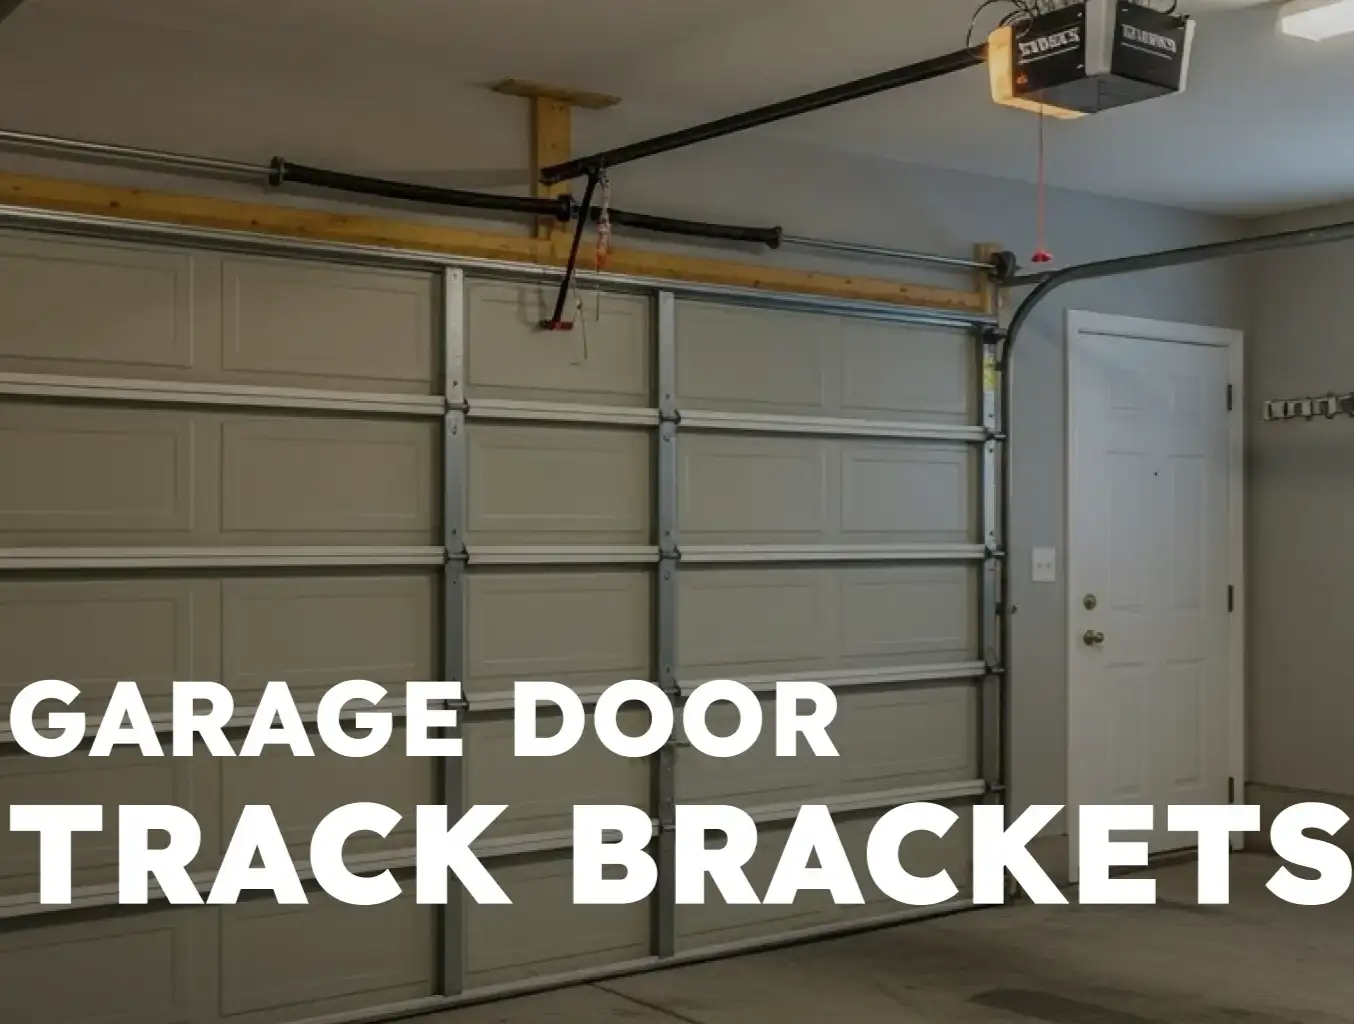
- New Vertical Tracks: Longer tracks that guide the door upwards.
- High-Lift or Vertical-Lift Cable Drums: These are larger than standard drums. They allow the cables to wind up faster at the beginning of the lift, keeping the door balanced as it moves vertically. This is a critical component for proper function.
- New Torsion Springs: Your old springs are calibrated for a standard lift path. They won't work. You'll need new springs calculated specifically for the new weight distribution and lift height. Understanding garage door spring safety is non-negotiable, as these parts are under extreme tension.
- Longer Cables: The door is traveling a greater distance, so you'll need longer, stronger lift cables.
- A Jackshaft Opener: This is the non-negotiable game-changer. Your old ceiling-mounted trolley opener will now be in the way of the door's new path. A jackshaft opener mounts on the wall next to the torsion bar, freeing up the entire ceiling. Many modern options, like the LiftMaster commercial garage door opener line, offer powerful and reliable jackshaft models perfect for these conversions.
The Conversion Process: An Overview of the Key Phases
- Safety and Teardown: The first step is always to safely unwind the old torsion springs (a dangerous step best left to pros), disconnect the opener, and remove the old horizontal tracks and hardware.
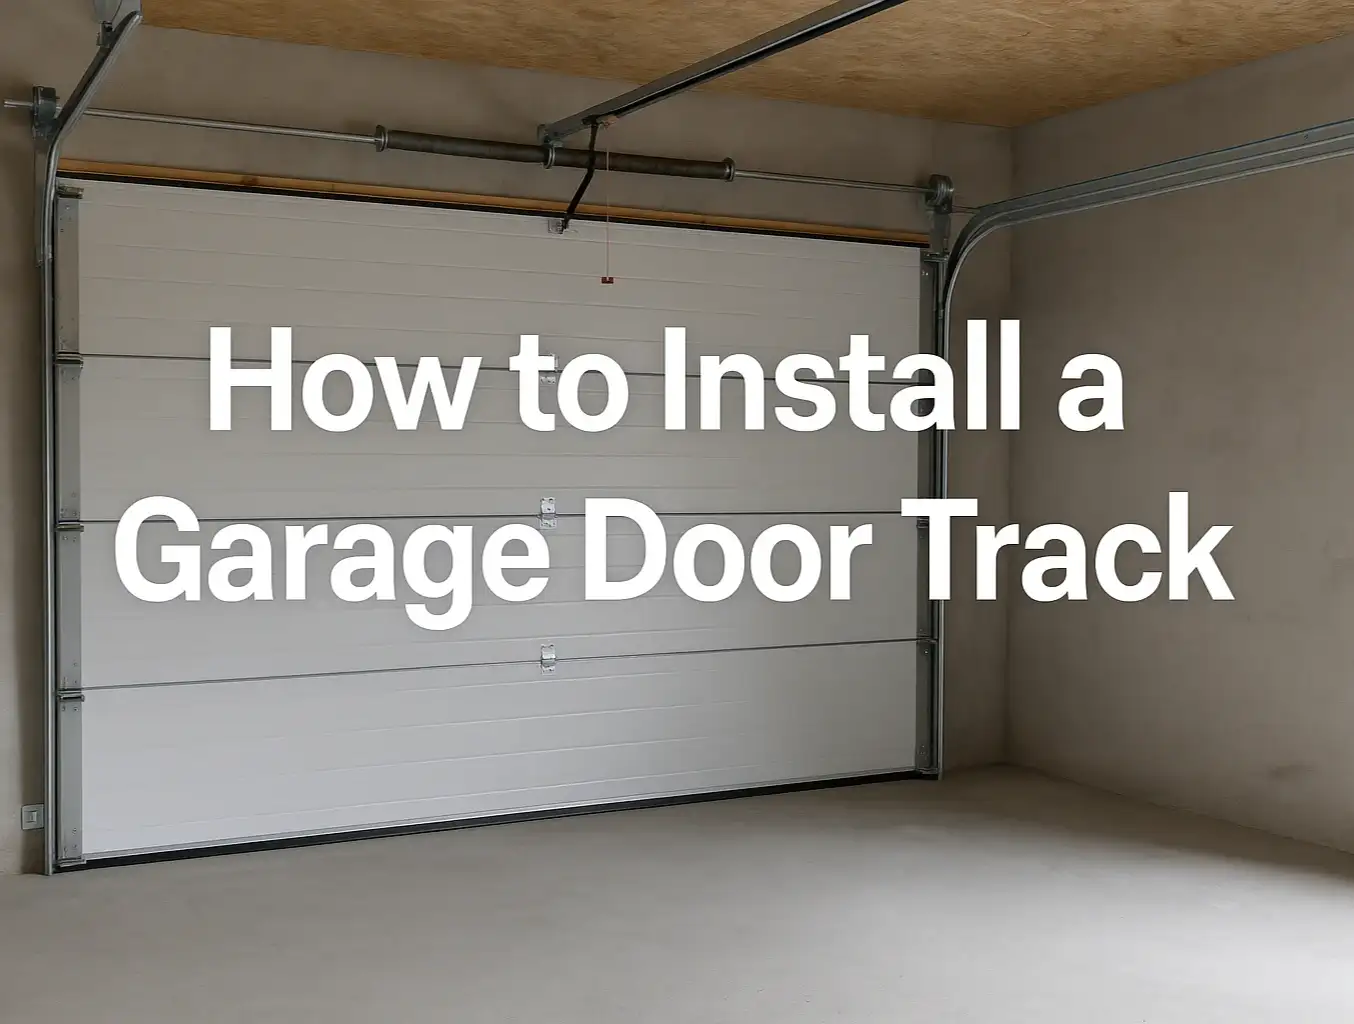
- Track Installation: The new, longer vertical tracks are mounted. The garage door track installation is the most visually dramatic part of the conversion, as you see the new path for the door take shape.
- Spring & Cable Assembly: The new torsion bar, springs, and cable drums are installed above the door. The new cables are run from the bottom of the door up to the drums.
- Opener Installation: The new jackshaft opener is mounted to the wall and connected to the torsion bar. For those concerned with noise, this is a great time to research a quiet garage door opener to complete the premium upgrade.
Action: Fine-Tuning and Troubleshooting

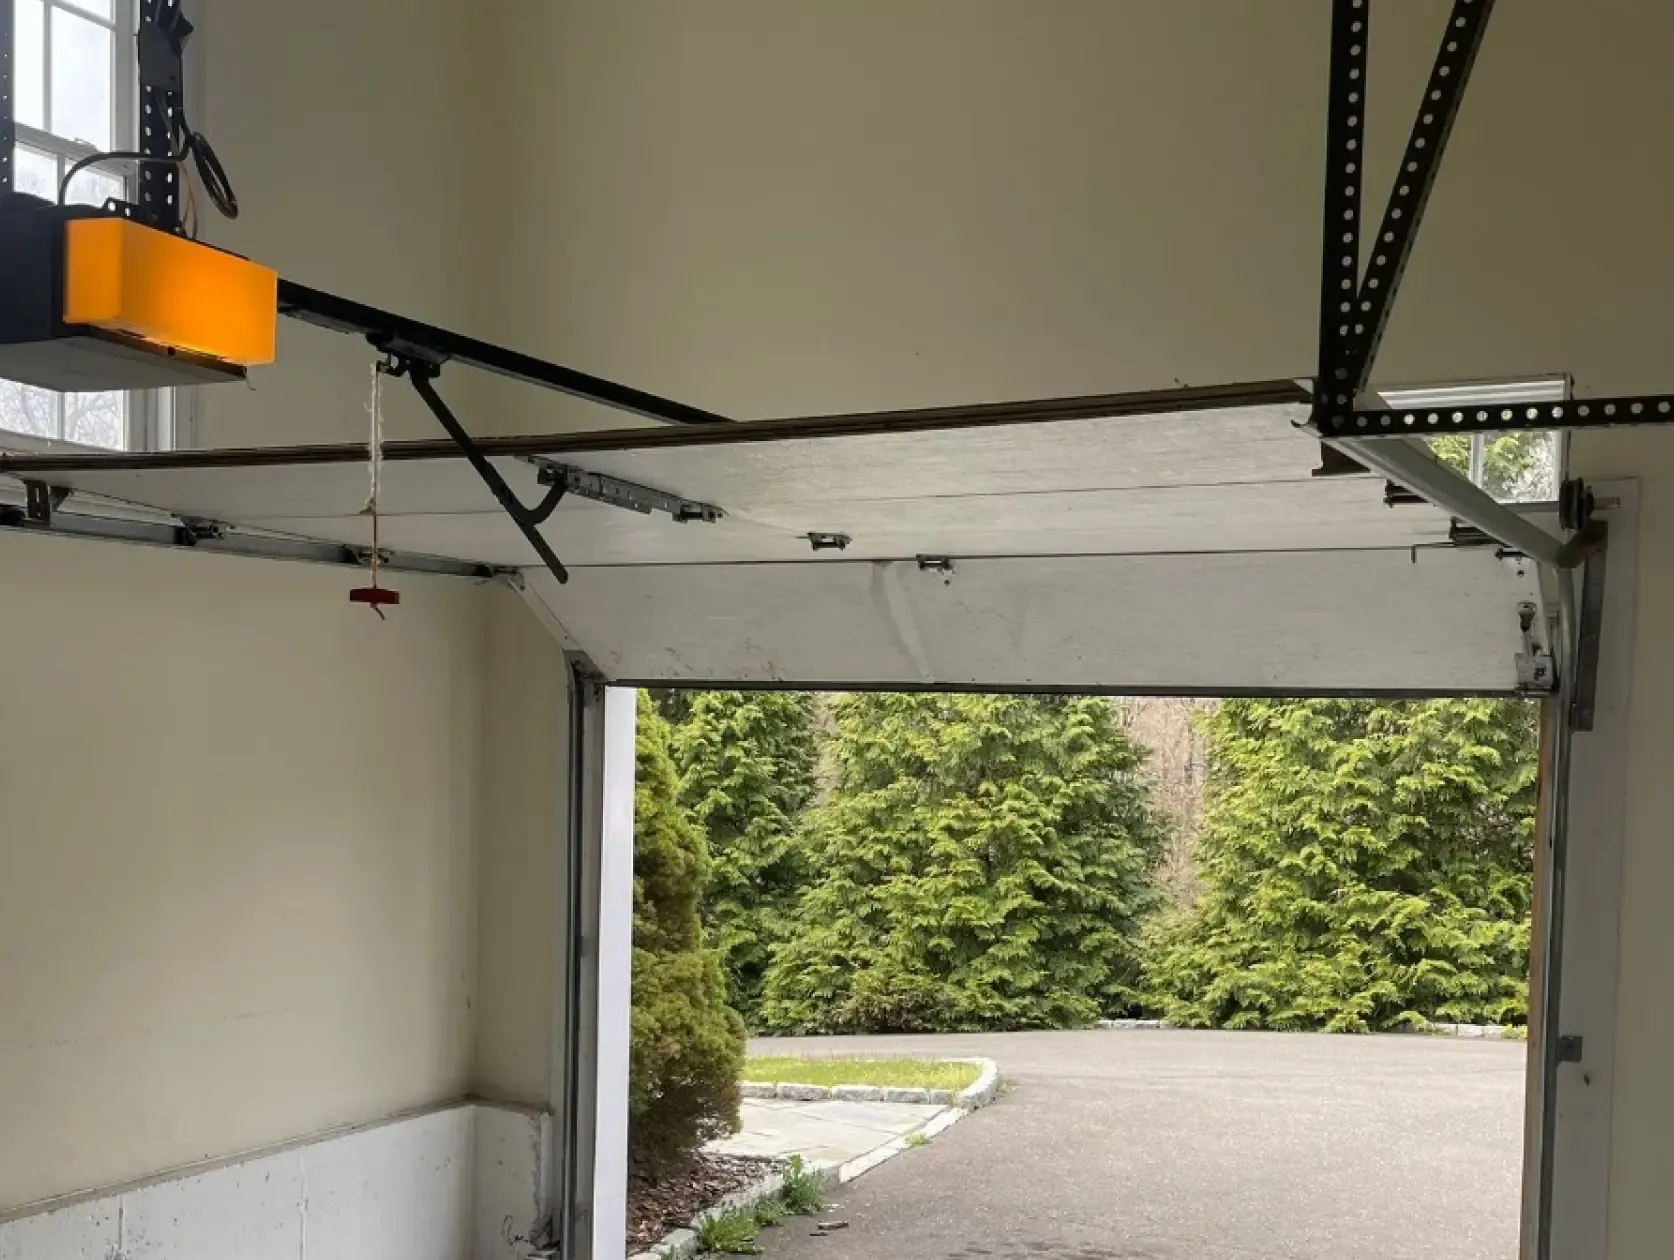
- Disconnect the opener from the door.
- Manually lift the door to various heights (one foot off the ground, halfway up, three-quarters up).
- At each point, the door should stay in place or drift down very slowly. If it slams down or shoots up, the spring tension is wrong and must be adjusted immediately.
FAQ: Your Vertical Lift Conversion Questions Answered
Are high lift garage doors worth it?
Do I need a new garage door opener for a high lift system?
Can I do this myself?
Ready to Transform Your Space?
You may also like