EPDM vs. Vinyl Garage Door Side Seals: Which is Best
Published: Apr 9, 2026
Have you ever walked into your garage on a freezing winter day and felt a draft? Or noticed a sliver of daylight peeking around the edges of your garage door? It might seem like a small issue, but those little gaps are more than just an annoyance. They’re open invitations for drafts, rain, dust, and even pests to enter your home.
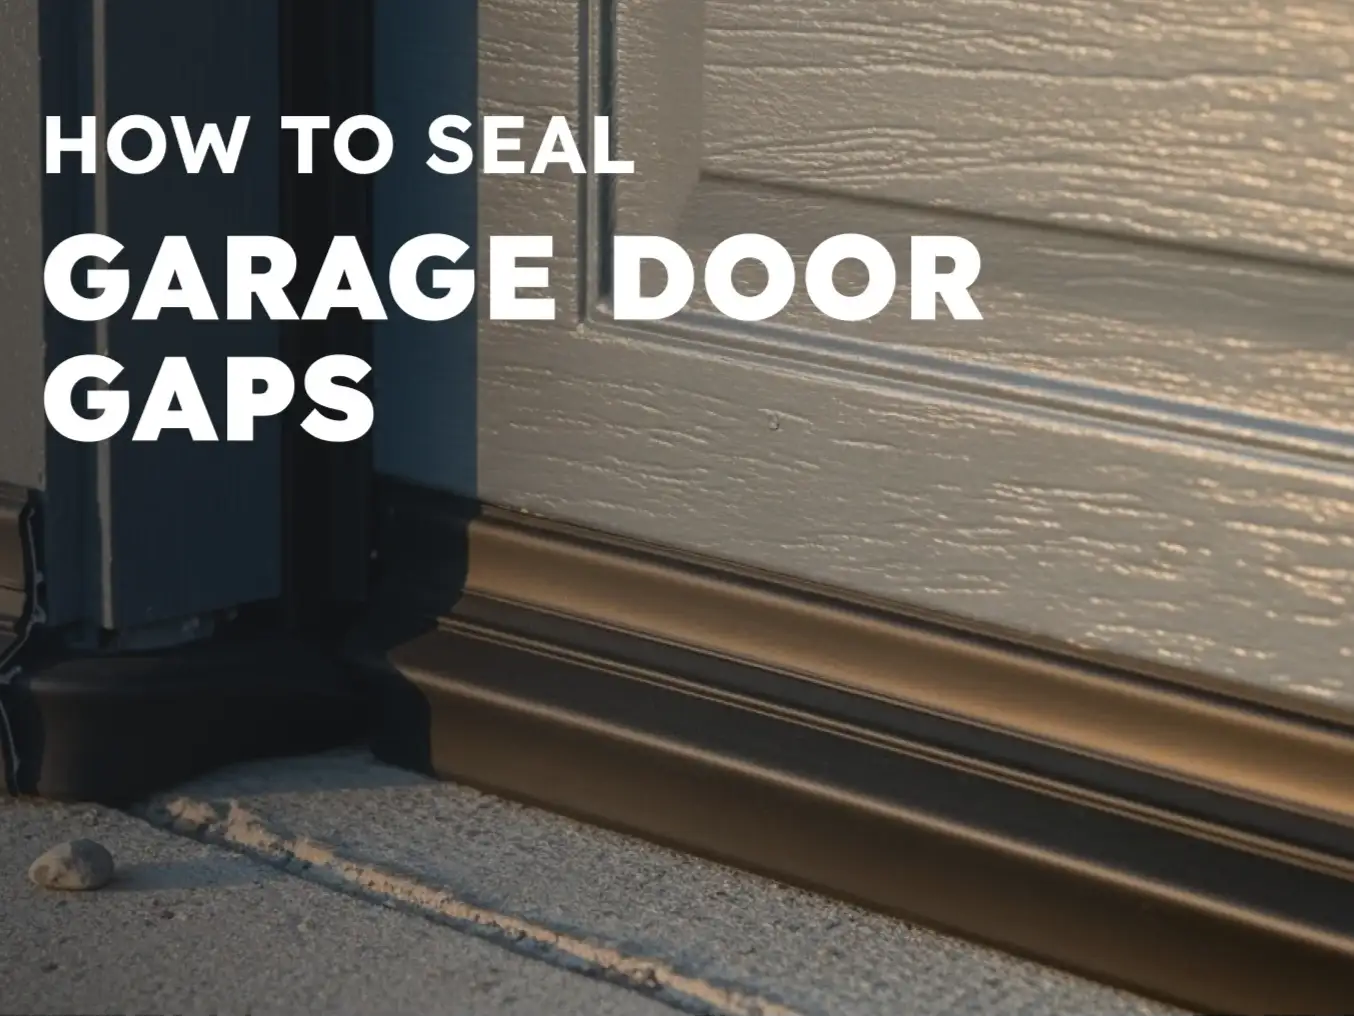
These gaps often appear or worsen due to extreme weather. Intense summer heat can cause materials to warp, while bitter cold can make them shrink and turn brittle. The unsung hero in this battle is your garage door's side weatherstripping, a simple component with a critical job. But not all seals are created equal, especially when facing Mother Nature’s worst.
The two main contenders for the job are EPDM (a type of synthetic rubber) and Vinyl (PVC). Choosing the right one for your climate can be the difference between a snug, energy-efficient garage and a drafty, problematic one. Let's break down which material is the champion for your specific weather challenges.
Foundation: Meet the Contenders - EPDM vs. Vinyl

Building: The Ultimate Climate Showdown
Scenario 1: Bitter Cold & Icy Winters

Scenario 2: Searing Heat & High UV Exposure
Scenario 3: High Winds & Driving Rain
Advanced Section: Recognizing a Failing Seal
Mastery: Solving for Complex Gaps & Pests
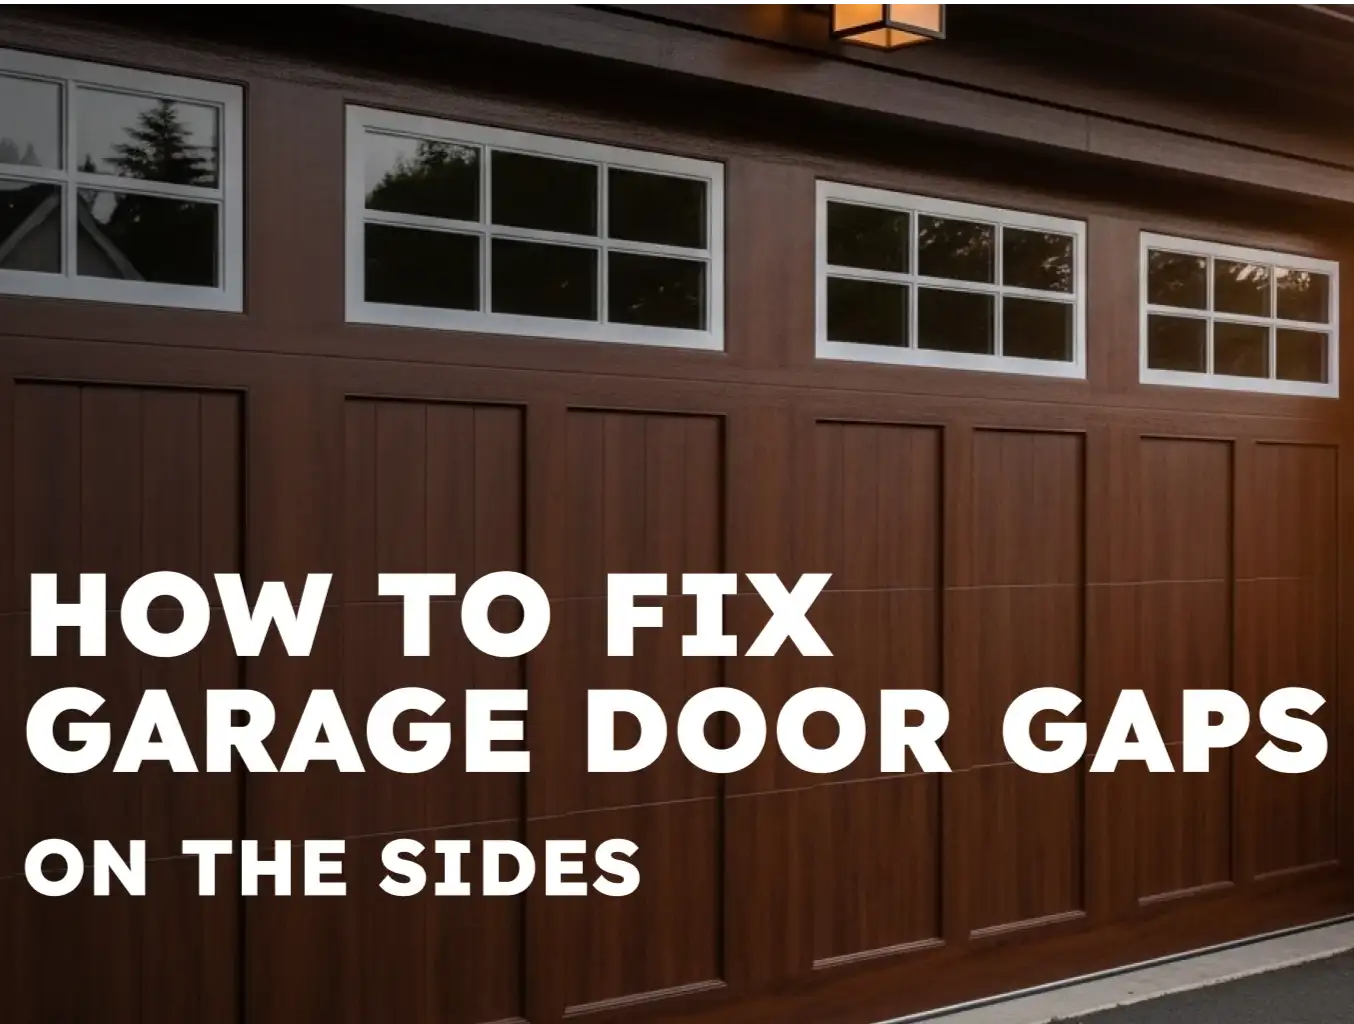
- For Warped Frames or Uneven Surfaces: EPDM is the clear winner here. Its flexibility allows it to compress and conform to irregular surfaces, filling gaps that a more rigid vinyl seal would miss. If you're struggling with this, our guide on how to fix garage door gaps on sides offers more detailed solutions.
- For Pest Control: Both materials, when properly installed, create a strong barrier. However, rodents can chew through vinyl if they are determined. EPDM's dense rubber composition can be slightly more resistant to chewing, providing an extra layer of defense against unwanted critters.
Action: Your 5-Step Visual Installation Guide
- New weatherstripping (EPDM or Vinyl)
- Utility knife or heavy-duty scissors
- Pry bar or flathead screwdriver
- Hammer and finishing nails (for wood frames) or self-tapping screws (for steel frames)
- Measuring tape
- Safety glasses

- Remove the Old Seal: Use a pry bar to gently pull the old, brittle seal and any existing nails away from the door frame.
- Measure and Cut the Top Piece: Measure the top of the garage door frame. Cut your new seal to this length. A 45-degree miter cut at each end will create a cleaner corner finish.
- Install the Top Piece: Press the seal against the door so it creates light but firm contact. Don't press it so tightly that it impedes the door's movement. Secure it with nails or screws every 10-12 inches.
- Measure and Cut the Side Pieces: Measure each side of the door frame from the top piece down to the floor. Cut your side seals to length.
- Install the Side Pieces: Attach the side seals just like the top piece, ensuring they form a tight seal in the corners.
Need more information?
Get a free quote
Frequently Asked Questions (FAQ)
What’s the real difference between rubber and vinyl seals?
Can a better side seal really lower my energy bills?
Will new side seals stop mice and other pests?
My garage door is old. Will this still work?
Your Next Step to a Better-Sealed Garage
You may also like