Our company logo

State

Troubleshooting Garage Door Keypad Not Working


Published: May 21, 2026

It’s a frustratingly common scenario: your garage door keypad has been faithfully serving you for years, but the battery finally gives out. You swap it for a fresh one, feeling accomplished, only to find… nothing. The keypad is completely unresponsive. No lights, no beeps, no door movement.

Don’t panic. You haven’t broken it, and this is usually a simple fix that doesn't require a service call. Before you start digging for the manual, try this quick checklist:

1. Double-Check the Battery: Is it installed correctly? Are the terminals clean?

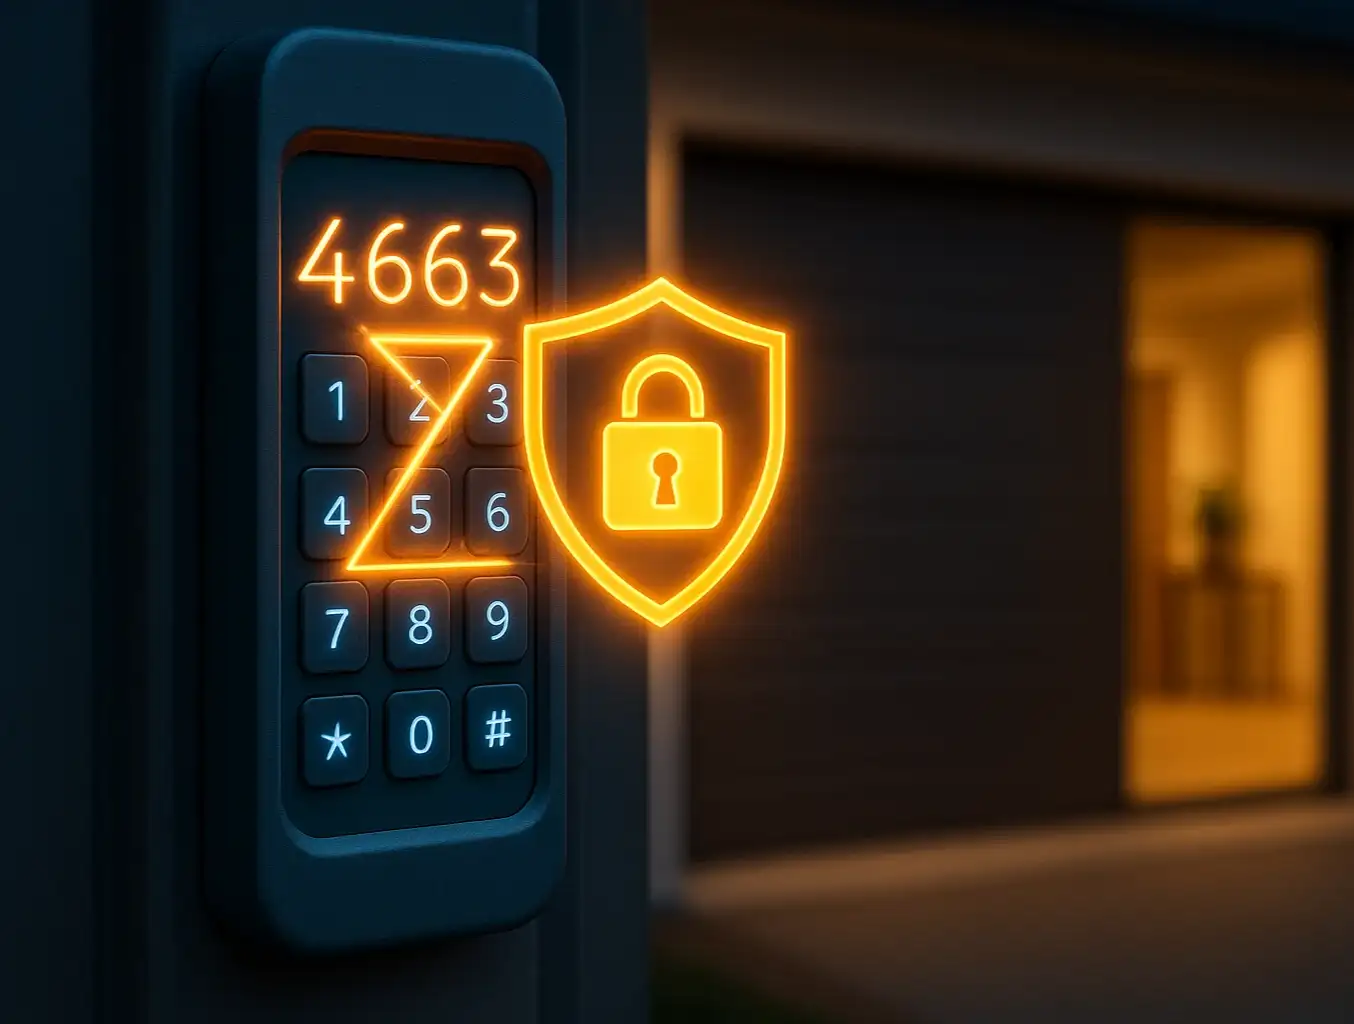
2. Reprogram the Keypad: The power loss likely wiped its memory.

3. Reboot the Opener: A quick power cycle can clear any glitches.

In this guide, we'll walk you through each step, from the simplest checks to the most common solution, and get your keypad working again in minutes.

The "Aha!" Moment: Why Your Keypad Has Amnesia


Power outage and keypad memory loss garage door illustration
Before we dive into the fixes, it helps to understand why this happens. Think of your wireless keypad like an old digital alarm clock. When you unplug it, it forgets the time and starts flashing "12:00."
Your keypad is similar. Changing the battery creates a power interruption that can erase its temporary memory, including the PIN and the radio connection to your main garage door opener unit. It hasn't forgotten how to work, it's just forgotten your specific settings. The solution isn't a new battery—it's re-teaching the keypad its code.

Power outage and keypad memory loss garage door illustration

The 5-Minute Troubleshooting Flow


Let's work through the potential issues, starting with the easiest and most common fixes.

Step 1: The Battery Check (Is it really the battery?)

It sounds obvious, but you’d be surprised how often the issue lies here. Before moving on, take 60 seconds to confirm the basics.
  • Check Polarity: Make sure the positive (+) and negative (-) ends of the battery are aligned correctly with the markings inside the compartment. It’s an easy mistake to make in a dimly lit garage.
  • Inspect the Terminals: Look at the metal contacts where the battery touches the keypad. Are they clean and shiny? If you see any white, powdery corrosion, gently scrub it off with a pencil eraser or a cotton swab dipped in a bit of vinegar.
  • Use a Fresh Battery: Was the "new" battery sitting in a drawer for five years? Grab a guaranteed fresh one directly from the package to eliminate any doubt.
LiftMaster, Chamberlain, and Genie keypad programming steps
When a garage door keypad not working after changing battery becomes an issue, these simple checks are your first line of defense.

Step 2: The 60-Second Reboot

Sometimes, the main opener unit just needs a quick reset to clear a communication glitch.
1. Unplug your main garage door opener unit from the ceiling outlet.
2. Wait for about 60 seconds. This gives the internal capacitors time to fully discharge.
3. Plug it back in.
Now, try your keypad again. If it still doesn't work, don't worry. The next step solves the problem over 90% of the time.

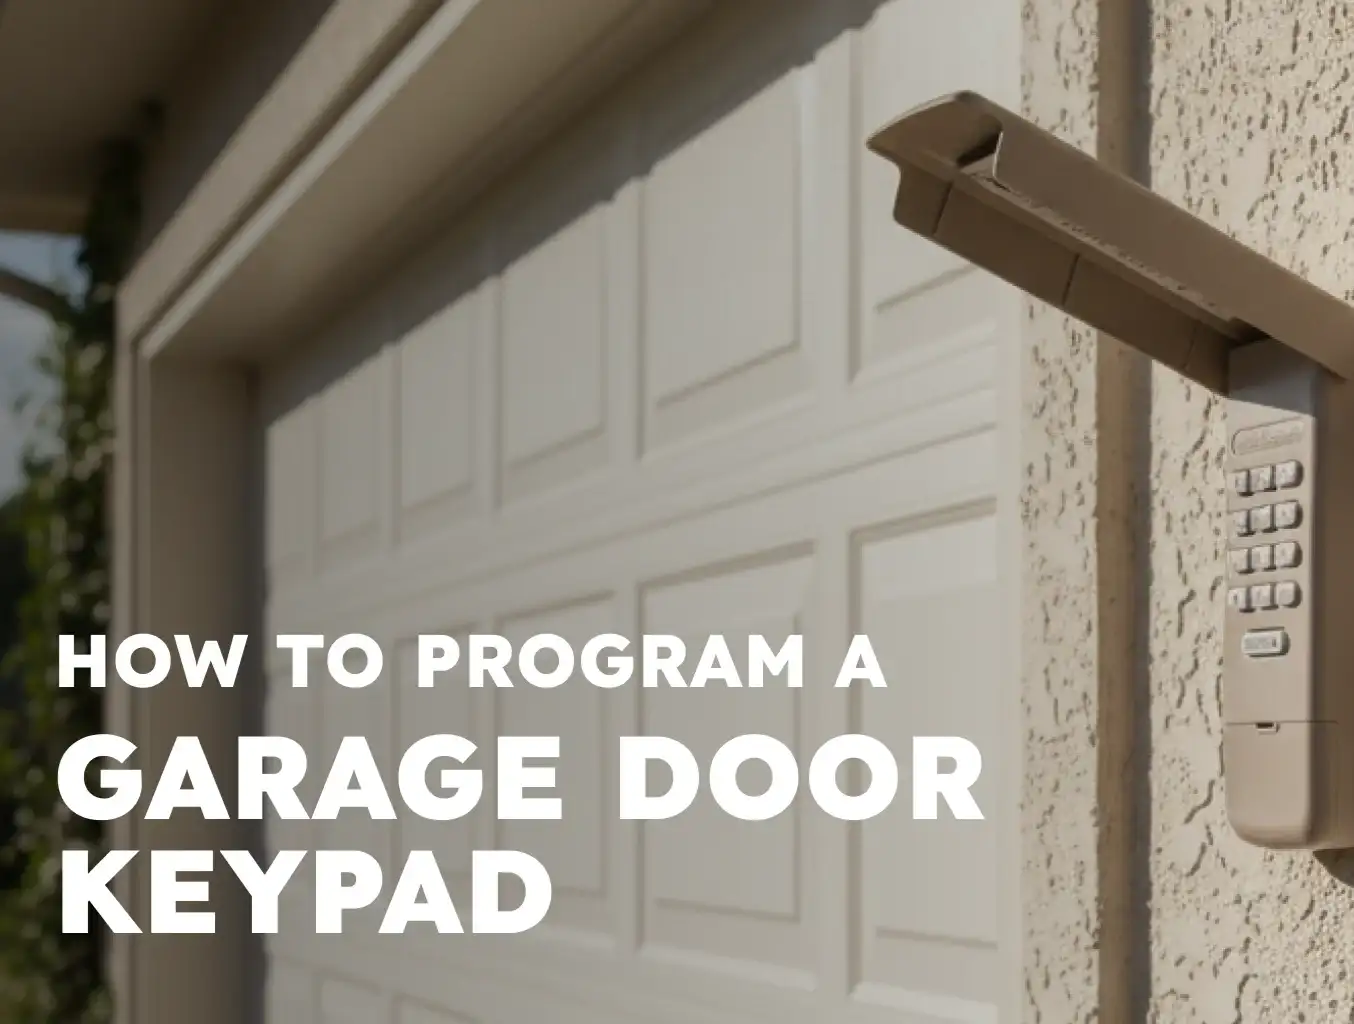
Step 3: Reprogramming Your Keypad (The Most Common Fix)

This is the most critical step. You need to re-establish the connection between your keypad and the opener. The process involves pressing the "Learn" button on your main opener unit.
Where is the "Learn" button? It's a small, square button located on the back or side of the motor unit hanging from your garage ceiling. It’s often next to a small LED light and may be red, orange, green, purple, or yellow.
Common Mistake Callout: Do NOT hold the "Learn" button down for more than a couple of seconds. A quick press puts it in "learning mode." Holding it down for 30 seconds or more will erase the memory of all your remotes and keypads, creating a much bigger job for you.
While the general steps are similar, the exact sequence to reprogram garage door keypad units can vary by brand. Here are quick guides for the most popular ones:

For LiftMaster & Chamberlain Keypads:

1. Press and release the "Learn" button on the motor unit. The LED light will turn on and stay steady for 30 seconds.
2. Within those 30 seconds, go to your keypad and enter the four-digit PIN you want to use.
3. Press and hold the "ENTER" button until you see the opener's lights blink or hear two clicks.
4. Test the keypad by entering your new PIN and pressing "ENTER." The door should operate.
If you are facing issues, a more detailed guide on how to reprogram a garage door keypad or a Liftmaster keypad reset can provide additional brand-specific tips.

For Genie Keypads:

1. Press and release the "Learn" button on the motor unit. The LED will start blinking.
2. On the keypad, enter your desired PIN (3-8 digits).
3. Press the "Up/Down" key once. The opener's LED should stop blinking and stay solid.
4. Press the "Up/Down" key again to confirm. The LED will go out.
5. Test the keypad by entering your PIN and pressing the "Up/Down" key.
For older models, you might need a specific guide for how to reprogram a Genie keypad, as the steps can differ slightly.
Did it work? If your keypad now operates the door, congratulations! If not, proceed to advanced troubleshooting.

LiftMaster, Chamberlain, and Genie keypad programming steps

Advanced Troubleshooting: When It's Not the Battery or the Code


If you've checked the battery and successfully reprogrammed the unit but the keypad still won't work, there might be a deeper issue at play. For a general overview of potential problems, understanding the 7 reasons why your garage door keypad is not working can provide more context.
Garage door issues: wiring, circuit board, and LED interference

  • Signal Interference: Believe it or not, some types of LED light bulbs can emit radio frequencies that interfere with garage door openers. If you recently installed new bulbs in your opener or nearby, try removing them and see if the keypad works.
  • Extreme Cold: In very cold weather, the LCD screen can freeze and the battery's power can be significantly reduced, making the keypad unresponsive. Try warming it up with a hairdryer on a low setting.
  • Frayed Wiring or Corrosion: Over time, moisture can get inside the keypad, causing corrosion on the circuit board or fraying the internal wires. Open the keypad cover and look for any visible signs of damage, like green or white buildup or broken wires.
At this stage, if you're not comfortable inspecting electronics, it might be time to consider a replacement or professional help. A simple garage door keypad installation is a quick job for an expert.
Garage door issues: wiring, circuit board, and LED interference

Need more information?

Frequently Asked Questions (FAQ)


Why is my keypad light blinking but not opening the door?

This usually means the keypad is sending a signal, but the opener isn't accepting it. This is a classic sign that it needs to be reprogrammed. Follow the reprogramming steps in this guide.

Do I need the original PIN to reprogram my keypad?

No. When you reprogram, you are creating a new PIN. You do not need to know the old one. This is also how you can reset a garage door keypad if you've forgotten the code.

How often should I change my garage door keypad battery?

Typically, a keypad battery should last one to two years, depending on usage and climate. It's a good idea to change it annually as part of your regular home maintenance schedule.

Can I use any type of battery in my keypad?

Always check your user manual, but most keypads use a standard 9-volt battery. Using a high-quality alkaline or lithium battery can provide longer life, especially in cold climates.

When It’s Time to Call a Professional


You've followed every step, tried reprogramming multiple times, and even inspected the internal wiring, but the keypad remains unresponsive. At this point, the keypad itself has likely failed and needs to be replaced.
While you've done an excellent job troubleshooting, our team of licensed technicians at Up & Down Garage Doors is always here to help. With 24/7 availability and a commitment to fair pricing, we can diagnose the issue definitively and install a new, reliable keypad to get you back in control of your garage. Your peace of mind is just a call away.

You may also like


blog photo

Best Practices for Garage Door Keypad Security

Your garage door keypad is a marvel of convenience. It lets you jog without keys, gives the kids access after school, and lets a trusted neighbor in when you’re away. But have you ever stopped to think about the code you’re using? That simple four-digit number is essentially a key to your home. Is it a strong, complex lock or the equivalent of leaving a key under the doormat? Too often, we set our keypad code to something easy—a birthday, an anniversary, or the dreaded "1-2-3-4"—and never think about it again. While convenient, these simple codes can be a security risk. The good news is that securing this vital entry point is simpler than you think. It starts not just with what code you choose, but with understanding the powerful technology working behind the scenes.