How to Replace a Garage Door Opener: Complete DIY Guide for Homeowners
Published: Jul 17, 2025
A properly working garage door opener is an important part of daily life. Unfortunately, when yours starts making strange noises, lags, or stops working altogether, it can disrupt your routine. Up & Down Garage Doors shows you how to replace a garage door opener with confidence, making it easy to get back to everyday convenience.
Signs It’s Time for a New Opener
You might hear odd noises, see delayed responses from your remote or wall switch, or realize your opener is missing updated safety features like rolling codes. If your unit keeps breaking down even after being fixed, it might be time to seriously consider how to get a new garage door opener.
Tools Needed to Replace a Garage Door Opener
To get started, grab a sturdy stepladder, a power drill, screwdrivers, wrenches, and sockets. You’ll also need a garage door opener kit, which includes the rails (to guide the door), sensors (for safety), and mounting hardware (to attach components). Don’t forget safety glasses and gloves — they’ll help protect you while you work.
How to Change a Garage Door Opener: Step-by-Step
Step 1: Disconnect and Remove the Old Opener
Make sure the door is closed before you start. Cut the power to your existing opener — either unplug it or turn it off at the breaker. Carefully detach it from the ceiling brackets and the door arm. Take down the safety sensors and wall control as well.

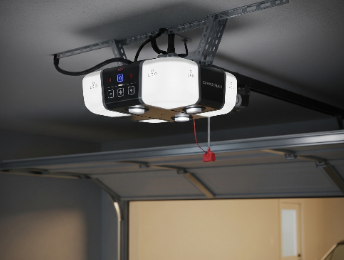
Step 2: Assemble the New Opener
Follow the instructions provided with your new opener to put together the rail, motor, and drive system, whether it’s belt- or chain-driven.
Step 3: Mount the New Unit
Secure the opener to your ceiling joists. Then, attach the rail to the garage door, making sure everything is aligned correctly.
Step 4: Install Safety Features
Set up the safety sensors about six inches from the floor on both sides of the door. Mount the wall control and run the wires neatly along the ceiling and walls.
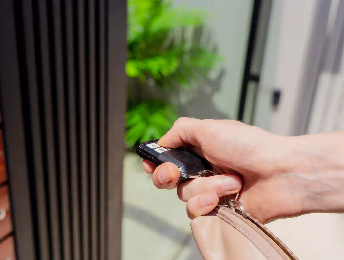
Step 5: Power Up and Test
Plug in the opener or turn the breaker back on. Program your remotes, then test the door’s full opening and closing cycle several times to make sure it operates smoothly.
For more details, check out our guide on how to install a garage door opener.
How Hard Is It to Replace a Garage Door Opener

You’ve got the tools and the guide, but you might still wonder: how hard is it to replace a garage door opener on your own? For a handy homeowner, it usually takes 3 to 4 hours. Start by removing the old unit, then assemble the new one, mount it securely, install the safety sensors, and run a full test to confirm everything works properly.
That said, tight spaces, uneven ceilings, and damaged wiring can make things tougher. Replacing a garage door opener is a satisfying DIY project, but if it becomes too challenging, consider reaching out to a professional. At Up & Down Garage Doors, we help you choose and install the right opener with less hassle. Feel free to contact us for expert service — we’ll make sure your opener works like new.
Common Questions Homeowners Ask
Can you replace a garage door opener yourself?
Yes, many homeowners can replace a garage door opener themselves if they’re comfortable with tools and following setup instructions. Otherwise, a professional can handle it quickly and safely.
Do I need a permit to change a garage door opener?
Usually not, but it’s worth checking with your local building office.
How long does a garage door opener last?
Most garage door openers last between 10 to 15 years with regular use and proper maintenance.
You may also like