Our company logo

State

Garage Door Learn Button Not Working for Your Car


Published: Mar 27, 2026

You’re sitting in your new car, that new-car smell still fresh, ready for the final touch: programming the built-in garage door opener. You follow the car manual’s instructions, press the button on your ceiling-mounted opener, and… nothing. You try again. The little light next to the "Learn" button refuses to blink, staying stubbornly off or solidly lit.

It’s a frustrating moment, and your first thought is probably, “Great, the button is broken.”

Here’s the good news: the Learn button itself is rarely the problem. Think of it less as a button and more as a "go" signal. If it’s not responding, it usually means something else is preventing your opener from getting that signal. The issue isn't a broken part; it's a communication breakdown.

This guide is your friendly troubleshooter. We’ll walk through the most common reasons your opener is giving you the silent treatment and how to fix them, starting with the simple 5-minute checks before moving on to more advanced steps.

Foundation: The 5-Minute Fixes


Before you start unscrewing covers or resetting everything, let’s rule out the three most common culprits. These simple checks solve the problem for a surprising number of people.

1. Check for "Lock Mode"

Many modern wall-mounted garage door controls have a "Lock" or "Vacation" button. When activated, it’s designed to disable all remote signals as a security feature. This is the number one reason a Learn button seems unresponsive—it's doing exactly what it's told to do.
  • How to Check: Look at the main wall control panel inside your garage. Is there a light next to a "Lock" icon that's illuminated or blinking?
  • The Fix: Press and hold the Lock button for a few seconds. The light should turn off, deactivating the feature. Now, try pressing the Learn button on the main opener unit again. If you need a more detailed walkthrough, our guide on how to turn off the lock button on a garage door opener can help.
Side-by-side comparison of common learn button issues with clear solutions simplifies troubleshooting and speeds decision confirmation.

2. Rule Out Signal Interference

Garage door openers operate on specific radio frequencies. Other electronic devices, especially certain types of LED light bulbs, can emit frequencies that jam the signal, preventing the opener from "hearing" your remote or its own Learn button command.

  • How to Check: Did you recently install a new LED bulb in or near your garage door opener?
  • The Fix: Unscrew the light bulb(s) from the opener unit itself. Unplug any other new electronics in the garage, like shop lights or charging stations. Try the Learn button again. If it works, you’ve found your signal blocker. Look for "garage door opener compatible" or low-interference LED bulbs.

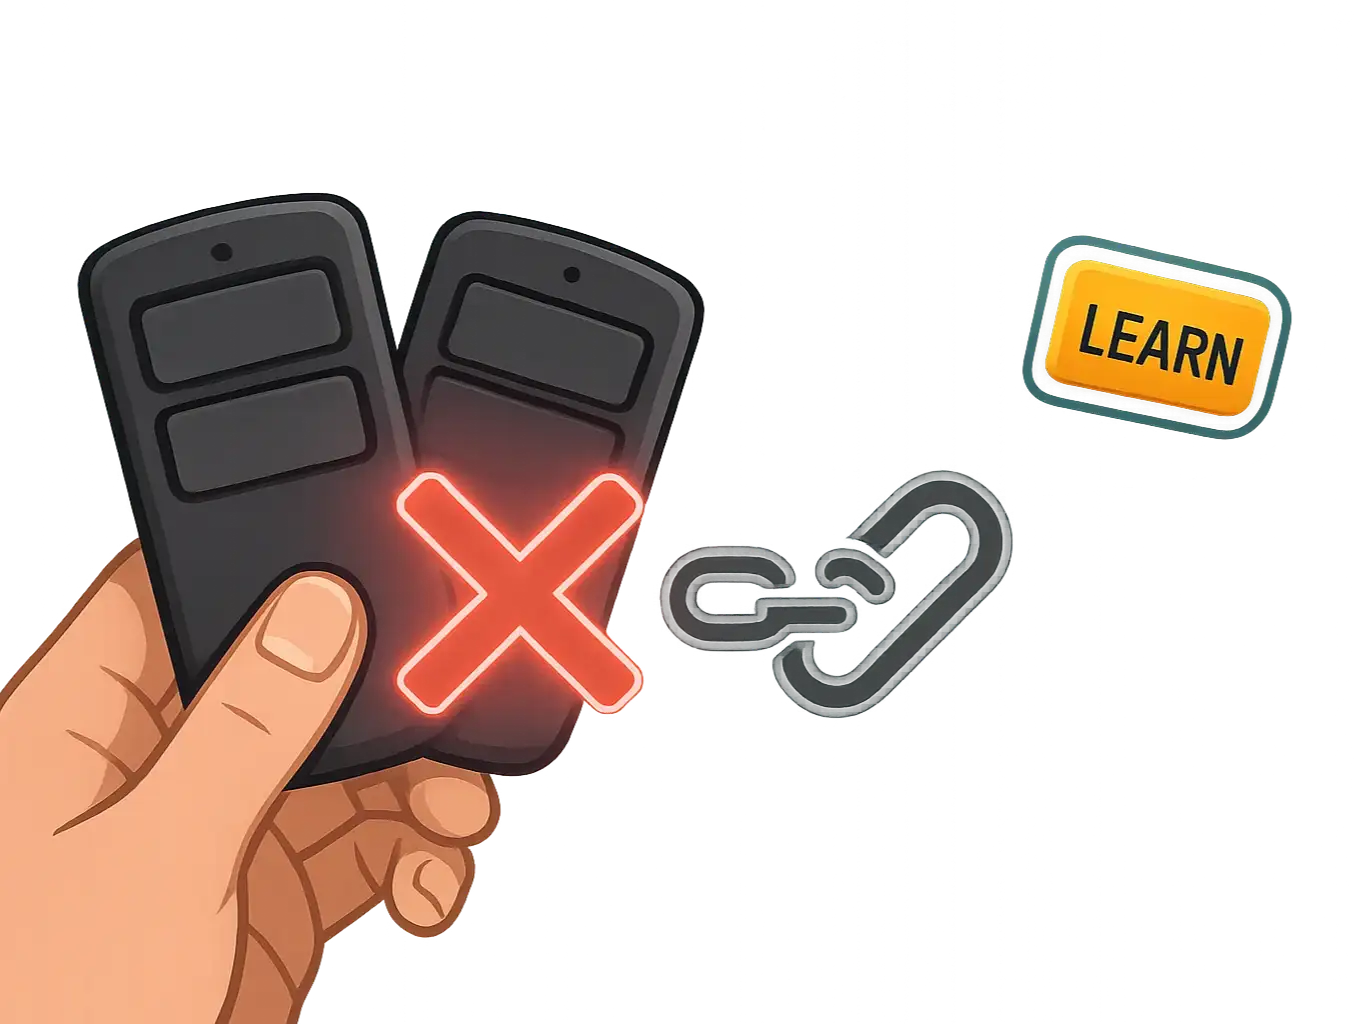
3. Confirm Your Handheld Remote Works

Before programming your car, you need a baseline. Does a standard, handheld garage door remote work correctly? If your remotes have also stopped working, it points to a problem with the opener itself, not your car.
  • How to Check: Grab your regular clicker. Does it open and close the door? If not, try replacing its battery.
  • The Fix: A fresh battery in your primary remote is a crucial first step. If a new battery doesn't solve the issue with your clicker, you'll need to dig deeper. Check out our simple garage door opener remote troubleshooting guide for more tips.
Side-by-side comparison of common learn button issues with clear solutions simplifies troubleshooting and speeds decision confirmation.

Building: Systematic Troubleshooting


If the quick fixes didn't do the trick, it’s time for a more methodical approach. We'll perform a system reset to clear out any potential glitches and confirm the opener’s receiver is working properly before trying to program your car again.
⚠️

Important Warning Before You Start

Pressing the Learn button for 1-2 seconds puts it in pairing mode. Holding the Learn button down for 6+ seconds will erase the memory of ALL paired remotes and keypads. The following step involves intentionally erasing the memory, so be prepared to reprogram your existing remotes afterward.

Step 1: Clear the Opener's Memory

Sometimes, the opener's internal memory can become full or corrupted, especially in older models that can only store a limited number of devices. Wiping the memory gives you a clean slate.
  • How to Do It: Press and hold the Learn button on your opener unit for about 6-10 seconds. The indicator light will either blink and then go solid or turn on and then turn off, depending on the brand. This confirms the memory has been erased.
  • Why It Works: This forces a hard reset of the opener's logic board, clearing out any stored codes that might be causing a conflict. If you'd like a more detailed guide for your specific brand, see our instructions on how to reset a garage door opener.
Use this expert troubleshooting flowchart to quickly identify and fix learn button issues with confidence.

Step 2: Re-Program a Handheld Remote

This is the most important diagnostic step. Do not try to program your car yet. First, you must confirm that the opener can successfully pair with a simple handheld remote after the reset.

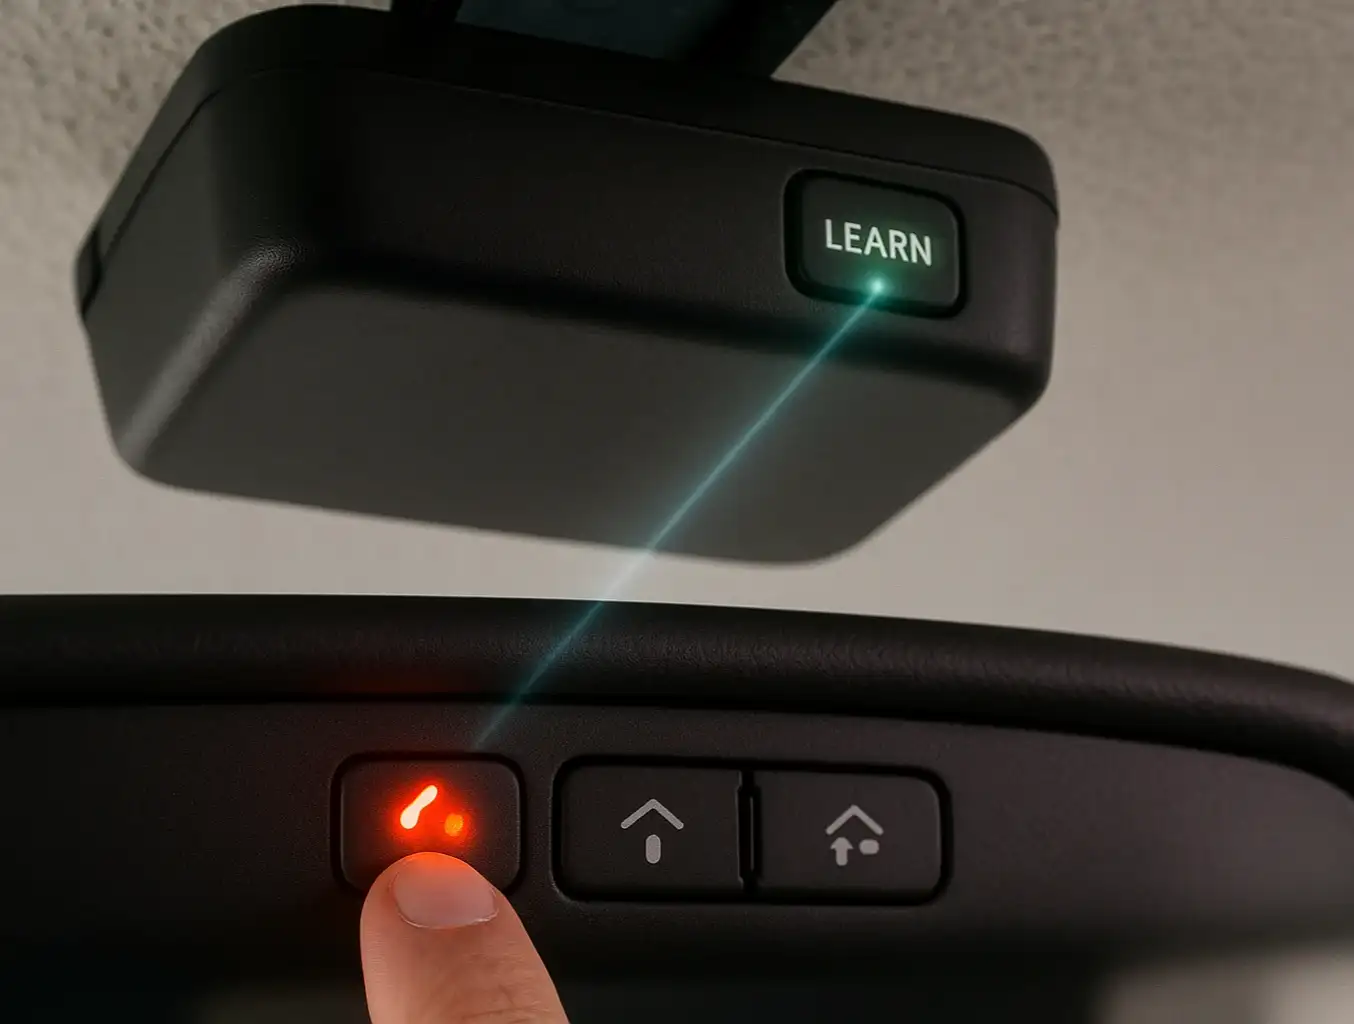
  • How to Do It: With the memory cleared, press and release the Learn button one time. The indicator light should now blink or stay solid, signaling it's in pairing mode. Within 30 seconds, press the button on your handheld remote. The opener light should flash or you'll hear a click to confirm the pairing was successful.
  • Why It Works: If this step is successful, you've just proven that the Learn button and the opener's radio receiver are working perfectly. The problem isn't with the opener; it's likely with the car programming sequence. If it fails, it points to a deeper issue with the opener itself. For more detailed instructions, you can learn how to reprogram your garage door opener.

Step 3: Program Your Car's System

Now that you have a freshly reset opener and a confirmed working remote, you can try programming your car's built-in system (like HomeLink) again. Follow your vehicle manufacturer's instructions precisely, as the process can vary.
Use this expert troubleshooting flowchart to quickly identify and fix learn button issues with confidence.

Mastery: Advanced Diagnostics


If you've reached this point and the Learn button still won't enter pairing mode (i.e., the indicator light doesn't respond when you press it), the issue is more advanced. Here’s how to investigate further.

Deeper Radio Frequency (RF) Interference

We mentioned LED lights, but other electronics can be culprits too. This interference can sometimes be strong enough to prevent the logic board from functioning correctly, which can even cause strange issues like your garage door opening by itself.
Things to Check: Look for nearby wireless security systems, baby monitors, landscape lighting transformers, or faulty power tool battery chargers. Try unplugging them one by one to see if the Learn button function returns.
Visualize interference factors blocking your learn button to troubleshoot smarter and choose the right equipment.

Faulty Wall Control Wiring

The wiring that connects your wall control to the opener unit can become shorted or damaged. This can send a constant, confusing signal to the logic board, preventing it from accepting any new commands.
How to Test: Disconnect the wires from the back of the wall control panel. Make sure the bare ends aren't touching each other. Now try pressing the Learn button on the main unit. If it works, the problem is either with the wiring or the wall control panel itself.

Symptoms of a Failed Logic Board

If you've tried everything above and the Learn button (and its indicator light) is completely dead, it’s possible the logic board—the opener's "brain"—has failed.
Telltale Signs:

  • The opener doesn't respond to the wall control or any remotes.
  • The main light on the opener unit won't turn on.
  • You see visible burn marks on the circuit board.
  • The Learn button light doesn't illuminate at all, no matter what you do.
Visualize interference factors blocking your learn button to troubleshoot smarter and choose the right equipment.

Need more information?

Action: Workarounds & Next Steps


If you suspect a failed logic board, you’re not out of options. Replacing a logic board can be expensive and complex, but there are alternatives.

Option 1: Use a Universal Remote Kit

A universal remote kit comes with its own receiver that plugs into a standard wall outlet. You connect this new receiver to the same terminals your wall button uses on the opener. This completely bypasses the faulty logic board, giving your opener a new "brain" for receiving signals. You would then program your car to this new receiver.
Follow a clear roadmap of alternative solutions and pro options to fix learn button issues and program your car.

Option 2: Program Your Car Without a Handheld Remote

In some cases, the issue is simply that you don't have a working remote to use as the "bridge" during programming. There are specific methods for this scenario. If your opener is working but you just don't have a remote, you can learn how to program a garage door to a car without a remote by using the Learn button directly.

Option 3: Call a Professional

If you’ve run through this entire guide and are still stuck, it’s time to call for backup. A professional technician can quickly diagnose a faulty logic board, check for complex wiring shorts, or identify compatibility issues between your car and opener. They have the tools and experience to provide a definitive solution, saving you further frustration. For a complete list of checks, you can review our DIY garage door opener troubleshooting page.

Follow a clear roadmap of alternative solutions and pro options to fix learn button issues and program your car.

Frequently Asked Questions


Where is the learn button on a garage door opener?

The Learn button is typically located on the back or side of the motor unit mounted on your garage ceiling. It's usually a small, square button next to an LED indicator light. Its location can vary by brand, so we've created a handy guide to help you find out where the learn button is on a garage door opener for major models like Chamberlain, LiftMaster, and Genie.

What do the different color learn buttons mean?

The color of the Learn button often indicates the technology and radio frequency the opener uses.

  • Purple/Brown: Security+ (315 MHz), typically made from 2005-2014.
  • Red/Orange: Security+ (390 MHz), common in models from 1997-2005.
  • Green: Billion Code (390 MHz), found in openers from 1993-1997.
  • Yellow: Security+ 2.0 (communicates on multiple frequencies), the standard for most modern openers. Knowing the color is crucial for buying compatible remotes or keypads.

Why is my learn button light blinking?

A blinking light on the opener often indicates an issue with the safety sensors (the two small "eyes" near the bottom of the door tracks). Check to see if they are aligned (both sensor lights should be solid) and that nothing is obstructing them. While this usually prevents the door from closing, it can sometimes interfere with programming functions.

How do I know if my garage door opener’s memory is full?

The most common symptom is that the opener will not accept any new remotes or keypads, even though the existing ones still work. When you try to program a new device, the Learn button might not respond as expected, or the programming sequence will fail. Clearing the memory (as described in Step 1 of our troubleshooting) is the best way to resolve this.

You may also like


blog photo

Troubleshooting HomeLink & Car2U Programming Failures Without a Remote

It should be simple, right? Press a button on your garage door opener, hold a button in your car, and voilà—the two are paired. But if you’re reading this, you probably know it’s rarely that easy, especially when you don't have the original remote. You’ve followed the manual, watched a few videos, and now you're stuck in a loop of blinking lights that don’t actually open the door. It’s a common frustration, and most guides don't cover the real-world glitches that stop you in your tracks. This isn’t just another set of instructions. This is a diagnostic guide. We’re going to walk through why these systems fail and provide the troubleshooting steps that are usually buried in the comments section of enthusiast forums. Think of this as the conversation you’d have with a knowledgeable friend who’s seen—and solved—this problem a dozen times.

blog photo

Why Can't I Program My New Garage Remote From My Old One

You remember the old days, right? You'd get a new garage remote, hold it next to the old one, press a few buttons, and—presto! A perfect copy. It was simple and it worked. But you just tried that with your new remote, and... nothing happened. You're not doing it wrong; the technology has simply gotten a lot smarter and a lot more secure. If you’ve been searching for answers on how to program a garage door remote from another remote, you’ve likely discovered that for most modern openers, it’s no longer possible. This change wasn't made to frustrate you. It was a crucial security upgrade designed to protect your home. Let's pour a cup of coffee and break down exactly what changed, why it matters, and how you can get your new remote working in minutes.