Our company logo

State

Mounting Garage Door Tracks to Different Wall Materials


Published: May 1, 2026

You’ve just unboxed a brand-new garage door. The panels are pristine, the hardware gleams, and you’re envisioning a smooth, quiet operation. You grab the vertical tracks, hold them up to the wall, and suddenly, the project hits a snag. The instructions show a simple bolt going into a wood stud, but you’re staring at a solid concrete wall. Or maybe it’s a modern garage framed with metal studs.

This is the moment many ambitious DIYers and even new technicians realize that a successful garage door installation isn’t just about the door—it’s about the wall it’s attached to. The wall material is the unsung hero, the foundation that determines whether your door operates flawlessly for decades or becomes a wobbly, misaligned headache in a matter of months.

Getting this single detail right is the difference between a secure, long-lasting installation and a costly, dangerous failure. Let’s break down how to master the mount, no matter what your garage walls are made of.

Foundation: The Anatomy of a Secure Garage Door Track


Diagram showing forces on garage door tracks
Before we grab a drill, it’s crucial to understand the forces at play. A garage door track isn’t just a simple guide rail. It’s a structural component that bears a significant load. Every time your door opens and closes, the tracks manage:

  • Vertical Load: The entire weight of the door is transferred through the rollers to the tracks.
  • Lateral Forces: As the door moves, it exerts side-to-side pressure, especially if it’s buffeted by wind or accidentally bumped.
  • Vibrational Stress: The constant motion of the motor and rollers creates vibrations that can loosen poorly chosen fasteners over time.
The hardware connecting the track to the wall, particularly the garage door track brackets, is designed to handle these immense forces. But those brackets are only as strong as their connection to the wall. If the anchor fails, the entire system fails.
Diagram showing forces on garage door tracks

Building: The Core Techniques for Each Wall Type


The secret to a rock-solid installation is matching the fastener and technique to your specific wall material. There is no one-size-fits-all solution.

The Standard: Mounting to Wood Studs

This is the most common scenario found in residential garages across the country. Wood framing provides an excellent, strong anchor point—if you do it correctly.
Best Fastener: 3/8" x 1 1/2" lag screws are the industry standard. They have the coarse threading needed to bite deep into the wood and the shear strength to handle the load.
Technique:
  • Find the Center: Use a high-quality electronic stud finder to locate the exact center of the wood studs. Marking just the edge can lead to a weak connection.
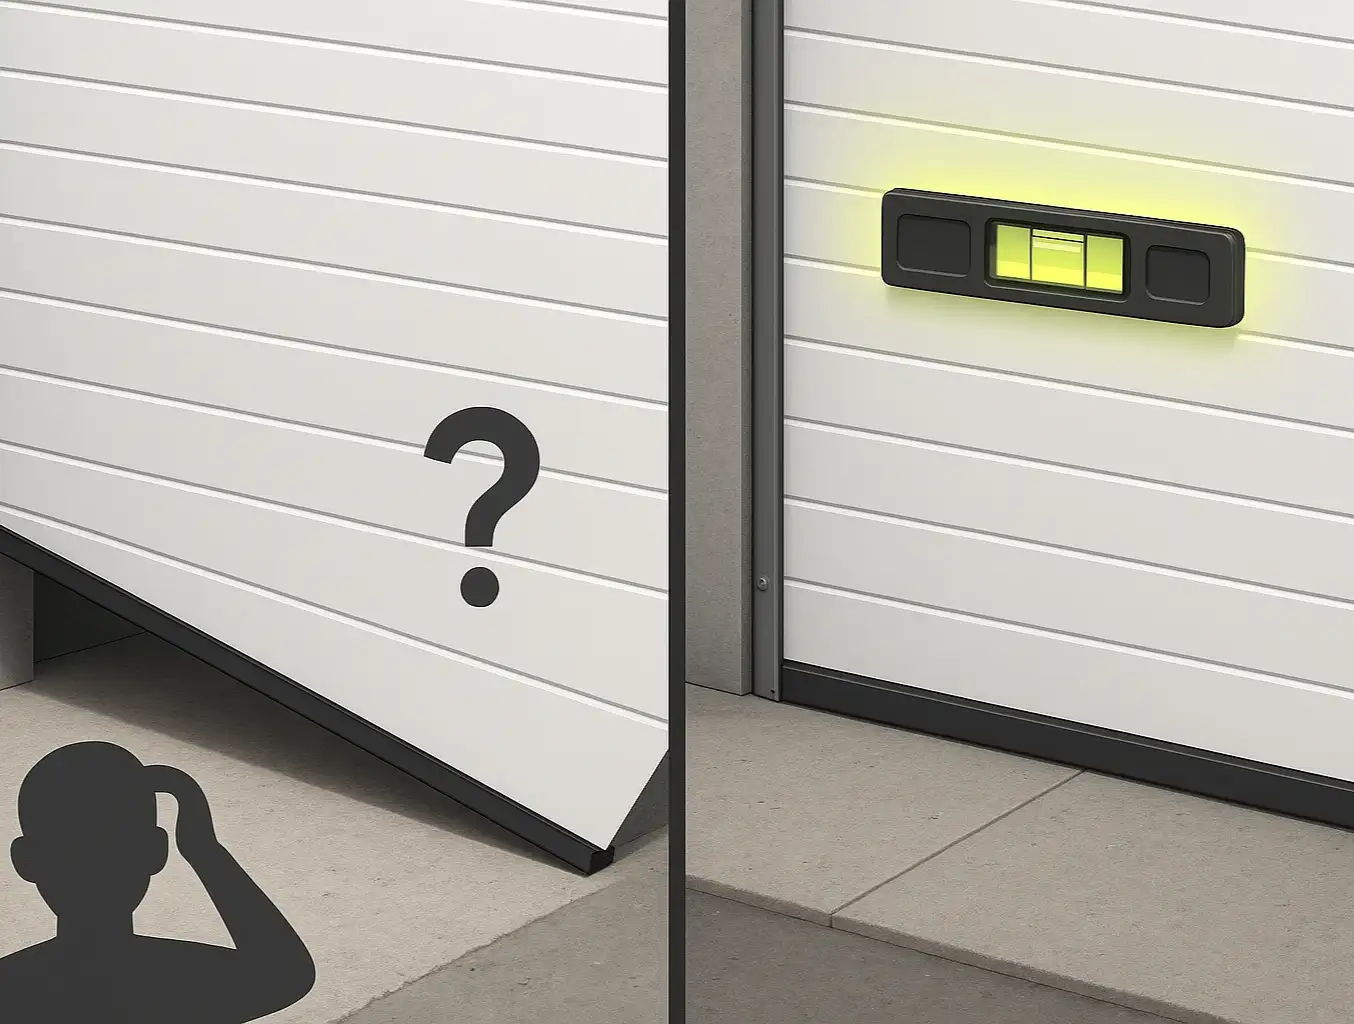
  • Plumb the Track: Hold the vertical track in place and use a level to ensure it is perfectly plumb (vertically straight). A crooked track is a primary cause of binding and roller damage.
  • Drill Pilot Holes: Always drill pilot holes for lag screws. A 3/16" or 1/4" drill bit is typically appropriate. This prevents the wood from splitting and allows the screw to seat without excessive force.
  • Secure, Don't Over-Tighten: Drive the lag screws using a ratchet or impact driver until the bracket is snug against the wall. Over-tightening can strip the wood or crush the drywall, weakening the connection.
Fastener Matrix chart for garage door track installation
For a complete walkthrough of the process, our guide on garage door track installation provides step-by-step details.

The Powerhouse: Securing Tracks to Concrete & Block Walls

Garages with concrete or cinder block walls require a different approach. You need fasteners designed to expand and grip the unforgiving masonry.
Best Fasteners:
Sleeve Anchors: Excellent for both concrete and block, these expand along their entire length, providing a very secure grip. A 3/8" diameter anchor is a robust choice.
Wedge Anchors: Best suited for solid concrete. They offer immense holding power but can put too much pressure on hollow block, potentially causing cracks.
Concrete Screws (e.g., Tapcon): Good for lighter-duty applications, but for the main vertical tracks, a heavy-duty expanding anchor is often preferred.
Technique:

  • Choose the Right Bit: Use a hammer drill with a carbide-tipped masonry bit that matches the exact diameter specified for your anchor.
  • Drill to Depth: Drill the hole about 1/2" deeper than the anchor length. This provides space for dust and debris, ensuring the anchor can be fully inserted.
  • Clean the Hole: This is the most skipped—and most critical—step. Use a wire brush and compressed air (or a small vacuum) to remove all concrete dust from the hole. Debris prevents the anchor from expanding properly and dramatically reduces its holding power.
  • Set the Anchor: Tap the anchor into the hole and tighten the nut. You will feel it "set" as the sleeve or wedge expands. Do not over-torque, as this can crack the surrounding concrete.

The Finesse Move: Anchoring to Metal Studs

This is where many installations go wrong. You cannot mount heavy garage door tracks directly to standard light-gauge metal studs. They simply lack the structural integrity and will buckle or tear under the load.
Best Fastener: You will fasten to a wood intermediary, not the stud itself. Lag screws (into the wood) are used.
The Correct Technique: The Wood Jamb
  • Create a Mounting Surface: Before drywall is installed, a continuous 2x6 or 2x8 piece of wood (often called a wood jamb or mounting board) must be securely fastened to the metal studs. This board runs the full height of the garage door opening.
  • Anchor to the Board: You then mount the garage door track brackets to this solid wood surface using standard lag screws, just as you would with a wood-framed wall.
  • What if there's no wood? If the wall is already finished, you must cut away the drywall to install this wood jamb. Alternatively, a piece of reverse angle iron can sometimes be bolted to the metal studs to create a stronger anchor point, but this is a more advanced technique.
Fastener Matrix chart for garage door track installation
This method is a core part of a proper overhead door installation in commercial or modern residential construction. Attempting to use self-tapping screws directly into a single metal stud is a recipe for failure.

Mastery: Troubleshooting Common Mounting Challenges


Even with the right plan, you can run into issues. Here’s how to handle them.

What if My Walls Are Uneven?

If a concrete wall is bowed or a wood frame isn't perfectly flat, do not simply tighten the bolts and bend the track. This will cause the door to bind. Instead, use shims (wood or plastic) behind the brackets to create a perfectly plumb and straight line for the track.

How Do I Deal with Drywall?

Always mount through the drywall directly to the structural member behind it (wood stud, concrete, or wood jamb). Drywall has zero structural strength. You may need longer fasteners to account for the thickness of the drywall.

A Stud Isn't Where I Need It To Be!

This is common in older homes or with non-standard framing. This is another scenario where adding a wood mounting board is the best solution. You can anchor the board across two or more studs, creating a solid surface right where you need to attach the track bracket. This is often the first step in learning how to fix a crooked garage door, as improper mounting is a leading cause of misalignment. A misaligned track can easily lead to a situation where you need to figure out how to put the garage door back on track.

Action: Your Pre-Installation Safety & Tool Checklist


Pre-installation checklist for mounting garage door tracks
Before you begin, a few minutes of preparation can save hours of frustration and prevent accidents. A garage door system is under extreme tension, and safety must be your top priority. Always be careful of pinch points and understand the risks involved.

Pre-installation checklist for mounting garage door tracks

Need more information?

Frequently Asked Questions (FAQ)


What's the most common mistake when mounting garage door tracks?

The most common and dangerous mistake is using the wrong fastener for the wall material—specifically, attempting to anchor tracks directly to drywall or light-gauge metal studs without a proper wood jamb. The second is failing to properly clean dust out of drilled holes in concrete, which severely compromises the anchor's strength.

Can I use the same fasteners for all wall types?

Absolutely not. Each wall material requires a specific type of fastener designed for its density and composition. Using a lag screw in concrete will do nothing, and a concrete anchor in wood will just destroy the wood fiber.

How do I know if my tracks are mounted securely?

Once installed, give the tracks a firm pull and push. There should be zero give, wiggling, or movement. The track and bracket should feel like an integral part of the wall itself. If you see any movement, the anchor is not secure.

Is this a DIY job, or should I call a professional?

If you have a straightforward wood-stud installation and are comfortable with tools, it can be a manageable DIY project. However, for concrete, block, or metal stud walls, the risks are higher. An improper installation can lead to catastrophic door failure. When in doubt, consulting a professional technician is the safest and most reliable choice. Understanding how to handle a manual garage door is one thing, but a full installation is another level of complexity.

The Foundation of a Flawless Garage Door


The performance and longevity of your garage door don’t start with the door itself—they start with the wall. By taking the time to understand your wall material and choosing the correct mounting technique, you are laying the foundation for years of safe, smooth, and reliable operation.
If you’re looking at your garage walls and feeling uncertain, that’s a sign to pause. An expert eye can assess your situation and ensure the job is done right. At Up & Down Garage Doors, we’ve handled every type of wall construction imaginable, and we’re here to help you build a foundation of safety and quality that lasts.

You may also like


blog photo

How to Square and Level Garage Door Tracks on Uneven Garage Floors

That wedge-shaped gap under your garage door isn't just an eyesore—it's a puzzle. You’ve probably tried everything, nudging the tracks left and right, hoping to close it. But the more you adjust, the worse the door seems to run, grinding and binding in its new position. Here’s the secret the pros know: The gap under your garage door isn't the real problem. It’s a symptom. The real problem is that you’re trying to make your garage door conform to an uneven floor, but it was designed to operate in a perfectly square and level world. Trying to fix the gap by adjusting the tracks is like trying to fix a crooked picture by tilting the wall. It’s a frustrating, counterintuitive process that will never work. In this guide, we'll show you the right way to think about alignment, so you can achieve a perfectly smooth-running door, even if your garage floor has more slopes than a ski resort.