Troubleshooting HomeLink & Car2U Programming Failures Without a Remote
Published: Mar 26, 2026
It should be simple, right? Press a button on your garage door opener, hold a button in your car, and voilà—the two are paired. But if you’re reading this, you probably know it’s rarely that easy, especially when you don't have the original remote.
You’ve followed the manual, watched a few videos, and now you're stuck in a loop of blinking lights that don’t actually open the door. It’s a common frustration, and most guides don't cover the real-world glitches that stop you in your tracks.
This isn’t just another set of instructions. This is a diagnostic guide. We’re going to walk through why these systems fail and provide the troubleshooting steps that are usually buried in the comments section of enthusiast forums. Think of this as the conversation you’d have with a knowledgeable friend who’s seen—and solved—this problem a dozen times.
Foundation: The 2-Minute Pre-Flight Checklist Before You Program

- Clear the Slate: Your car's HomeLink or Car2U system might have old codes stored from a previous owner or failed attempts. Wiping these is the essential first step. If you're unsure how to clear garage door opener codes from your car, it usually involves holding the two outer buttons in your car for about 20 seconds until the indicator light changes.
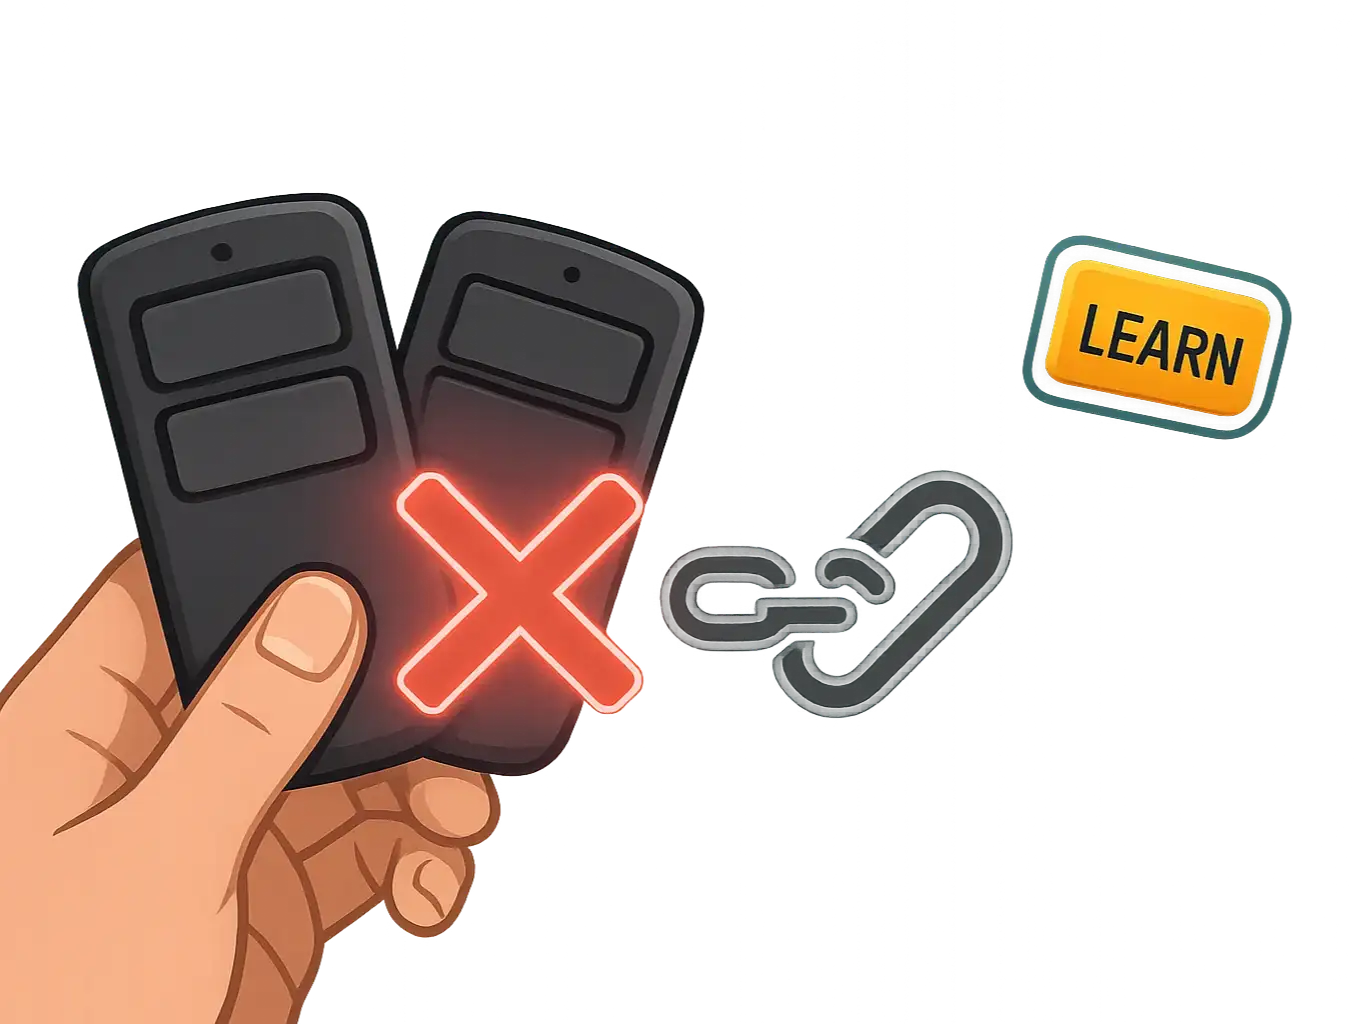
- Find Your "Learn" Button: This is the most important button in the whole process. Go to the motor unit of your garage door opener (the box hanging from the ceiling) and locate the "Learn" button. It’s usually a small, square button next to an LED light. Note its color (purple, red, orange, green, or yellow), as this can be important for troubleshooting later.
- Position Your Vehicle: Don’t try to program from inside a closed garage. The signal can be unpredictable. Park your car just outside the garage, with the nose pointed toward the door. This ensures the strongest, clearest signal path between your car and the opener unit.
- Grab a Partner (or a Ladder): The process requires you to press the "Learn" button on the opener and then get back to your car within about 30 seconds. Having a second person makes this much smoother and safer than scrambling up and down a ladder.
Building: The Two Paths to Success: Choose Your Method
- Method A: Cloning an Existing Remote: This is what most people think of first. You hold a working remote near your car's button and the car "learns" its signal. This is great if you have a remote, but useless if you don't. We have a separate guide if you need to program a garage door remote from another remote.
- Method B: Pairing Directly to the Opener ("Learn" Button Sync): This is the method you need. You're not cloning anything; you're creating a brand new, secure connection directly between your car and the opener's main unit. This is necessary for virtually all modern openers that use "rolling code" technology—a security feature where the code changes every time you use it.

Your Step-by-Step Guide for the "Learn Button" Method
- Prepare the Car: Get in your car (which is parked outside). Press and hold the HomeLink button you want to program. Keep holding it.
- Activate Learning Mode: While still holding the button in your car, have your helper press and immediately release the "Learn" button on the garage door opener motor. CRITICAL WARNING: Do NOT hold the "Learn" button down. Holding it for more than a few seconds will erase the memory of all your remotes, creating a much bigger problem. Just one quick press is all you need.
- Complete the Sync: The LED next to the "Learn" button should start blinking. You now have about 30 seconds. In your car, continue holding the HomeLink button. Watch the indicator light in your car. It should go from a slow blink to a rapid blink, and then may turn solid.
- Test the Connection: Release the button in your car. Now, press it again. If the programming was successful, your garage door should move. You may need to press it a second time to confirm.
Mastery: The Ultimate Troubleshooting FAQ: What to Do When It Fails
My car's light is blinking rapidly, but the door won't move.
- What it means: Your car has successfully learned the opener's signal type, but it hasn't completed the final "handshake" with the rolling code security system.
- The Fix: You just need to complete the "Learn Button" sync. Press and release the "Learn" button on the opener motor one more time. Then, get back in your car and press the programmed HomeLink button two or three times. This should finalize the connection and your door will operate.

The light in my car never stops its slow blink.
- Check for Interference: Believe it or not, certain LED light bulbs in your garage or opener can emit radio frequencies that jam the signal. Try unplugging them and running through the process again.
- Check Compatibility: If your garage door opener was made before 1995, it likely uses a fixed code and might not be compatible with modern in-car systems. Similarly, some brand-new openers use security protocols (like Security+ 2.0) that aren't compatible with systems in cars that are a few years old.
What if my opener is older and still won't connect?
- What it means: The two devices are speaking different "languages." Your car's HomeLink system may not be equipped to handle the advanced rolling code signals of a modern opener.
- The Fix: You likely need a HomeLink Compatibility Bridge (or Repeater Kit). This small device plugs into an outlet near your opener. It acts as a translator, converting the signal from your car into one the opener can understand. You can check your smart garage door opener compatibility to see if a bridge is required for your models.
Need more information?
Get a free quote
Common Questions About HomeLink & Car2U Programming
What's the difference between HomeLink and Car2U?
Why do I need the "Learn" button for rolling code systems?
I held the "Learn" button too long. Now what?
Action: Your Next Steps When All Else Fails

- Confirm Compatibility: Double-check online to see if your specific car model year and garage door opener model require a compatibility bridge. This is the most common unresolved issue.
- Consult Your Manuals: Look up the owner's manual for both your vehicle and your garage door opener. They may have specific instructions or warnings not covered in general guides.
- Consider Professional Help: Sometimes, an expert eye can spot the problem in minutes. A faulty logic board, a damaged antenna wire, or severe RF interference can mimic a programming failure. A professional technician can diagnose these issues quickly and safely.
You may also like