Our company logo

State

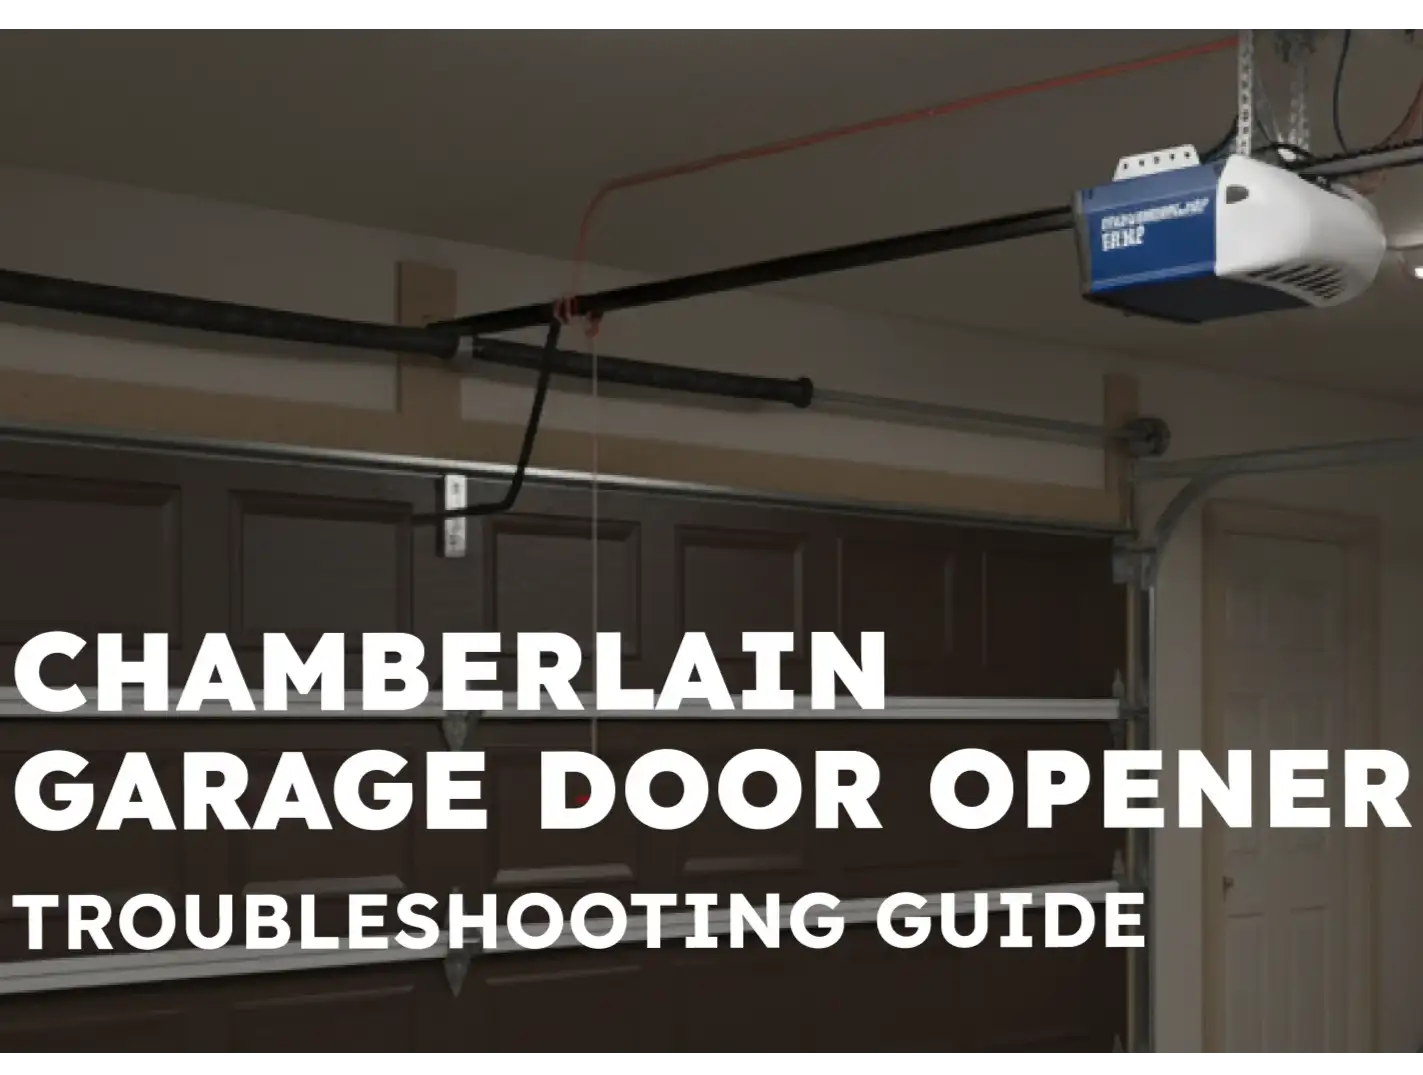
Resetting Chamberlain Garage Door Opener Travel Limits


Published: May 20, 2026

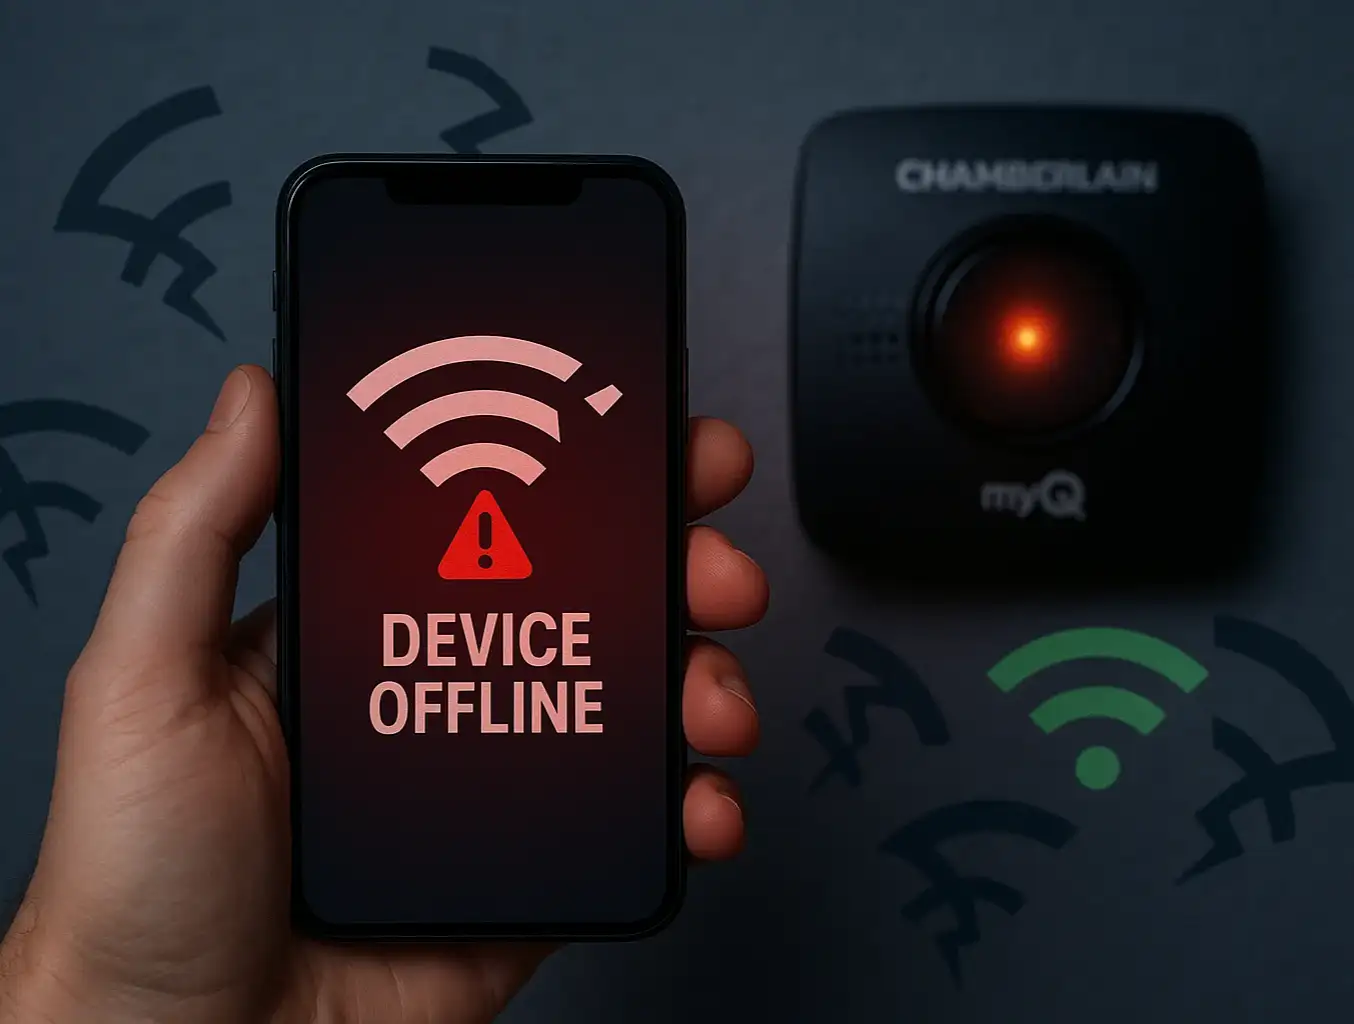
Is your garage door acting possessed? It starts to close, then suddenly reverses for no reason. Or maybe it stops six inches from the floor, leaving a frustrating gap. You might think you need a full "reset," a term that sounds like the go-to fix for any tech problem.

But here's the surprising insight: most of the time, your opener doesn't need its memory wiped. It just needs a simple conversation. The "conversation" happens by adjusting its travel limits and force settings—telling it exactly how far to open, how far to close, and how much gentle pressure to use.

This guide is your translator. We'll walk you through this process step-by-step, transforming that confusing piece of machinery into a reliable partner. Forget the jargon and frustration; let's get your door running smoothly again.

First, Let's Find Out Which Chamberlain Opener You Have


Before you touch any buttons, the single most important step is to identify your opener type. Chamberlain has used different adjustment systems over the years, and following the wrong instructions can lead to more problems.
It's easier than it sounds. Just look at the control panel on the motor unit (the part hanging from your garage ceiling). It will look like one of these three main types:
Chamberlain opener model chart for correct travel adjustments

  • Type A: Arrow Buttons: Newer models feature black and yellow buttons, including a prominent UP arrow and DOWN arrow for setting limits.
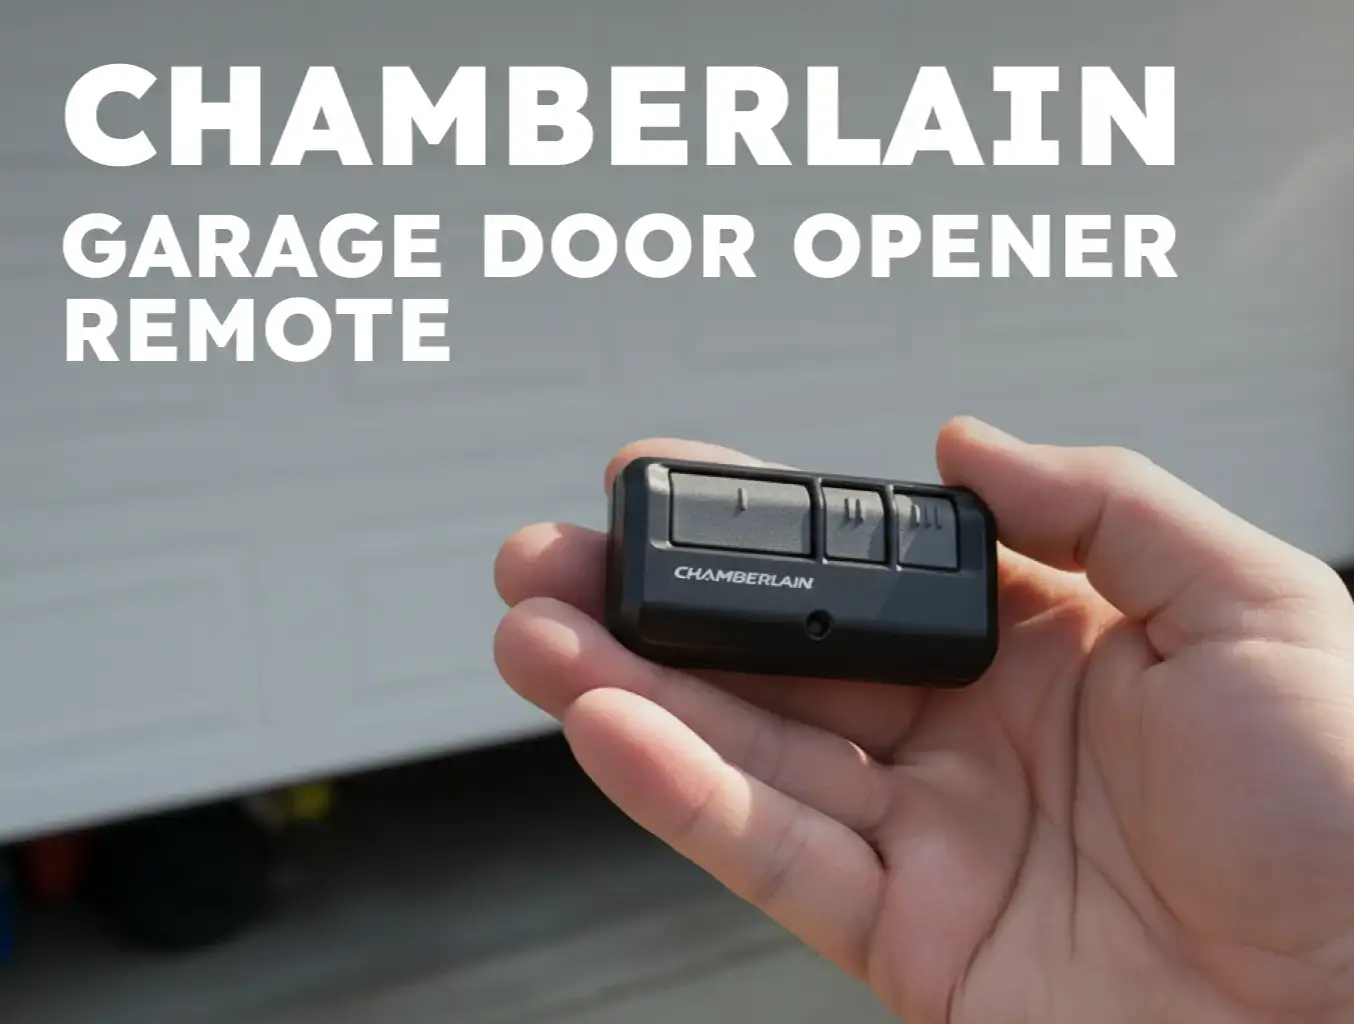
  • Type B: Colored "Learn" Button: These models have a single colored button (often yellow or purple) that you use in combination with the wall control panel to program the limits. Finding the learn button on your garage door opener is the key for this type.
  • Type C: Screw Dials: Older models use two plastic screw dials, usually on the side or back, to adjust the up and down limits.
Once you’ve identified your model, you’re ready for the next step.
Chamberlain opener model chart for correct travel adjustments

Reset vs. Adjust: What Does Your Garage Door Actually Need?


Reset vs. adjustment guide for Chamberlain garage door issues
Here's the "aha moment" that solves most garage door headaches. The word "reset" is often used incorrectly. When people search for how to reset garage door opener settings, they usually mean they need to adjust the mechanical limits, not perform a factory reset.

  • Adjustment (Recalibration): This is what you need 99% of the time. It involves fine-tuning the door's travel limits (where it stops) and force settings (how it responds to obstacles). You do this when the door doesn't open or close fully, or reverses unexpectedly.
  • Factory Reset: This is a complete memory wipe. It erases all programmed remotes, keypads, and Wi-Fi connections. You should only do this if you're moving into a new home and want to ensure old remotes no longer work, or if you're experiencing major programming glitches that an adjustment can't fix.
If your door's movement is the problem, an adjustment is the solution.
Reset vs. adjustment guide for Chamberlain garage door issues

Step-by-Step Guides for Your Specific Model


Now that you've identified your opener and understand you need to adjust it, find your model type below and follow the instructions. Remember to clear any obstructions from the garage door's path before you begin.

For Models with Up/Down Arrow Buttons

This is the most common modern system. The process involves entering programming mode and using the arrows to set the open and closed positions.
  1. Enter Programming Mode: Press and hold the black Adjustment Button until the UP arrow button begins to flash.
  2. Set the UP (Open) Position: Press and hold the UP arrow. The door will move upward. Release the button when the door reaches your desired fully open position.
  3. Confirm the UP Position: Press and release the black Adjustment Button once. The DOWN arrow will now begin to flash.
  4. Set the DOWN (Closed) Position: Press and hold the DOWN arrow. The door will move downward. Release it when the door is fully closed on the garage floor.
  5. Confirm the DOWN Position: Press and release the black Adjustment Button. The opener will exit programming mode.
  6. Set the Force Automatically: The opener will now automatically run a full up-and-down cycle to measure and learn the correct force settings. Do not interrupt this cycle.
Chamberlain adjustment guide for travel and force settings

For Models with a Colored "Learn" Button (Yellow/Purple)

These models don't have dedicated adjustment buttons on the motor unit; instead, they use a clever sequence of presses on the Learn Button and your wall control.

  1. Erase Previous Limits: Press and hold the Learn Button (usually yellow or purple) for about 6 seconds until the LED light next to it goes out. This clears the old settings.
  2. Set the UP Position: Press and hold the UP button on your wall control. As the door travels up, simultaneously press and hold the Learn Button on the motor unit. Keep holding both until the door reaches the desired fully open position, then release them.
  3. Set the DOWN Position: Press and hold the DOWN button on your wall control. As the door travels down, simultaneously press and hold the Learn Button. Keep holding both until the door is fully closed, then release.
  4. Test the Cycle: Press the wall control to run a full cycle. The opener will automatically learn the force during this first run.
Pro-Tip: Chamberlain and LiftMaster are sister brands, so if you have a similar system, the steps to adjust LiftMaster garage door opener models are often identical.

For Older Models with Screw Dials

These mechanical systems are very direct. One screw controls the UP travel, and the other controls the DOWN travel. You'll also see separate dials for adjusting the force.
  1. Adjust DOWN Travel: To make the door close further, turn the DOWN limit screw (often marked with a down arrow) counter-clockwise with a flathead screwdriver. To make it close less, turn it clockwise.
  2. Adjust UP Travel: To make the door open higher, turn the UP limit screw (marked with an up arrow) clockwise. To reduce the opening height, turn it counter-clockwise.
  3. Make Small Adjustments: Only turn the screws a quarter-turn at a time, then run the door to test the new position. It may take a few small adjustments to get it perfect.
  4. Adjust Force Settings: If the door reverses when closing, you may need a slight garage door force adjustment. Turn the "Down Force" screw slightly clockwise (no more than 1/8 of a turn) to increase the closing force. Never over-increase the force, as this is a critical safety feature.
Chamberlain adjustment guide for travel and force settings

Need more information?

Troubleshooting: When Adjustments Don't Go as Planned


Chamberlain troubleshooting chart for quick garage door fixes
Sometimes, an adjustment doesn't solve the problem, or new issues arise. Here’s a quick guide to understanding what might be happening. For more in-depth issues, a comprehensive Chamberlain garage door opener troubleshooting guide can be a lifesaver.

Chamberlain troubleshooting chart for quick garage door fixes

Frequently Asked Questions


What do the flashing lights on my Chamberlain opener mean?

The LED lights on your opener flash in patterns to signal specific problems. For example, 1 flash can mean the safety sensors are disconnected or misaligned, while 5 flashes can indicate a motor overheat or an RPM sensor error. Always check your manual or a troubleshooting guide for the exact code.

My door still reverses after I adjusted the force. What's wrong?

Don't immediately crank up the force! This is a classic symptom of a mechanical issue. The door might be binding in the tracks, or a spring could be failing. Disconnect the door from the opener and try to lift it by hand. If it feels very heavy or sticks, the problem isn't the opener—it's the door itself.

Can I adjust the speed of my garage door?

No, the speed of a residential garage door opener is not adjustable. It's set at the factory to meet safety standards. If your door seems unusually slow, it could be a sign of motor wear or a mechanical problem with the door's balance.

I adjusted everything, but it's still not working. What now?

If you've correctly identified your model, followed the adjustment steps, and ruled out simple obstructions or misaligned safety sensors, it might be time for a professional look. Sometimes an internal component like a logic board or RPM sensor can fail, which requires expert diagnosis.
Adjusting your garage door opener can feel empowering, and in most cases, it's a simple fix that restores order to your day. By understanding the difference between adjusting and resetting, and by correctly identifying your opener, you have the knowledge to tackle the most common garage door frustrations.
If you find yourself stuck or if the problem seems bigger than a simple adjustment, don't hesitate to reach out to a professional. A trained technician can diagnose complex issues safely and ensure your door operates reliably for years to come.

You may also like


blog photo

Troubleshooting Chamberlain MyQ App Connectivity Issues

You’re pulling up to your home, ready to glide into the garage with a tap on your phone. But instead of the satisfying hum of the door opening, you’re greeted by a dreaded notification: “Device Offline.” Or maybe you're stuck in a loop, endlessly trying to connect a new device to your Wi-Fi with no success. It’s a frustrating moment that turns smart technology into a source of stress. You’re not alone—connectivity issues are the most common hurdle for smart garage door users. The good news is that most MyQ connection problems are fixable without needing to call in a pro. This guide is designed to be your one-stop resource. We’ve synthesized the official steps from Chamberlain with real-world solutions from community forums to create a clear, step-by-step journey from confusion to connection. Let’s get your smart garage door back online.