Our company logo

State

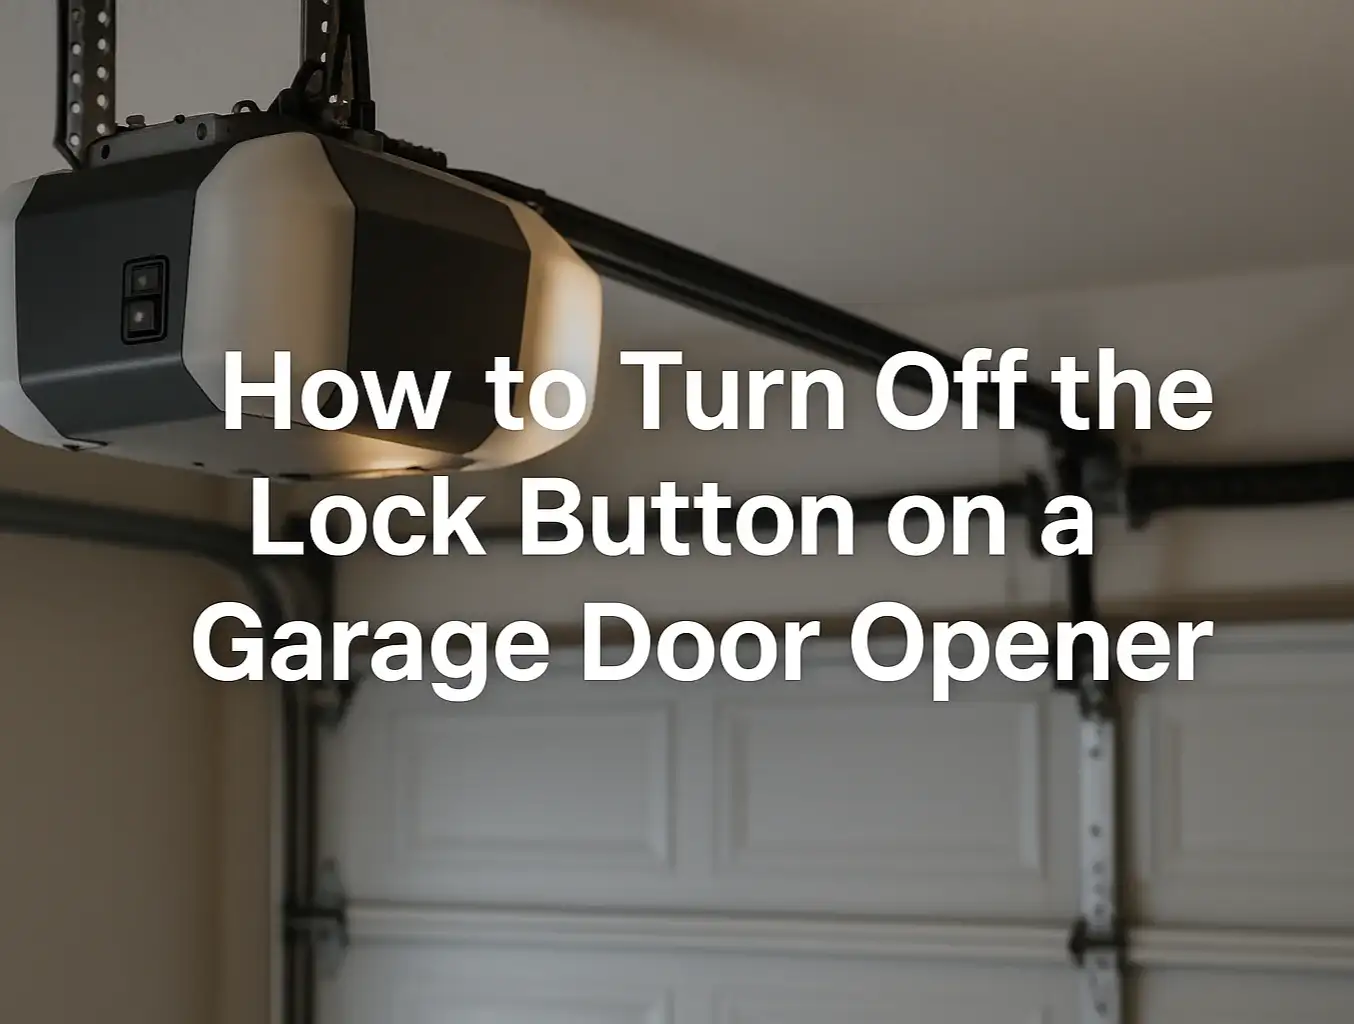
Diagnosing a Malfunctioning Garage Door Wall Console Lock Button


Published: Apr 29, 2026

You press the button on your garage door wall console, expecting the familiar rumble of the door opening. Instead, you get… nothing. Maybe a faint click. Maybe a blinking light that seems to be mocking you. It’s a frustratingly common scenario that leaves many homeowners stumped. Is the whole opener broken? Is it a complicated electrical issue?

More often than not, the answer is much simpler and lies right there in the wall console itself. The problem typically falls into one of two camps: a simple software setting that’s been accidentally activated, or a physical issue with the button itself.

Before you start pricing out new openers or calling for an emergency repair, let’s walk through how to diagnose exactly what’s going on. Think of this as a step-by-step guide to becoming your own garage door detective.

Is It Software or Hardware? The Great Divide


Matrix to identify software lock vs garage door hardware issue
The first and most crucial step is to determine if you’re dealing with an activated feature or a failed part. This is where most of the confusion happens. Your wall console has a "Lock Mode" (sometimes called "Vacation Mode"), which is a security feature designed to disable your remote controls. When it's on, only the wall console should work. But if the console's button is physically broken, it won't work either, leading to a dead end.
Here’s how to tell the difference at a glance:
Understanding this distinction is your first "aha moment." A blinking light is often the system trying to tell you it's in Lock Mode, whereas a dead console with a "mushy" button points directly to a hardware problem.

Matrix to identify software lock vs garage door hardware issue

The 30-Second Check: Is 'Lock Mode' Simply On?


Let's start with the easiest and most common culprit. The Lock Mode was likely activated by accident—perhaps by a child playing with the buttons or something bumping against the console.
The Fix: Press and hold the Lock button on your wall console for about 2-3 seconds. You should hear a beep or see the indicator light stop blinking and turn solid.
Now, try using your remote control. If it works, congratulations! Your problem is solved. For a more detailed walkthrough of this feature on different models, our guide on how to turn off the lock button on a garage door opener can provide additional clarity.
If holding the button does nothing, and it remains unresponsive, it’s time to investigate the hardware.

Hardware Troubleshooting: When the Button Itself Is the Problem


If you've determined Lock Mode isn't the issue, the fault lies within the physical components of the wall console or its wiring. Don't worry—these tests are straightforward and don't require an engineering degree.

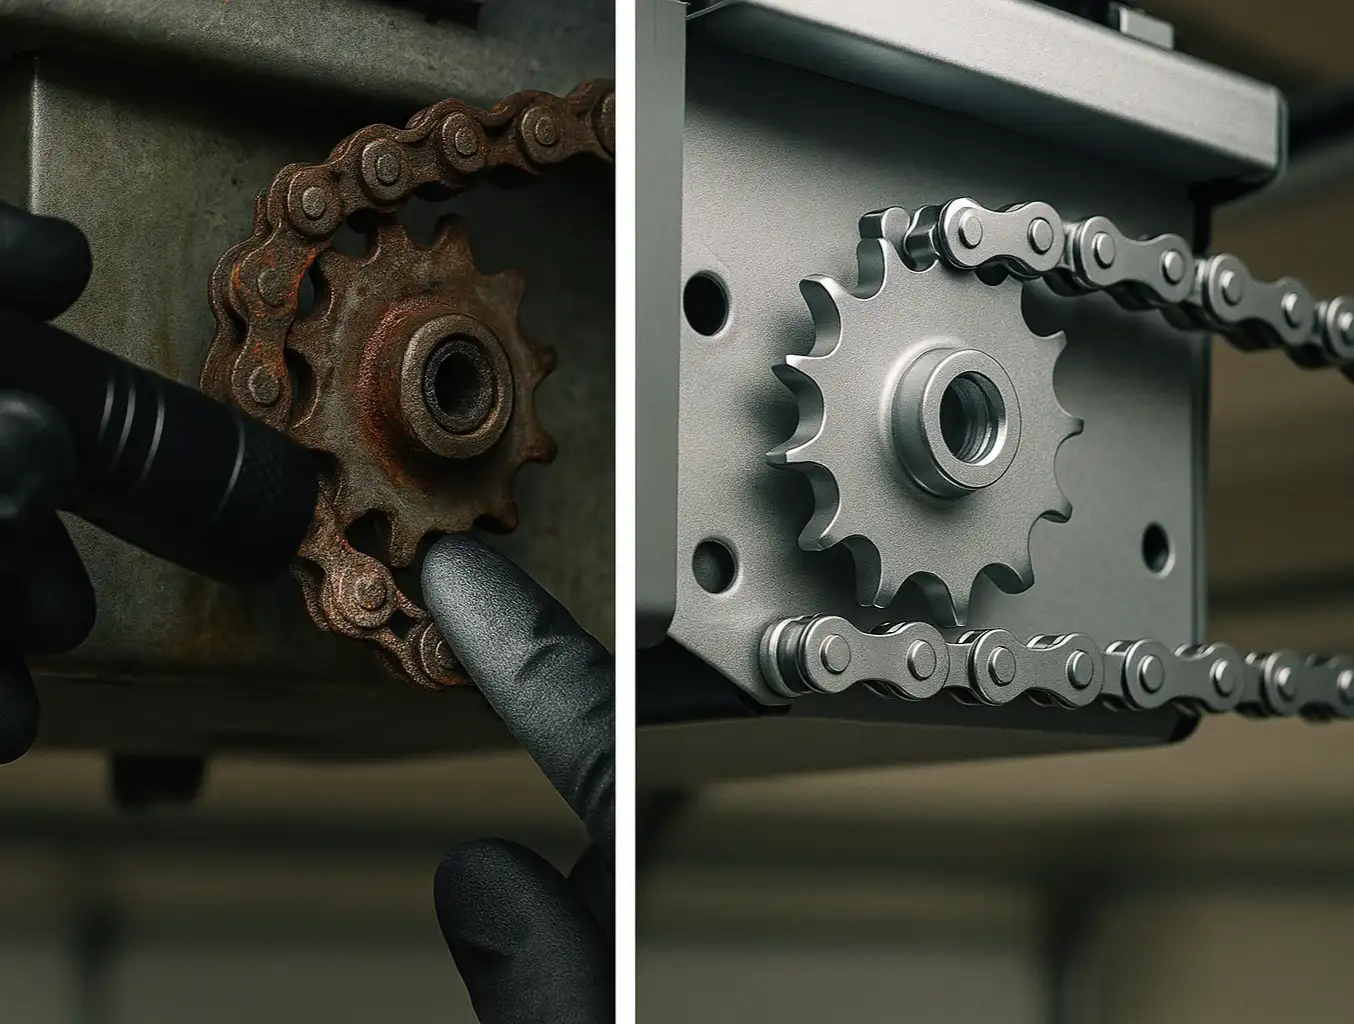
Step 1: The Visual & Tactile Test

Start with your senses.
  • Look closely: Is there dirt, grime, or sticky residue from a spill around the button? Sometimes, a simple cleaning with a slightly damp cloth can free a stuck button.
  • Feel the click: Press the button. Does it have a satisfying, tactile click, or does it feel soft and "mushy"? A lack of a click often means the internal contact mechanism is worn out or broken.
Bypass test to check if wall console lock button is faulty

Step 2: The Definitive "Bypass" Test

This is the single most empowering test you can perform. It completely isolates the problem and will tell you with 100% certainty if your wall console is faulty. The goal is to bypass the console and make a direct connection at the wires, mimicking what the button is supposed to do.
Safety First: For this test, it's wise to disconnect the power to your garage door opener unit.
If the garage door opener activates, you've just proven that the opener motor and the wiring are fine. The problem is officially isolated to the wall console unit itself.

Step 3: Checking the Wiring

While less common, a loose wire can also be the culprit. A staple might have nicked the wire, or a connection could have vibrated loose over time.

  1. Check the two small wires connected to the back of the wall console. Make sure they are securely fastened to the screw terminals.
  2. Follow the wire back to the main opener unit on the ceiling. Check the connections there as well. They are typically labeled for the wall control.
A persistent, unexplained garage door light blinking can sometimes be a symptom of a short circuit in this wiring.
Bypass test to check if wall console lock button is faulty

Mastery: Confirming the Failure with a Multimeter


Multimeter guide to test garage door wall console lock button
For the confident DIYer who wants to leave no stone unturned, a multimeter can confirm the death of the button's internal switch.
Safety Reminder: Always perform this test with the wall console completely disconnected from its wiring.
If you get no reading or the needle doesn't move, the switch inside the button is broken and not completing the circuit. This confirms a replacement is needed.

Multimeter guide to test garage door wall console lock button

Your Next Steps: You've Found the Problem, Now What?


Step-by-step guide to fix your garage door lock issue
Now that you've successfully diagnosed the issue, you have a clear path forward. Your decision depends on your comfort level with small DIY projects and the nature of the problem.
If you encountered anything unusual during your diagnosis, such as signs of other electrical problems like the garage door opens by itself, it’s always best to consult a professional. Sometimes a faulty console can be a symptom of a larger issue with the opener's circuit board. If you have a specific model, like a Genie, our Genie garage door opener troubleshooting guide might offer more targeted advice.

Step-by-step guide to fix your garage door lock issue

Need more information?

Frequently Asked Questions (FAQ)


What does the lock button on my garage door opener do?

It's a security feature that deactivates all radio signals from your remote controls and wireless keypads. This is useful when you're away on vacation, preventing anyone from opening your garage with a stolen or cloned remote. The door should still operate from the wired wall console.

Why is my garage door wall button blinking?

The most common reason for a blinking light on the wall console is that the "Lock Mode" has been activated. Press and hold the Lock button for a few seconds to deactivate it. If it's blinking in a specific pattern, consult your owner's manual, as it could be an error code.

Can I use my remotes if the wall console lock is on?

No. The entire purpose of the lock feature is to disable the remotes. If you need to use a remote, you must first turn off the lock mode from the wall console.

Is it expensive to replace a garage door wall console?

No, wall consoles are generally one of the most affordable parts of a garage door opener system. They are widely available from hardware stores or directly from the manufacturer, and replacing one is a simple DIY task for most homeowners.

Beyond the Button: Ensuring Total Garage Security


Diagnosing and fixing a wall console is a great first step in taking control of your garage's functionality and security. It's a key component, and understanding how it works empowers you as a homeowner. For times when you need to perform maintenance or want added peace of mind, knowing how to disable garage door opener systems completely can also be a valuable skill.
If you’ve worked through these diagnostic steps and are still facing issues, or if you’d simply prefer an expert to handle the repair, don't hesitate to reach out. Our team of licensed technicians is available 24/7 to ensure your garage door is safe, secure, and working perfectly.

You may also like


blog photo

Troubleshooting Short Range on Brand New Garage Door Openers

There’s nothing more satisfying than hitting the remote and watching your brand-new garage door opener glide into action. And there’s nothing more frustrating than when it only works when you’re five feet away from the door. You followed the instructions. Everything is shiny and new. So why does your opener have the range of a TV remote from the 90s? You’re in the right place. This isn't your typical troubleshooting guide for old, worn-out openers. We're focusing exclusively on the baffling problem of poor range right out of the box. The good news is that the culprit is usually a simple setup oversight or a "signal killer" hiding in plain sight—not a defective unit. Let's walk through it together, just like a friend would over a cup of coffee.

blog photo

Identifying Damaged Garage Door Opener Chain Components

You’ve done everything right. You noticed your garage door opener chain was sagging, you looked up a guide, and you tightened it. For a few days, everything was perfect—the door ran smoothly and quietly. But now, that annoying sag is back, and maybe it’s brought some new grinding or popping sounds with it. It’s a frustratingly common scenario. While many guides show you how to tighten a chain, they often miss a crucial point: sometimes, a loose chain isn’t the core problem, but a symptom of a much bigger issue. Repeatedly tightening a chain without addressing the root cause is like pumping air into a tire with a slow leak—it’s a temporary fix for a permanent problem. Before you grab that wrench again, let's take a closer look. This guide is designed to help you become a chain drive detective. We’ll walk you through a visual inspection to determine if your opener components are healthy or if they’re too worn for a simple adjustment and need to be replaced.