Our company logo

State

The Role of Proper Flashing and Sealant in Extending Garage Door Frame


Published: Apr 21, 2026

You’ve seen it before. The paint on your garage door frame is bubbling. The wood near the bottom feels a little soft after it rains. You figure it’s time to replace the rubber weatherstripping—the black seal running along the sides and top of the door. So you spend a Saturday afternoon pulling off the old, cracked seal and carefully nailing on a new one.

A few months later, the problem is back. And it’s worse.

This is the frustrating cycle many homeowners find themselves in. They treat the symptom—a worn-out seal—without understanding the root cause. Your garage door’s weatherstripping is only its last line of defense against water. The real failure is happening silently, behind the trim, where an incomplete or improperly installed water management system is letting moisture in.

The “Aha” Moment: Your Garage is Wearing a Raincoat


To understand how to truly protect your garage door frame, it helps to think of your home’s exterior as a high-tech raincoat.
The siding is the tough, weather-resistant outer shell. But even the best shell can be penetrated by wind-driven rain. Underneath the siding is a Water-Resistive Barrier (WRB), often called "house wrap." This is the waterproof layer that keeps the home’s structure dry.
But what happens at openings like doors and windows? You can't just wrap them up. This is where flashing and sealants come in—they are the raincoat’s cuffs, collar, and zipper flap, designed to channel water away from the most vulnerable points.

Foundation section: The 'Aha' Moment - Introducing the Raincoat Analogy and Water Management System

Here are the key players in a properly waterproofed garage door frame:

Drip Cap: The Unsung Hero of Water Protection

This L-shaped piece of metal or vinyl is arguably the most critical and most frequently missed component. It sits on top of the door trim, tucked under the siding and house wrap. Its job is to catch all the water running down the wall above the garage and kick it forward, away from the top of the frame. Without a drip cap, water runs directly down onto the top seam of your trim, where it will inevitably find a way in.
Diagram showing the full garage door frame water management system, from siding and flashing to trim and seals.

Flashing: The Raincoat’s Cuffs and Collar

Flashing is a thin, waterproof material (usually metal or specialized tape) that integrates the door frame with the home’s Water-Resistive Barrier. It's installed along the sides (jambs) of the garage door opening behind the wood trim. Like the sleeves of a raincoat overlapping your gloves, the flashing ensures that any water that gets behind the trim is directed back out, not into the wood.

Sealants & Caulk: The Final Layer

High-quality exterior sealant is used to close the small, final gaps between the wood trim and the siding. This is an important finishing touch, but it’s crucial to understand that caulk is not a substitute for flashing. It's a maintenance item that will eventually crack and fail. Flashing is a permanent, physical barrier.

Weatherstripping: The Last Line of Defense

Finally, we have the vinyl or rubber seals you see. They press against the garage door to stop drafts and direct rain. The importance of garage door weather stripping is undeniable for energy efficiency and comfort, but as you can see, it's the last piece of a much larger puzzle.

Diagram showing the full garage door frame water management system, from siding and flashing to trim and seals.

A Proactive Approach: Good, Better, Best Frame Protection


Once you understand the system, you can evaluate your own garage and take steps to protect it.

Good: Diligent Seal Maintenance

Regularly inspect your weatherstripping. If it's cracked, brittle, or you can see daylight, it’s time for a replacement. A fresh, flexible seal ensures a tight fit against the door, which is your first defense against drafts and direct moisture. A proper garage door weather stripping installation is a great weekend project that makes a noticeable difference.
Comparison of garage door waterproofing methods highlighting full flashing and drip cap as the best protection.

Better: Adding a Threshold Seal

If your driveway slopes toward your garage, water can pool at the bottom of the door. A threshold seal is a rubber strip glued to the garage floor just behind the door. It creates a dam that provides an extra barrier against water intrusion. This is a great solution if you often find your garage door leaves gap at bottom after closing.

Best: The Complete Flashing System

This is the gold standard for preventing frame rot. A "Best" system includes a properly installed drip cap above the door, flashing along the sides integrated with the house wrap, and durable wood or composite trim sealed at the edges. This setup ensures that even if your caulk fails or your weatherstripping ages, the structural wood of your home remains protected. If you're struggling to fix garage door gaps on sides, it often points to a deeper issue that a complete system can solve.

Comparison of garage door waterproofing methods highlighting full flashing and drip cap as the best protection.

How to Spot Trouble: A Quick Inspection Checklist


You don’t need to be an expert to check for warning signs. Grab a flashlight and take a few minutes to inspect your garage door frame.
Diagnostic guide showing garage door frame leak points and the maintenance steps to prevent damage.

Mastery section: Troubleshooting Leak Sources and Maintenance Checklist


  1. Look Up: Can you see a metal drip cap at the very top of your door trim? If not, this is a major red flag. Look for dark stains or peeling paint on the top corners of the frame—a classic sign water is getting in from above.
  2. Check the Seams: Examine the sealant between the wood trim and your home's siding. Is it cracked, peeling, or missing in sections?
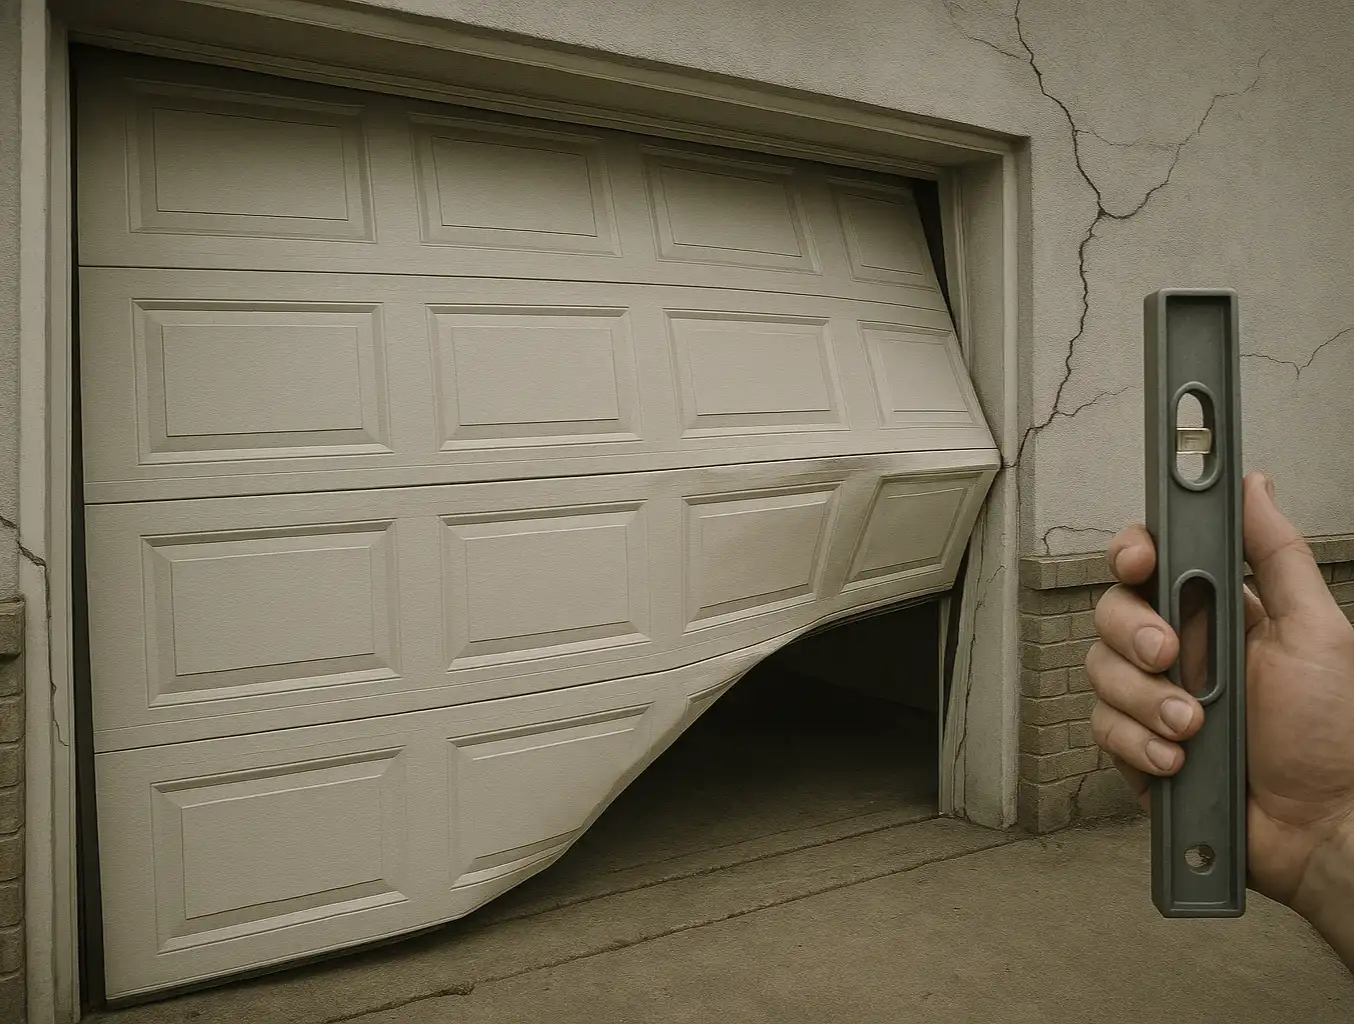
  3. Press the Wood: Gently but firmly press on the wood frame, especially the bottom 12 inches. Does it feel soft, spongy, or brittle? Healthy wood is firm.
  4. Follow the Water: After a heavy rain, look for water stains on the inside of your garage walls next to the door frame. This tells you that water has penetrated the entire system.
Diagnostic guide showing garage door frame leak points and the maintenance steps to prevent damage.

Need more information?

Frequently Asked Questions About Garage Door Frame Protection


What's the difference between flashing and weatherstripping?

Flashing is a permanent, hidden waterproofing component installed behind the trim to direct water away from the house structure. Weatherstripping is the visible rubber or vinyl seal on the outside of the trim that presses against the door to block drafts.

Can I just use a lot of caulk instead of flashing?

No. Caulk is a temporary sealant that will break down under UV light and temperature changes. It’s meant to seal small gaps, not serve as a primary water barrier. Flashing is a permanent physical barrier that channels water away, offering a far more robust and long-lasting solution.

Why is my new wood frame already showing signs of rot?

This is almost always due to improper flashing and the absence of a drip cap during installation. The new wood was likely installed without the underlying water management system, leaving it exposed to the same moisture that damaged the old frame.

How often should I inspect my garage door seals and flashing?

A quick visual inspection twice a year is a great habit. Check your weatherstripping in the spring and fall. Look for cracks in the caulk and any signs of water staining after heavy rains.

Protecting Your Investment for the Long Haul


A garage door is one of the largest moving parts of your home, and the frame that holds it is a critical structural element. While maintaining your seals is important, true, long-term protection comes from understanding the complete system.
By ensuring your garage door’s "raincoat"—the flashing and drip cap—is installed correctly, you move from constantly treating the symptoms of water damage to fixing the problem at its source. Now that you can spot the difference between a temporary fix and a permanent solution, you can ensure your home remains safe, dry, and secure for years to come. If you suspect your frame is missing these key components, consulting with a professional can provide peace of mind and protect your investment.

You may also like


blog photo

Assessing Hail, Storm, and Impact Damage on Garage Door Frames

That sinking feeling is unmistakable. After a wild hailstorm, a wind-lashing storm, or the accidental tap from a car bumper, you see it—the damage to your garage door frame. It’s more than just an eyesore. A compromised frame can affect your door’s operation, your home’s security, and even its structural integrity. Many homeowners find themselves asking the same questions: "Is this just a cosmetic issue?" "Is my door safe to use?" and the big one, "Do I need a simple repair or a full replacement?" You’ve come to the right place. This guide is designed to walk you through a clear, step-by-step assessment of your garage door frame damage. We’ll help you move from uncertainty to a confident decision, transforming you from a worried homeowner into an informed one.

blog photo

Identifying and Addressing Garage Door Frame Damage

You’ve been there. You press the button on your remote, the garage door starts its descent, and then… it stops. Or it closes unevenly, leaving a gap on one side. You’ve done the usual dance: you’ve checked the photo-eye sensors, cleared away obstructions, and even replaced the remote batteries. Yet, the problem persists. It’s a frustrating scenario, and it’s one where most online guides stop. They help you solve the top 20% of common electronic issues, but what happens when the problem is more physical, more… structural? What if the problem isn’t with your garage door opener at all, but with the very frame that holds it? And what if that frame is trying to tell you something much more important about the health of your entire home?