My Garage Door Sensors Are Green, But the Door Still Won't Close
Published: Jun 26, 2026
It’s one of the most confusing and frustrating garage door problems you can face. You’ve done your homework: you checked for obstructions, wiped the sensor lenses, and made sure they’re pointing at each other. Both little LED lights are glowing a steady, confident green. By all accounts, everything should be working.
Yet, when you press the button, the door starts its journey down, only to stop and reverse a few feet later.
If this sounds familiar, you’re right to be confused. Most online guides will tell you a green light means everything is okay. But here’s the secret the pros know: seeing two green lights can sometimes be a clue that something is wrong.
What Your Sensor Lights Really Mean

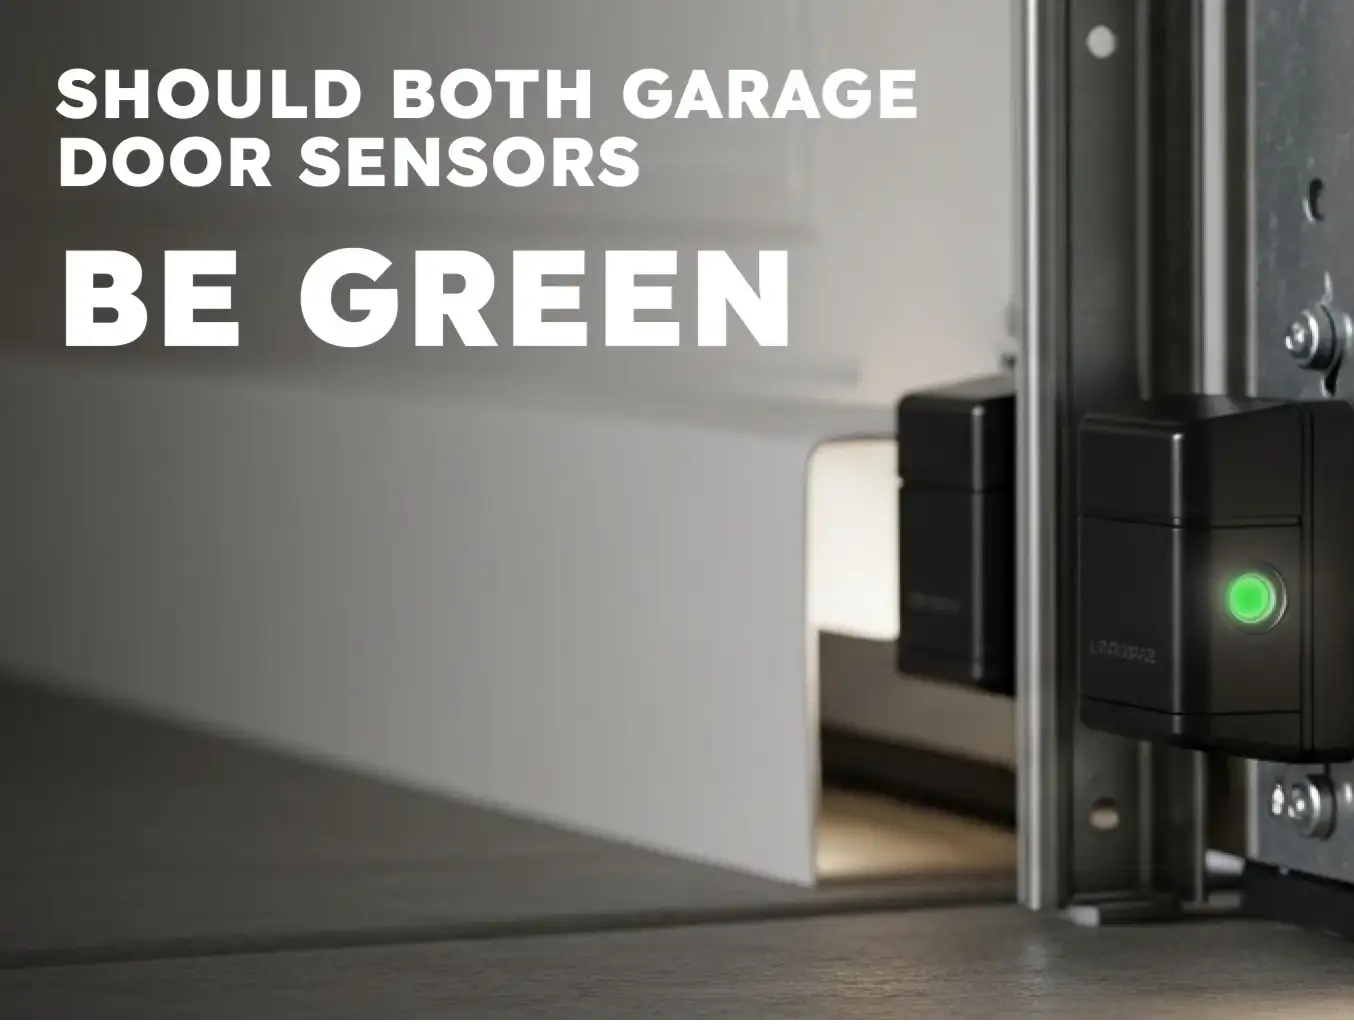
Before we dive into advanced troubleshooting, let’s clear up the biggest misconception about garage door sensors. On the majority of modern systems (like LiftMaster and Chamberlain), the sensors are not supposed to both be green.
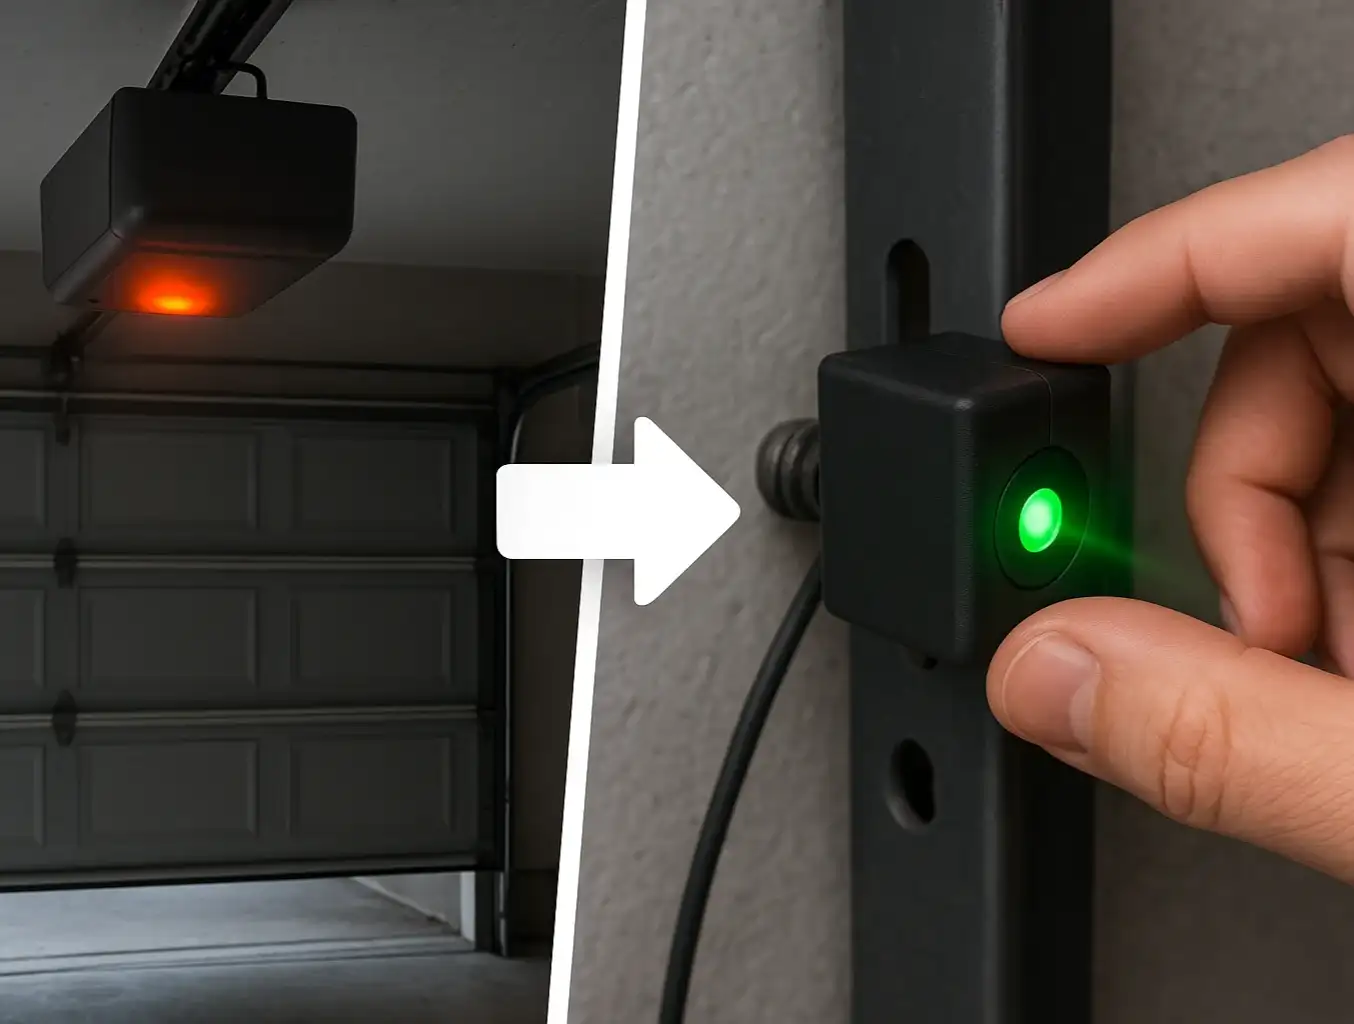
- The Sending Sensor: This sensor has an amber or yellowish light. Its only job is to send an invisible infrared beam across the garage opening.
- The Receiving Sensor: This sensor has a green light. Its job is to "see" the beam from the sending unit. If it sees the beam, the green light stays on, signaling that the path is clear.
So, what does it mean if both are green? It could indicate a specific brand of opener with a different system, but more often, it points to a wiring issue or a specific type of sensor failure. Understanding if both garage door sensors should be green is the first step in diagnosing these tricky problems.
Now that we’ve established that your "perfectly working" sensors might be lying to you, let's explore the hidden culprits.
The 5 "Hidden" Culprits When Sensors Seem Fine
When the obvious solutions fail, it’s time to think like a technician. Here are the five most common reasons a garage door won't close even when the sensors appear to be aligned.
1. Sunlight Interference: The Phantom Obstruction
This is the number one non-obvious cause. Direct sunlight, especially low-angle morning or evening sun, can shine into the receiving sensor's lens. The sun's infrared rays can be so intense that they "blind" the receiver, making it unable to see the beam from the sending unit. The sensor's green light might flicker or stay on, but the opener's logic board gets a "blocked" signal and reverses the door.
How to Test:
- The Shadow Test: Stand in a position that casts a shadow over the receiving (green) sensor. If the door closes normally with your shadow on it, you've found the culprit.
- The Box Test: Use two large cardboard boxes to create a tunnel of shade around both sensors, blocking ambient light. If the door closes, sunlight is your issue. Solutions include swapping the sensor positions or installing sensor sun shields.

2. Faulty or Loose Wiring: The Intermittent Failure
The wires leading from the opener motor to the sensors are low-voltage and can be fragile. Over time, they can get corroded, pinched, or chewed by pests. A staple from the initial installation could have nicked the wire just enough to cause an intermittent connection. This creates a situation where the sensors have power (and show a green light) but the signal back to the motor is weak or corrupted.
How to Test:
- The Wiggle Test: As the door is trying to close, gently wiggle the wires at the back of each sensor and where they connect to the motor unit. If this action causes the door to stop or reverse, you have a loose connection.
- Visual Inspection: Carefully inspect the entire length of the wire for any obvious damage, sharp bends, or corrosion. For those comfortable with more advanced work, understanding the garage door safety sensor wiring diagram can help you identify and fix these connection points.
3. Borderline Alignment: The Vibration Problem
Your sensors might look perfectly aligned when the door is static, but the vibration from the door moving can be just enough to knock a borderline alignment out of whack for a split second. This is all it takes for the opener to register an obstruction and reverse.
How to Test:
The Tap Test: While the door is closing, have a helper lightly tap the sensor or the bracket it's attached to. If this causes the door to reverse, your alignment is too sensitive and needs a micro-adjustment. Ensure the brackets are firmly secured to the wall or track.
4. Incorrect Force or Travel Limits: The Mechanical Safety Override
Sometimes, the problem isn't the sensors at all. The garage door opener has its own internal safety mechanisms that measure the amount of force needed to close the door. If the door encounters resistance—like warped tracks, poor lubrication, or an object in its path—the opener will assume it has hit something and reverse. This can easily be mistaken for a sensor issue. Similarly, if the "down travel limit" is set too far, the door might hit the floor and reverse, thinking it hit an obstacle.
How to Test:
Observe Closely: Watch exactly when and where the door reverses. Does it happen at the same spot every time? Does it physically hit the ground first? This points to a mechanical or limit-setting issue. Adjusting these settings can be complex, and an incorrect garage door force adjustment can be dangerous, often masking a more serious problem.
5. Failing Sensor Hardware: The "Liar" Light
Last but not least, the sensors themselves can fail. The internal electronics can malfunction, causing the sensor to send a "clear" signal (solid green light) to you, while sending a "blocked" or faulty signal to the opener's logic board. This is especially common with older sensors that have endured years of temperature swings, moisture, and vibrations. If you're wondering, "do garage door sensors go bad?", the answer is a definitive yes.
How to Test:
This is typically a process of elimination. If you have ruled out sunlight, wiring, alignment, and force limits, failing hardware is the most likely culprit.
Step-by-Step Advanced Diagnostics
Feeling overwhelmed? Let's simplify. Use this diagnostic flowchart to work through the problem systematically. Start at the top and follow the path based on your results. For any of these steps, general garage door sensors troubleshooting can provide additional context.
Step 1: The Sunlight Test
Action: Try closing the door at night or after casting a shadow over the receiving sensor.
Does it close?
- Yes: Your problem is sunlight interference. Install sun shields or swap the sensors.
- No: Proceed to Step 2.

Step 2: The Vibration Test
Action: As the door closes, gently wiggle the sensor wires and tap the sensor brackets.
Does it reverse immediately upon wiggling/tapping?
- Yes: You have a loose wire or borderline alignment. Tighten all connections and brackets, then fine-tune the alignment.
- No: Proceed to Step 3.
Step 3: The Mechanical Check
Action: Disconnect the door from the opener (pull the red emergency cord) and try to operate it by hand.
Is it heavy, stiff, or noisy?
- Yes: The problem is mechanical. The door is binding in the tracks. Do not increase the force setting. The tracks may need adjustment or the rollers may need lubrication.
- No: The door moves smoothly. Reconnect the opener and proceed to Step 4.
Step 4: Ruling Out Hardware
If you've completed steps 1-3 and the problem persists, the issue is highly likely to be either failing sensor hardware or a problem with the opener's logic board. This is the point where testing becomes more complex and requires tools like a multimeter.
Know When to Stop: Wiring vs. Logic Board Issues
Differentiating between a bad wire and a bad logic board is where DIY troubleshooting typically ends. While a multimeter can be used to test for continuity in the sensor wires, it's a task best left to a trained technician.
Mistake to Avoid: Never cut and splice wires without being 100% certain of what you're doing. An incorrect splice can damage the logic board, turning a small repair into a major replacement.
If you suspect a wiring or logic board issue, this is the perfect time to call a professional. You've already done the hard work of narrowing down the possibilities.
Need more information?
Get a free quote
The Pro's Pre-Call Checklist
When you call for service, you can save time and money by providing clear, accurate information. Use this checklist to sound like a pro and help your technician diagnose the issue faster.

- My Opener Model: (e.g., LiftMaster 8550W)
- Sensor Light Status: "Both of my sensor lights are solid green."
- The Symptom: "The door starts to close, gets about halfway down, and then reverses without hitting anything. The opener lights flash."
- What I've Tried: "I've confirmed it's not a sunlight issue, and I've checked for loose wires. The door also runs smoothly by hand."
This information tells the technician that you've already ruled out the simple fixes, allowing them to focus on more complex issues like faulty hardware or logic board diagnostics from the moment they arrive.
Frequently Asked Questions (FAQ)
So, to be clear, are both garage door sensors supposed to be green?
On most modern systems from major brands like Chamberlain, LiftMaster, and Genie, one light should be amber (sending) and one should be green (receiving). If both are green, it can be a sign of a fault, though some older or off-brand models may have different systems.
Can I just bypass the sensors to get the door closed?
While you can typically close the door by pressing and holding the wall button, this overrides the safety feature. It should only be used in an emergency to secure your garage. Never leave your sensors bypassed; they are a critical safety feature required by federal law to prevent accidental injury or death. Learning how to properly reset your garage door sensors is a much safer alternative.
Why does my garage door reverse after hitting the floor?
This is a classic sign that your "down travel limit" is set incorrectly. The opener thinks the floor is an obstruction because it's being told to push the door further than it can physically go. Adjusting the travel limits will usually solve this problem.
Troubleshooting a garage door can be a puzzle, but by working through these advanced steps, you're now equipped to solve even the most confusing sensor problems. And when you reach the limit of your DIY comfort zone, you'll know exactly what to do and say.
You may also like