Safety Protocols for Malfunctioning Garage Door Opener Photo-Eye Sensors
Published: Jun 3, 2026
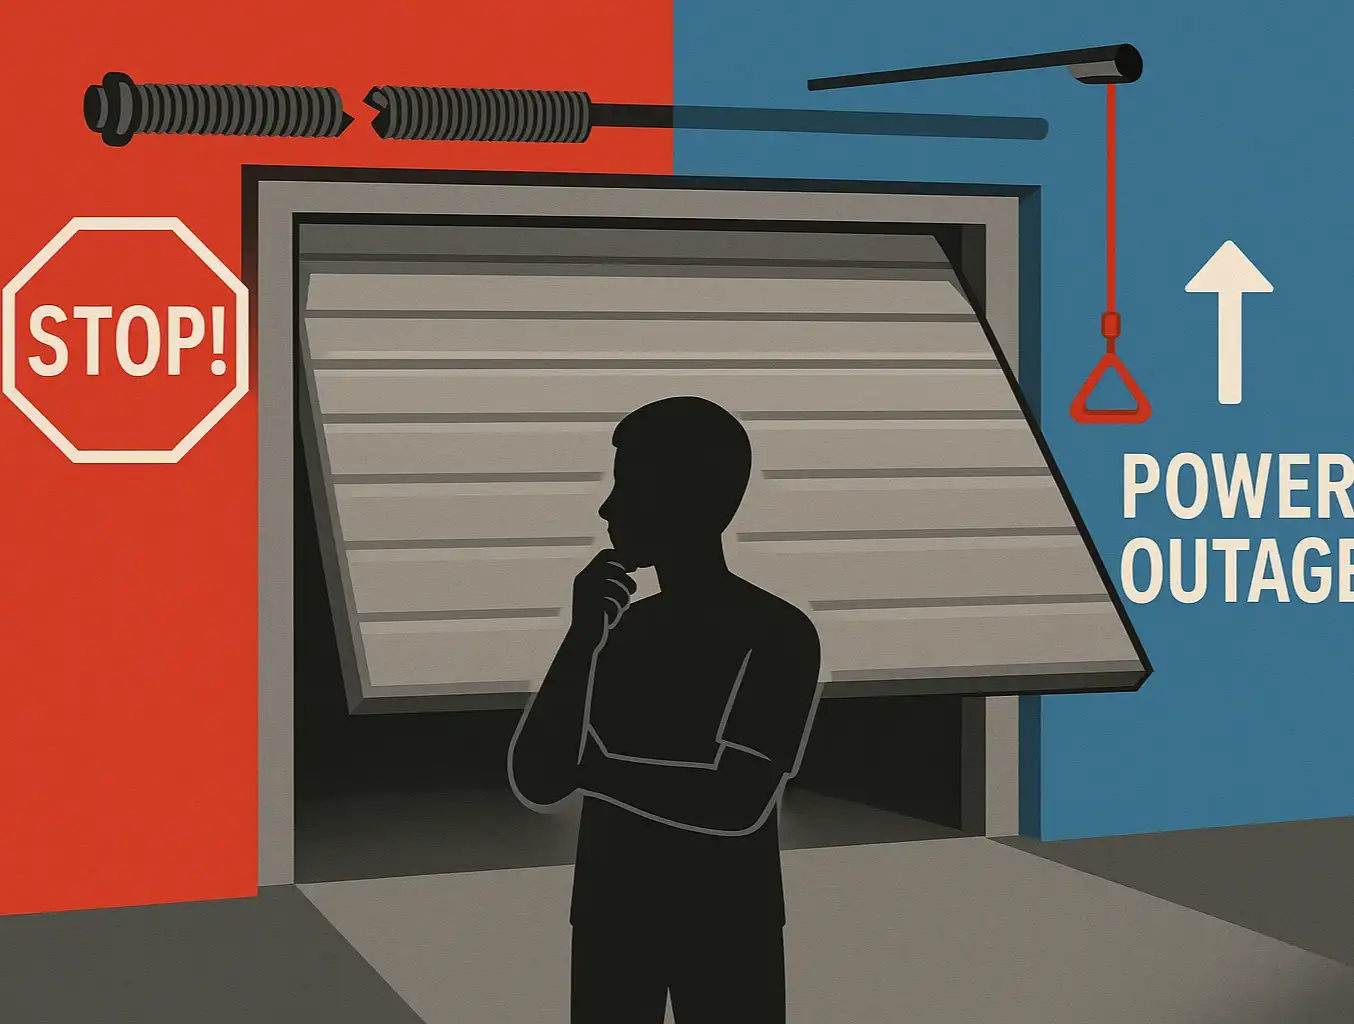
You’re heading out, you press the button, and… nothing. The garage door starts to close, then suddenly reverses. You look at the opener, and a light is blinking insistently. It’s a frustrating moment we’ve all faced, but that blinking light isn’t a sign of failure—it’s a diagnostic code. Your garage door’s safety system is trying to tell you exactly what’s wrong.
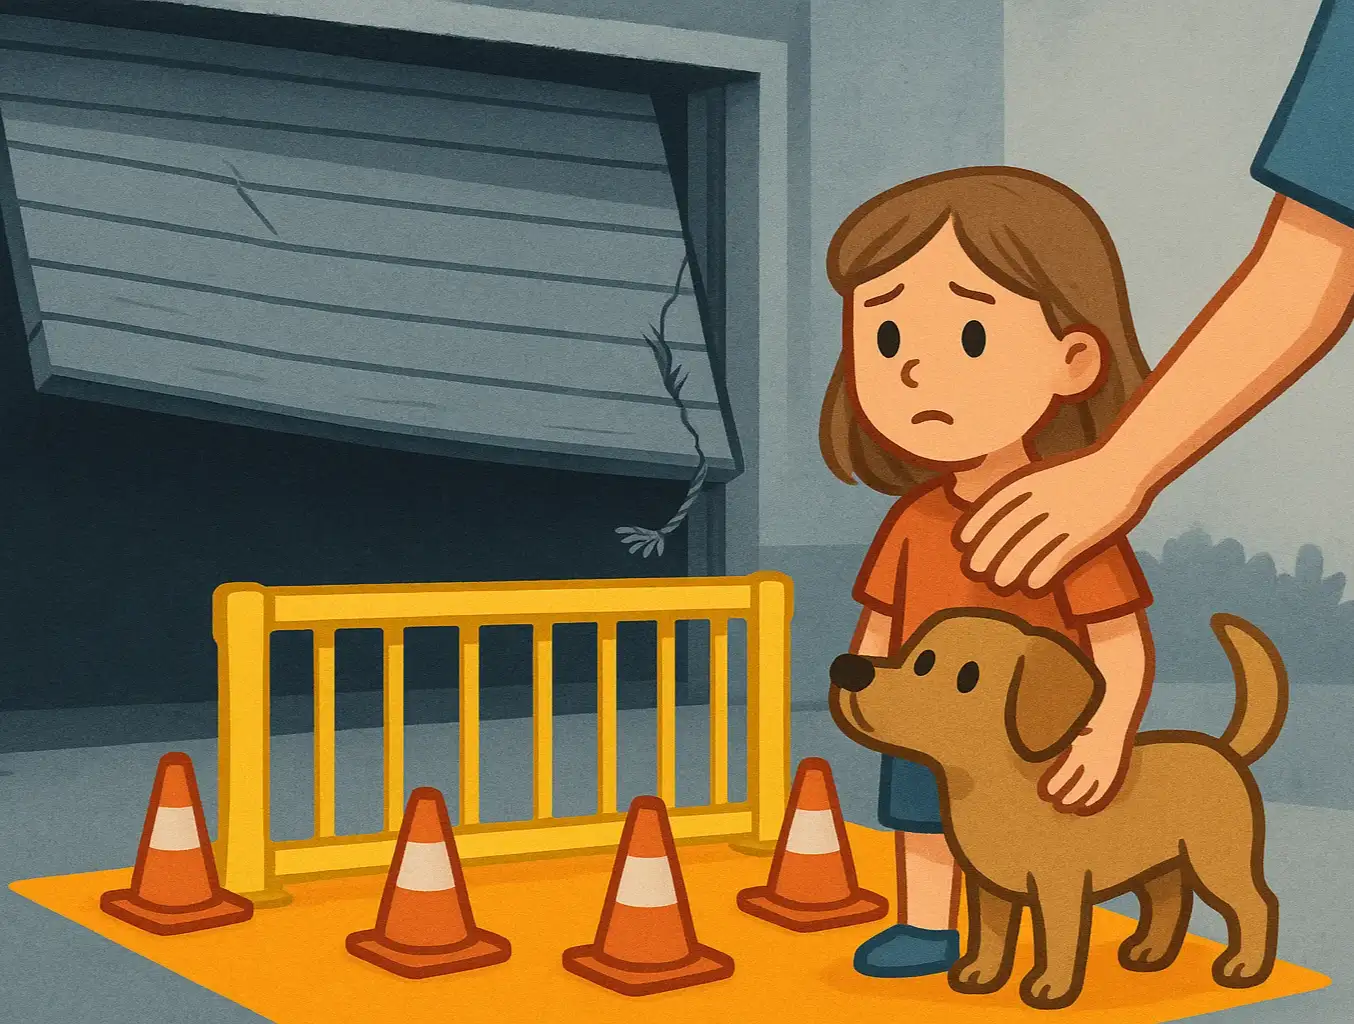
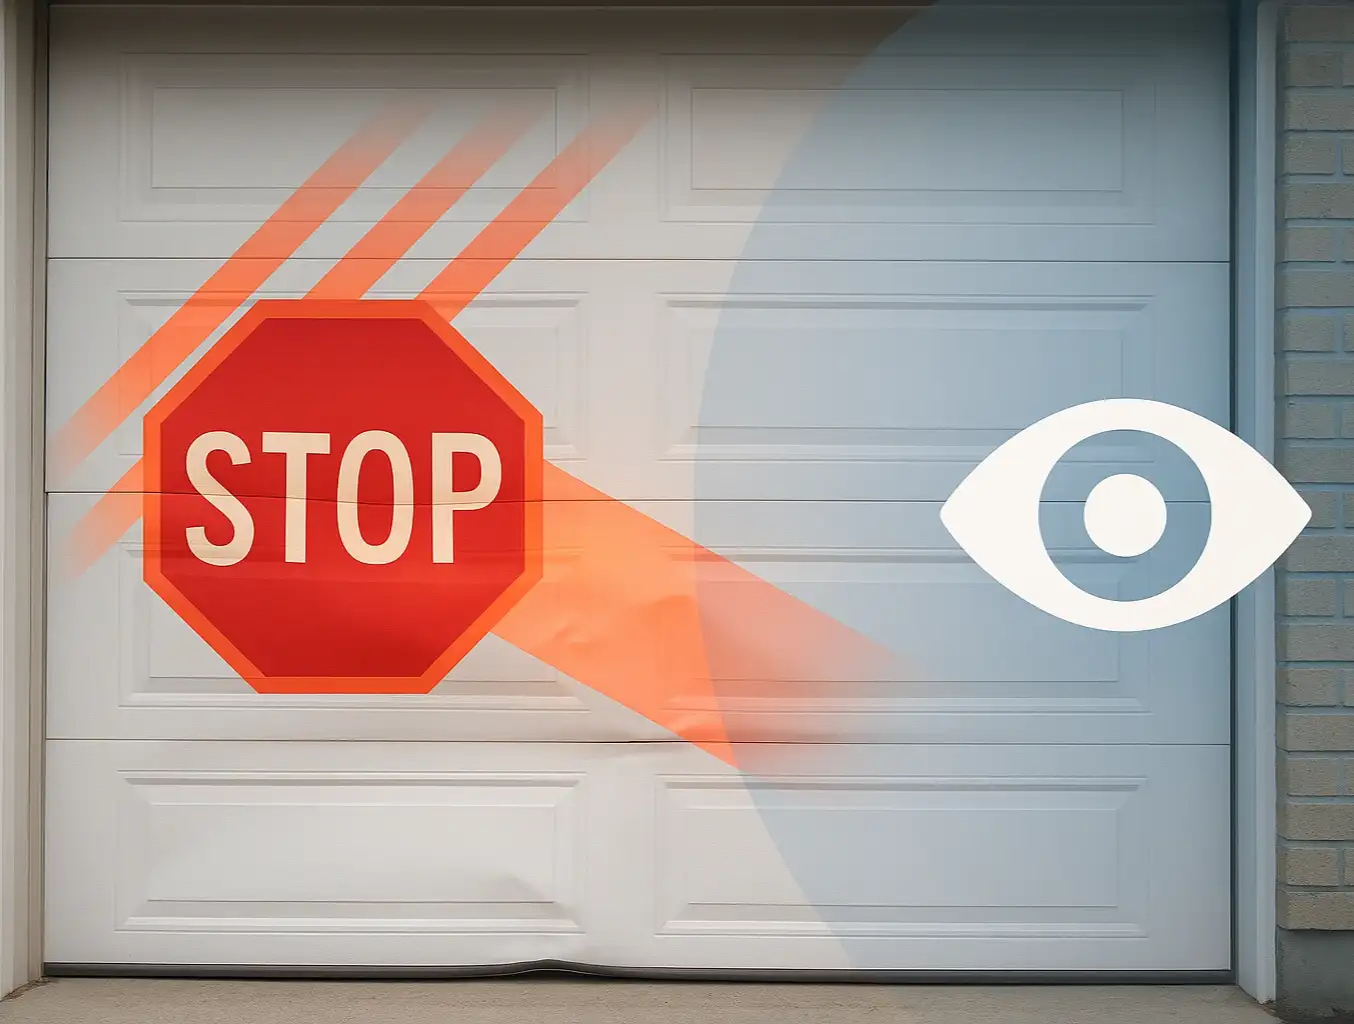
More often than not, the culprit is the pair of small "photo-eye" sensors located a few inches off the floor on either side of your garage door opening. These sensors are the most critical safety feature of your entire system. Understanding how they work and what to do when they malfunction is essential for keeping your home and family safe.
This guide will turn that frustration into a quick fix. We’ll decode the messages your sensors are sending and walk you through the immediate steps to restore safety and function to your garage door.
The Foundation: How the Safety Sensor 'Sees' and Why It Fails

- Obstruction: Something is physically blocking the beam's path.
- Misalignment:The sensors have been bumped and are no longer pointing directly at each other.
- Dirty Lenses: Dust, cobwebs, or grime on the sensor lenses are scattering the beam.
- Wiring Issues: A wire has been frayed, chewed, or disconnected.
- Sunlight Interference: Direct, bright sunlight is blinding the receiver sensor.
The 5-Step Diagnostic Flowchart: Find Your Fix in Minutes
Step 1: Check the Sensor Lights
- The sending sensor usually has a solid amber or orange light, indicating it has power.
- The receiving sensor usually has a solid green light, indicating it has power and is receiving the beam.

Step 2: Clear Any Obstructions
Step 3: Clean the Lenses
Step 4: Align the Sensors
- Action: Gently adjust one of the sensors by hand, moving it slightly up, down, left, or right until the LED light on the receiving sensor turns solid green. Most sensors are attached to the bracket with a wingnut that you can loosen for adjustment and tighten once aligned. Pay close attention to the light; it will tell you when you've hit the sweet spot.
- Pro-Tip: Don't just tighten the wingnut; make sure the LED is solid before you tighten it down. For a complete guide, learning how to align garage door sensors is an invaluable skill for any homeowner.
Step 5: Check the Wiring
- Action: First, perform a quick visual inspection. Look at the wires running from each sensor back to the motor unit. Check for any obvious signs of damage—frayed insulation, cuts, or staples that might have pierced the wire. Sometimes, a wire simply pops out of its terminal on the back of the motor. Make sure each connection is secure.
- Safety First: If you suspect damaged wiring, it's best to disconnect the power to the garage door opener at the circuit breaker before touching anything. Understanding the garage door safety sensor wiring diagram can be helpful, but if you're uncomfortable, this is a clear sign to call a professional.
Advanced Troubleshooting & Pro Tips
The Master Blink-Code Guide
- LiftMaster / Chamberlain: 1 or 2 blinks typically indicate misaligned or obstructed safety sensors.
- Genie: A blinking green light means the safety sensors are not aligned or are blocked.
- Craftsman: 1 to 6 flashes often indicate a sensor issue—check for alignment or obstructions.
- Ryobi: A slow blinking blue light indicates that the safety sensors are misaligned or obstructed.

The Sunlight Problem
- Solution 1: Swap the sender and receiver sensors. Putting the receiver on the shadier side of the door often solves the problem instantly.
- Solution 2: Use a sun shield. You can create a simple shield from a cardboard tube (like from a paper towel roll) and place it around the receiving sensor to block the ambient sunlight.
When Is It Time for a Replacement?
- The LED light on a sensor will not illuminate even with confirmed power and clean wiring.
- There is visible physical damage to the sensor casing, such as cracks.
- You've perfectly aligned the sensors, and the receiver light flickers randomly.
Need more information?
Get a free quote
Your Post-Fix Safety Checklist

- Press the Close Button: Let the garage door begin to close.
- The Wave Test: While the door is descending, wave a broom handle or your foot (carefully!) through the path of the sensors.
- Confirm Reversal: The door should immediately stop and reverse to the fully open position.
- The Box Test: For a more definitive test, place an empty cardboard box on the ground in the door's path. When the door touches the box, it should also reverse. This tests the separate pressure-reversal system.
Frequently Asked Questions
What do garage door safety sensors do?
Can a garage door work without the sensors?
Why is one garage door sensor green and the other yellow/amber?
Do I need to call a professional for sensor issues?
What does it mean if no lights are on either sensor?
You may also like