Our company logo

State

Why Your Garage Door Stops Opening When it Hits the Floor


Published: May 1, 2026

It’s one of those uniquely frustrating moments. You hit the button, your garage door starts its familiar rumble, but instead of gliding all the way up, it stops short—maybe a few inches, maybe a few feet from the top. It’s open, but not really open. You try again. Same result.

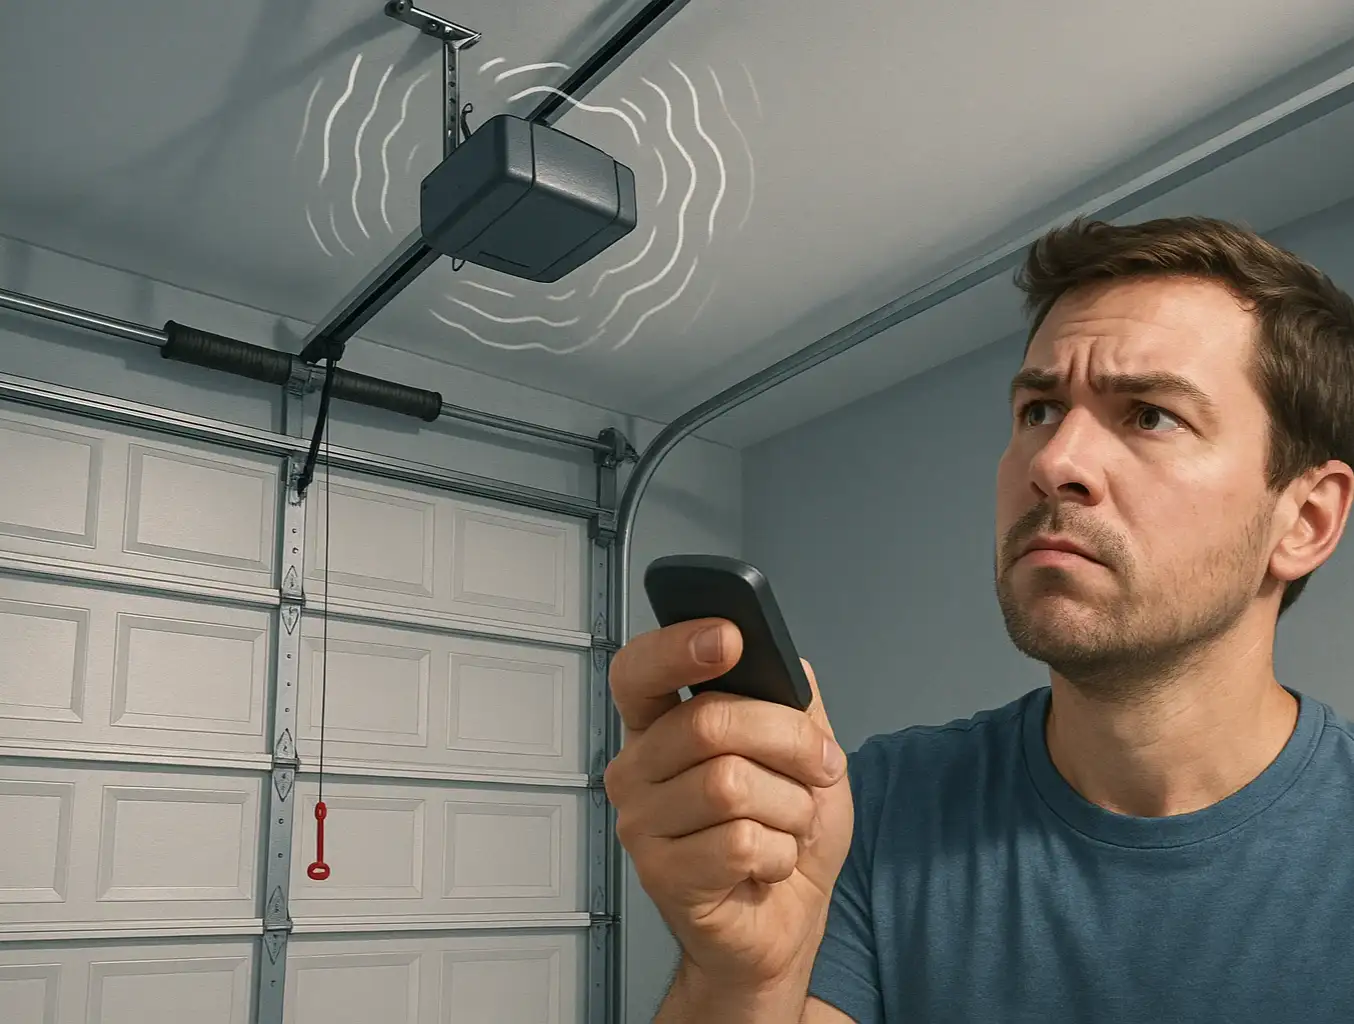
Before you start picturing costly repairs, take a breath. This is one of the most common issues homeowners face, and the solution is often surprisingly simple. The culprit is likely a tiny, but crucial, component in your garage door opener: the limit switch.

Think of it as your garage door’s brain. It tells the motor exactly how far to travel up and how far to travel down. When these settings are off, the door gets confused, leading to that maddening half-open state. The good news? Adjusting it is something you can often do yourself in just a few minutes.

What is a Garage Door Limit Switch, Anyway?


Imagine you’re setting a timer for an oven. You tell it exactly when to start and when to stop. A garage door limit switch does the same thing for your door's movement. It's a mechanism inside the motor unit that registers the door's position and tells the motor when to shut off.
There are two key settings:

  1. The "Up" Limit: This tells the opener to stop running once the door is fully open.
  2. The "Down" Limit: This tells the opener to stop running once the door is securely closed against the floor.
When the "up" limit is set incorrectly, the opener thinks the door is fully open before it actually is, causing it to stop prematurely. This can happen due to vibrations, temperature changes that cause slight expansion or contraction, or just the natural settling of your home over time.

Is the Limit Switch Really the Problem? A Quick Diagnosis


Before you grab a ladder, let's make sure we're chasing the right problem. If your garage door exhibits any of the following symptoms, a limit switch adjustment is the most likely fix:
Chart linking garage door symptoms to likely causes

  • The Halfway Halt: The door stops at the same spot every time it opens, but it's not at the very top.
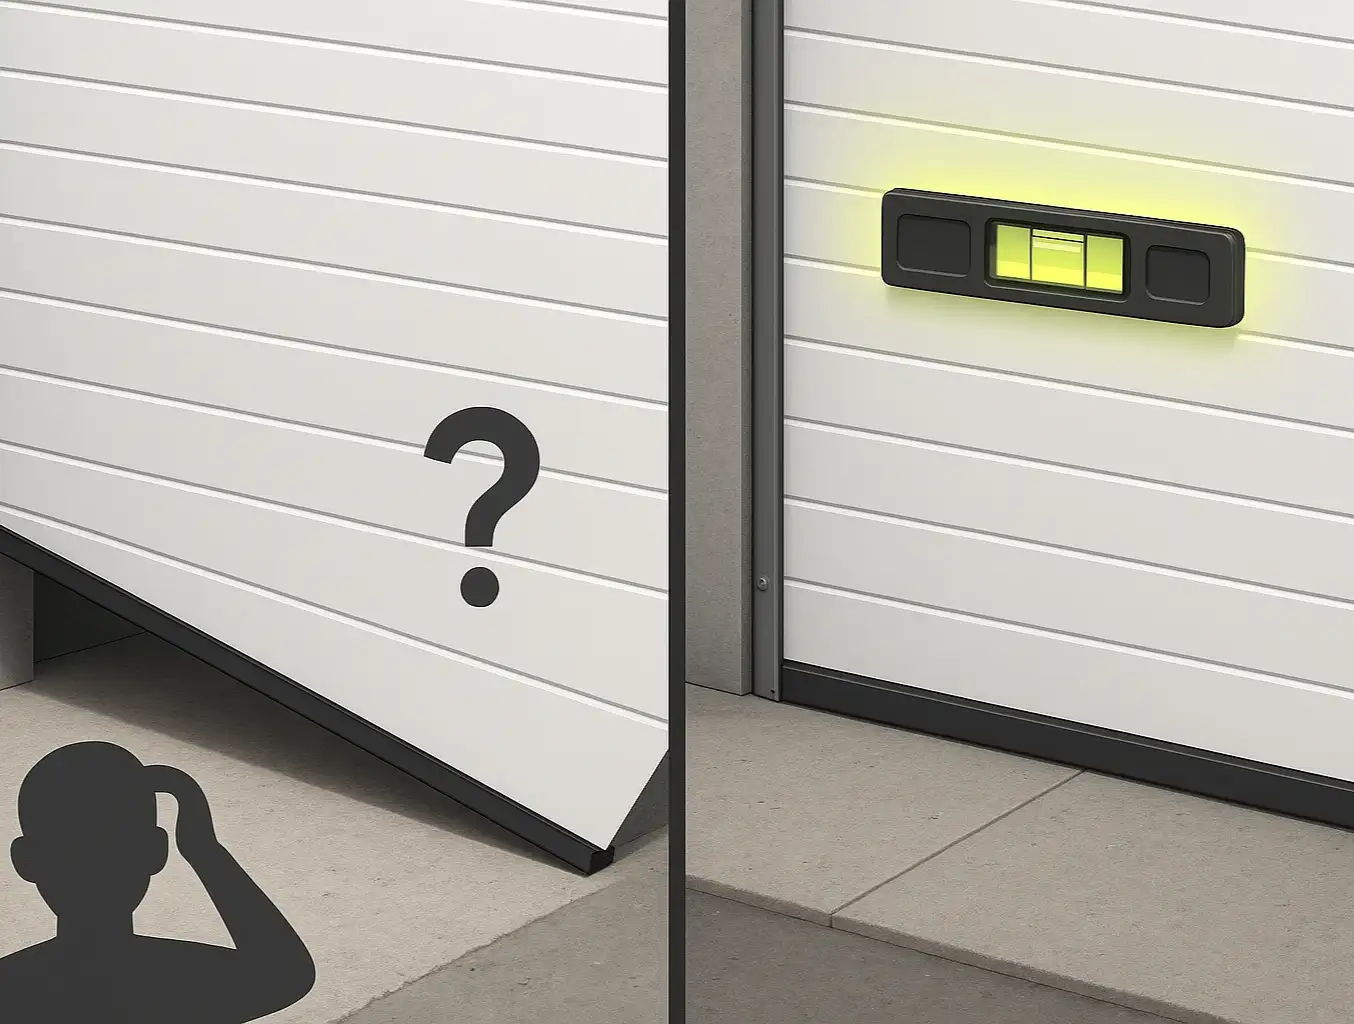
  • The Reversal: The door closes all the way, hits the floor, and then immediately reverses and opens a few inches. This means the "down" limit is set too far.
  • The Gap: When closed, there's a small gap between the bottom of the door and the floor. This means the "down" limit is set too short.
  • The Over-Opener: The door opens too far, causing the trolley to push against the stop bolt on the rail. While less common, this also points to an "up" limit issue.
If your issue is different—for example, if your garage door won`t open at all or the motor makes a grinding noise without moving the door—you might have a different problem, like a broken spring or an issue with the photo-eye safety sensors. Similarly, if your garage door won`t close, the safety sensors are often the first thing to check.
Chart linking garage door symptoms to likely causes

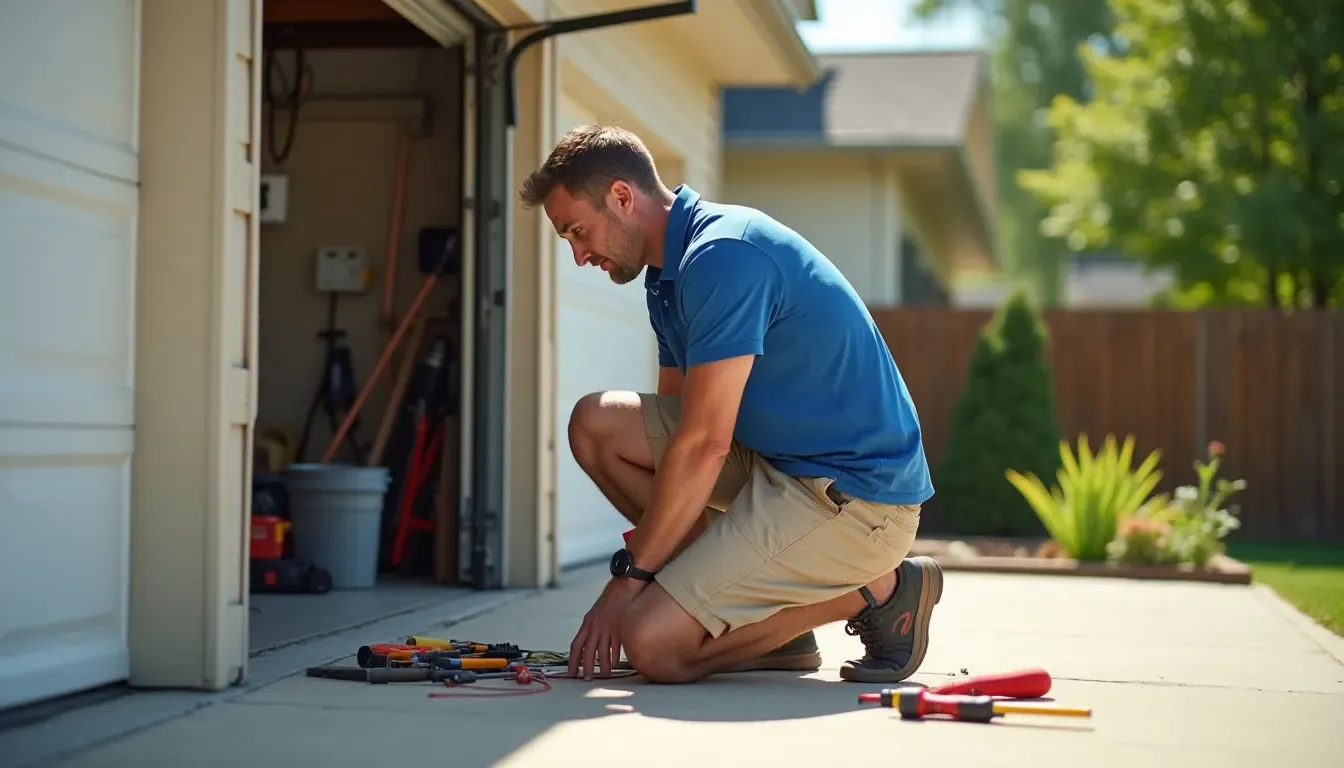
How to Adjust Your Garage Door Limit Switch: A Step-by-Step Guide


Ready to get this fixed? The process of adjusting garage door opener limits is straightforward, but it varies slightly by brand.

Before You Begin: Safety and Tools

Safety first, always. Before you start, gather your tools and review these precautions.
Tools You'll Need:
A sturdy ladder
A flathead screwdriver or a nut driver (depending on your model)
Your garage door remote or wall control
Safety Precautions:
Make sure the door's path is completely clear of people, pets, and objects.
Let everyone in the house know you'll be working on the door.
Only make small adjustments at a time—a little goes a long way.
Chart of limit switch controls for LiftMaster, Genie, and more

Finding Your Limit Adjustment Controls

On most modern openers, the limit adjustment controls are on the side or back of the motor unit—the big box hanging from your garage ceiling. You're looking for one of two things:

  1. Adjustment Screws: Two small, plastic screws, often labeled "Up" and "Down" with arrows indicating which way to turn them to increase or decrease travel.
  2. Push Buttons: A set of three buttons, typically a yellow, purple, or black adjustment button and up/down arrows.

Brand-Specific Guides: LiftMaster, Chamberlain, Genie & More

The exact method depends on your opener's brand and age. Here’s a quick rundown for the most popular models.
For Models with Adjustment Screws (Most LiftMaster, Chamberlain, Craftsman):
  1. Open the Door: Using your remote, open the garage door to its current stopping point.
  2. Locate the "Up" Screw: Find the adjustment screw labeled for "up" or "open" travel.
  3. Adjust: To make the door open further, turn the "up" screw in the direction of the "up" arrow (usually clockwise). One full turn of the screw typically equals about 2 inches of door travel.
  4. Test: Run the door up and down a full cycle to see where it stops.
  5. Repeat: Continue making small adjustments and testing until the door opens to the perfect height without straining the motor.
Chart of limit switch controls for LiftMaster, Genie, and more
For Models with Push Buttons (Newer LiftMaster/Chamberlain, some Genie):
1. Enter Programming Mode: Press and hold the black or yellow adjustment button until the "up" button begins to flash.
2. Set the "Up" Position: Press and hold the "up" arrow button until the door is in the fully open position you desire.
3. Set the "Down" Position: Press and hold the "down" arrow button until the door is fully closed.
4. Save the Settings: Press the adjustment button again to save the new travel limits. The LED light will turn off.
5. Test: Run a full cycle to confirm the settings are correct.
Adjusting both the up and down limits ensures smooth, reliable operation and prevents unnecessary strain on your door and opener.

Mastery: Troubleshooting Common Problems


Sometimes, things don't go exactly as planned. Here are a few common hiccups and what to do about them.
"My adjustments aren't doing anything!"
  • Check the direction: Double-check that you're turning the screw in the correct direction. The arrows can sometimes be counterintuitive.
  • Engage the trolley: Make sure the opener trolley is engaged with the chain or belt. If you've recently pulled the emergency release cord, it may be disengaged.
"The door still reverses when it hits the floor."
This is almost always a "down" limit or "force" setting issue. You've told the door to go too far down. Back off the "down" limit screw slightly until it closes gently without reversing.
"The door seems to be straining or shaking at the top."
You've set the "up" limit too high. The opener is trying to pull the door past its physical stopping point. Adjust the "up" limit down slightly until it stops smoothly. A garage door sticking when opening can also be a sign of misaligned tracks or lubrication needs.

Need more information?

When to Call a Professional


While adjusting the limit switch is a very manageable DIY task, there are times when the problem is more complex. You should call a professional technician if:

  • You've adjusted the limits, and the problem persists.
  • The opener makes grinding or squealing noises.
  • You suspect a broken spring, frayed cable, or see that the garage door opener off tracks. Do not attempt to fix these yourself, as they are under extreme tension and can be very dangerous.
  • You simply don't feel comfortable performing the adjustments.
A professional can diagnose the issue quickly and ensure your door is operating safely and efficiently.

Frequently Asked Questions (FAQ)


How often do I need to adjust my garage door limit switch?

Usually, not very often. You might need to make minor tweaks every few years, especially after extreme weather changes, but it's not a regular maintenance item.

Can I damage my garage door by adjusting the limits incorrectly?

Yes, if you make extreme adjustments. Setting the "down" limit too far can damage the top panel of your door, while setting the "up" limit too far can strain and damage the opener motor and trolley. Always make small, incremental changes.

Why did my limit settings change on their own?

It's rarely spontaneous. It's usually caused by the constant vibration of the motor over years, seasonal temperature fluctuations that cause the door components and frame to expand and contract, or a power surge that affects the logic board.
By understanding how your limit switches work, you've unlocked one of the most useful secrets to keeping your garage door running smoothly. With just a few minutes and a screwdriver, you can solve one of the most common garage door headaches and get back to your day.

You may also like


blog photo

How to Square and Level Garage Door Tracks on Uneven Garage Floors

That wedge-shaped gap under your garage door isn't just an eyesore—it's a puzzle. You’ve probably tried everything, nudging the tracks left and right, hoping to close it. But the more you adjust, the worse the door seems to run, grinding and binding in its new position. Here’s the secret the pros know: The gap under your garage door isn't the real problem. It’s a symptom. The real problem is that you’re trying to make your garage door conform to an uneven floor, but it was designed to operate in a perfectly square and level world. Trying to fix the gap by adjusting the tracks is like trying to fix a crooked picture by tilting the wall. It’s a frustrating, counterintuitive process that will never work. In this guide, we'll show you the right way to think about alignment, so you can achieve a perfectly smooth-running door, even if your garage floor has more slopes than a ski resort.

blog photo

Garage Door Opener Hums But Door Doesn't Move: Common Causes

You press the button on your remote, and instead of the familiar rumble of your garage door rising, you hear a low, persistent hum. The motor is clearly running, but the door isn’t moving an inch. It's a frustrating moment that can feel like a major, expensive problem. But here's a surprising insight: that hum is actually good news. It tells you that your opener is getting power and the motor is trying to work. This means you can immediately rule out issues like a tripped breaker or a dead outlet. The problem isn't with the power; it's with the connection between the motor and the door. Think of it like a car with its engine revving but the transmission is in neutral. The engine is working fine, but the power isn't reaching the wheels. We just need to figure out where that disconnect is happening. This guide will walk you through a step-by-step diagnostic process, starting with the simplest and most common causes, to help you solve the mystery.

blog photo

Why Your Garage Door Won’t Open & How to Fix It Fast

A garage door is one of those conveniences we rarely think about until it stops working. When it fails, your day can easily be thrown off track, with plans interrupted and unnecessary frustration added to your routine. Beyond the hassle, a broken garage door can also compromise your home’s security. What causes this kind of problem? The issue could be something as simple as dead batteries in your remote or as serious as a broken spring or a misaligned track. Any of these problems can impact the door’s functionality and interrupt your day. Before contacting a garage door repair service, it’s helpful to identify the issue. Some problems are simple enough to fix on your own, while others require professional expertise. In this article, we’ll explore the most common reasons why your garage door won’t open and share practical solutions to help you get them back in working order.