Our company logo

State

Differentiating LiftMaster, Genie, and Chamberlain Opener Procedures


Published: Jun 17, 2026

You’ve just moved into a new home. You have the keys to the front door, but what about the garage? Who else has a remote? The old homeowner? The realtor? It’s a nagging security question most people forget to ask. Or perhaps you’ve simply lost a remote, and the thought of a stranger having access to your home is keeping you up at night.

Whatever your reason, you've landed here because you need to reset your garage door opener. But as you’ve probably discovered, it’s not as simple as finding one-size-fits-all instructions. The process is surprisingly different depending on the brand.

You’re in the right place. Think of this as your definitive map. We’re going to walk through this together, translating the technical jargon and clarifying the subtle but critical differences between the big three: LiftMaster, Genie, and Chamberlain.

Foundation: More Than Just a Button - What Does 'Reset' Actually Mean?


Before we start pressing buttons, let's have a quick coffee-talk chat about what "reset" even means in the world of garage doors. It’s a term that gets thrown around a lot, but people often mean three very different things. This confusion is the #1 reason why a simple fix can turn into a major headache.
Many people ask, "Does unplugging your garage door opener reset it?" The short answer is no—at least not in the way you need. Simply cutting the power is like restarting your computer. It might fix a temporary glitch, but it won't erase the remotes programmed into its memory.
To truly solve your problem, you need to perform the right kind of reset:
Understanding Three Types of Garage Door Opener Resets

  • The Quick Reboot (Soft Reset): This is the simple act of unplugging the unit for a minute and plugging it back in. It’s a great first step for minor issues, like a non-responsive wall control.
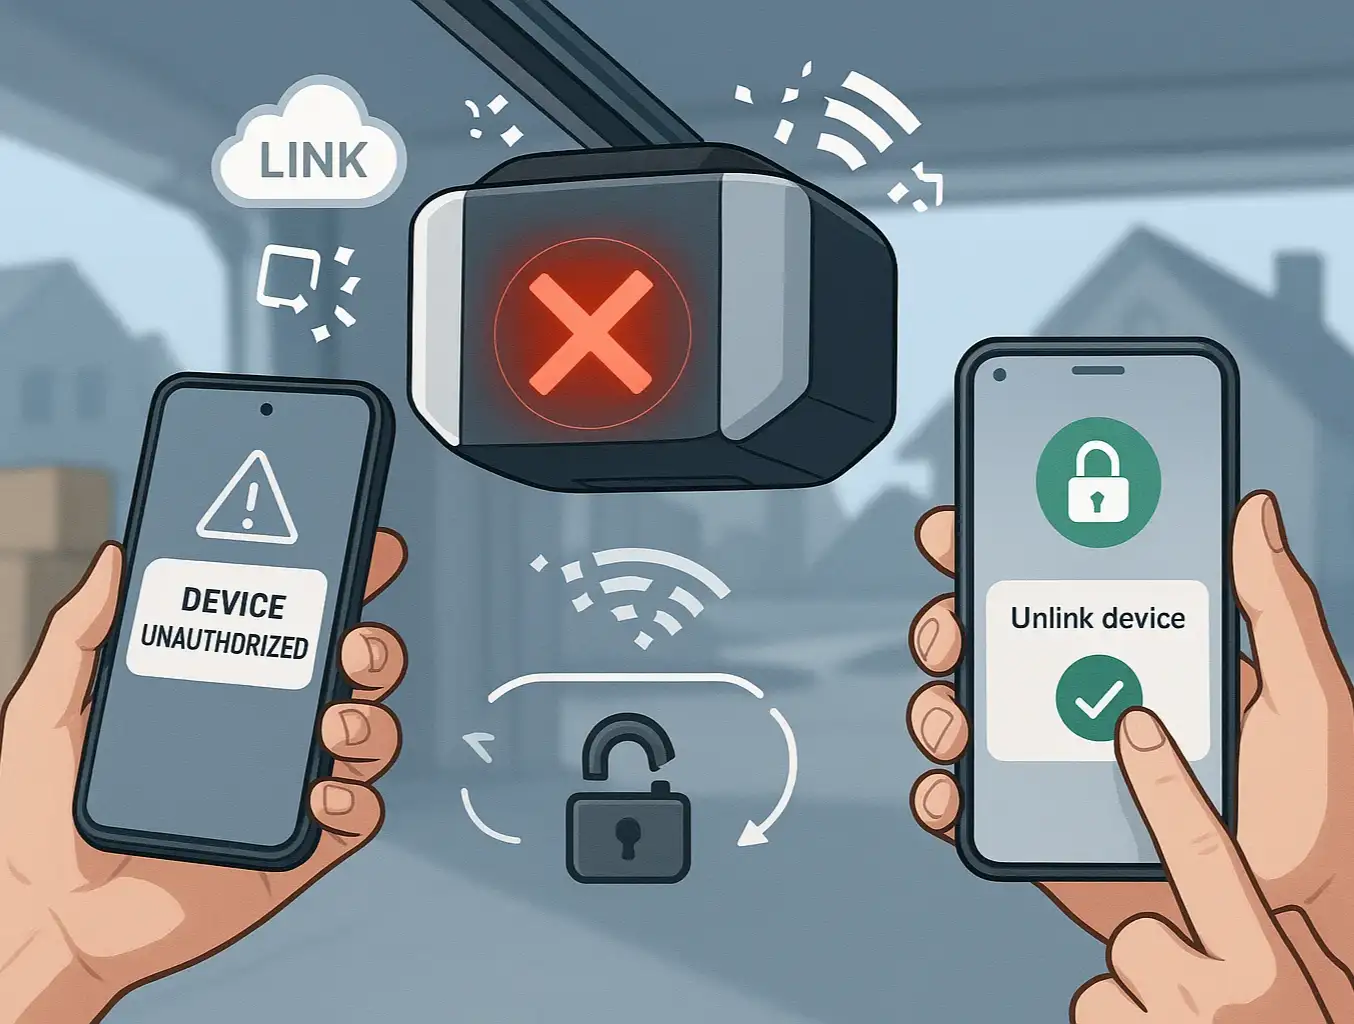
  • The Security Wipe (Hard Reset): This is the big one. This procedure erases the opener's memory of all paired remotes and keypads. It’s the essential step when you move into a new house, lose a remote, or want to ensure no unauthorized remotes can open your door.
  • The Performance Tune-Up (Recalibrating Limits): This involves reprogramming the open/close travel limits and force settings. You’d do this if your door isn't closing all the way, reverses unexpectedly, or seems to be struggling.
For the rest of this guide, when we say "reset," we'll be focusing primarily on the Security Wipe (Hard Reset), as it’s the most common and critical procedure for homeowners.
Understanding Three Types of Garage Door Opener Resets

Building: The Brand-Specific, Step-by-Step Guides


Here’s where we get into the specifics. The secret to a successful reset lies in correctly identifying the "brain" of your opener—usually a single button. But what that button is called and what it looks like depends entirely on your brand.

LiftMaster & Chamberlain: A Tale of Two Buttons (and Many Colors)

First, a helpful piece of trivia: LiftMaster and Chamberlain are made by the same parent company, the Chamberlain Group. This means their technology is very similar. The key to their reset process is finding the "Learn" button.
This button is usually a small, square button located on the back or side of the motor unit, often near the antenna wire. The "aha moment" for most homeowners is realizing that the color of this button is everything. It tells you the exact technology your opener uses and dictates the steps you need to follow.
How to Erase All Remotes (Hard Reset):
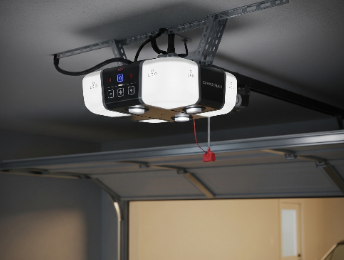
  1. Locate the Learn Button: Find the square button on your motor unit.
  2. Press and Hold: Press and hold the Learn button until the small LED light next to it goes out. This usually takes about 6-10 seconds.
  3. Release the Button: Once the light turns off, all previously programmed remotes and keypads have been erased from the opener's memory.
Identifying Learn Buttons on Major Opener Models
That's it. It’s a surprisingly simple process once you know what to look for. If you run into issues, a more detailed Chamberlain garage door opener troubleshooting guide can help pinpoint the problem. Similarly, if you have a LiftMaster model, our specific LiftMaster garage door opener troubleshooting steps can provide extra clarity.

Genie: A Different Language

Genie plays by a different set of rules. They don’t typically use colored square "Learn" buttons. Instead, you'll be looking for one or two black buttons, often labeled "Program" or "Learn Code." On some newer models, a single long button labeled "Program Set" is used.
The location is similar—on the motor unit, often near the light bulb cover—but the process has a key difference.
How to Erase All Remotes (Hard Reset):

  1. Locate the Program Button: Find the "Learn Code" or "Program" button on the motor head.
  2. Press and Hold: Press and hold the button down until the LED indicator light starts blinking or turns off. This can take around 10 seconds.
  3. Confirm Erasure: On some models, you might need to press the button again briefly to confirm the wipe. The LED will stop blinking once the memory is cleared.
The core concept is the same—holding a button to wipe the memory—but the terminology and visual cues are distinct. For any persistent issues, you can dive deeper into our Genie garage door opener troubleshooting fixes.
Identifying Learn Buttons on Major Opener Models

Need more information?

Mastery: Your Garage Door Opener Reset Questions, Answered (FAQ)


Garage Door Problems and Reset Procedures Guide
It’s normal to have questions. Here are answers to some of the most common ones we hear from homeowners every day.

Okay, I’ve wiped the memory. Now what?

Great job! You now have a clean slate. The next essential step is to reprogram your trusted devices. You’ll need to know how to program a garage door remote to reconnect it to the opener.

How is resetting a keypad different?

Wiping the opener's memory (as described above) will de-link your keypad. You'll then need to follow a specific process for how to program a garage door keypad, which usually involves entering a new PIN and syncing it with the opener's Learn button.

My opener isn't responding at all. The reset didn't work. What's wrong?

If a hard reset doesn’t solve the problem, the issue might not be with the programming. It could be related to the power supply, safety sensors, or an internal mechanical failure. Our general DIY garage door opener troubleshooting guide can help you diagnose the next steps.

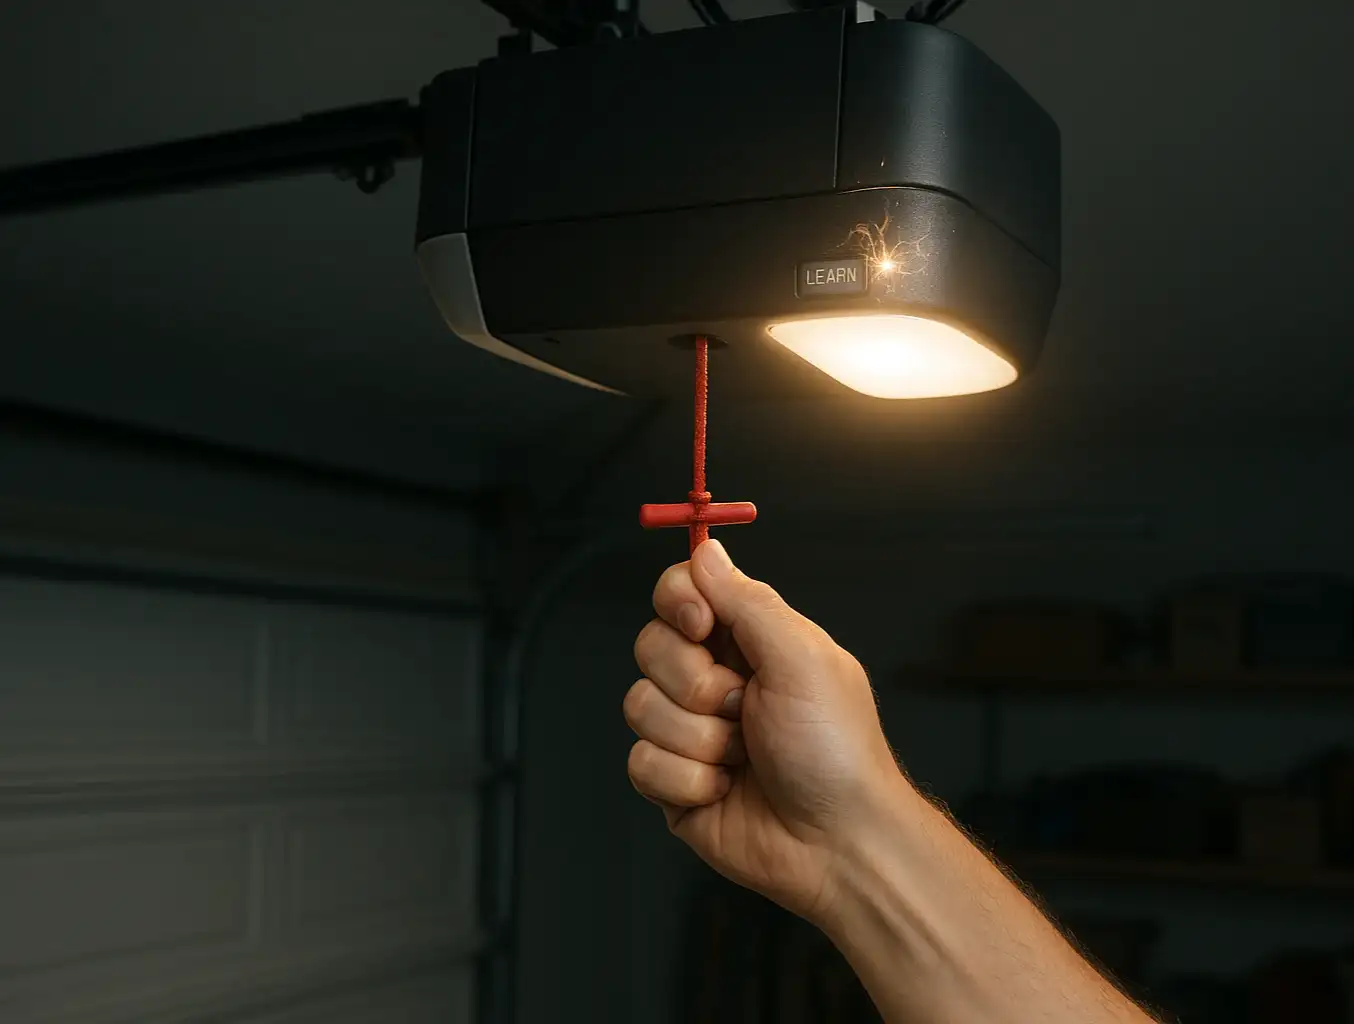
I pulled the red emergency release cord, and now the opener won't connect to the door.

This is a common situation. The red cord disengages the door from the opener trolley. To re-engage it, simply press your remote to run the opener. The trolley will move along the track and should automatically click back into place on the door's arm.

Garage Door Problems and Reset Procedures Guide

Action: You've Reset It. Now Secure It.


Performing a reset is a powerful step toward securing your home and ensuring your garage door functions correctly. By clearing the opener’s memory, you’ve taken back control.
Trusted Garage Door Manufacturers and Certifications
Your final and most important task is to reprogram your garage door opener by syncing it with only the remotes and keypads you trust. This ensures that old, lost, or unauthorized devices are locked out for good.
While these steps cover the most common scenarios, every garage is different. If you’ve followed this guide on how to reset garage door opener and are still facing issues, it might be a sign of a deeper problem. At Up & Down Garage Doors, we believe in empowering homeowners with knowledge, but we also know when a professional touch is needed. If you're stuck, our family of experts is here to help 24/7, ensuring your home is safe and secure.

Trusted Garage Door Manufacturers and Certifications

You may also like