Our company logo

State

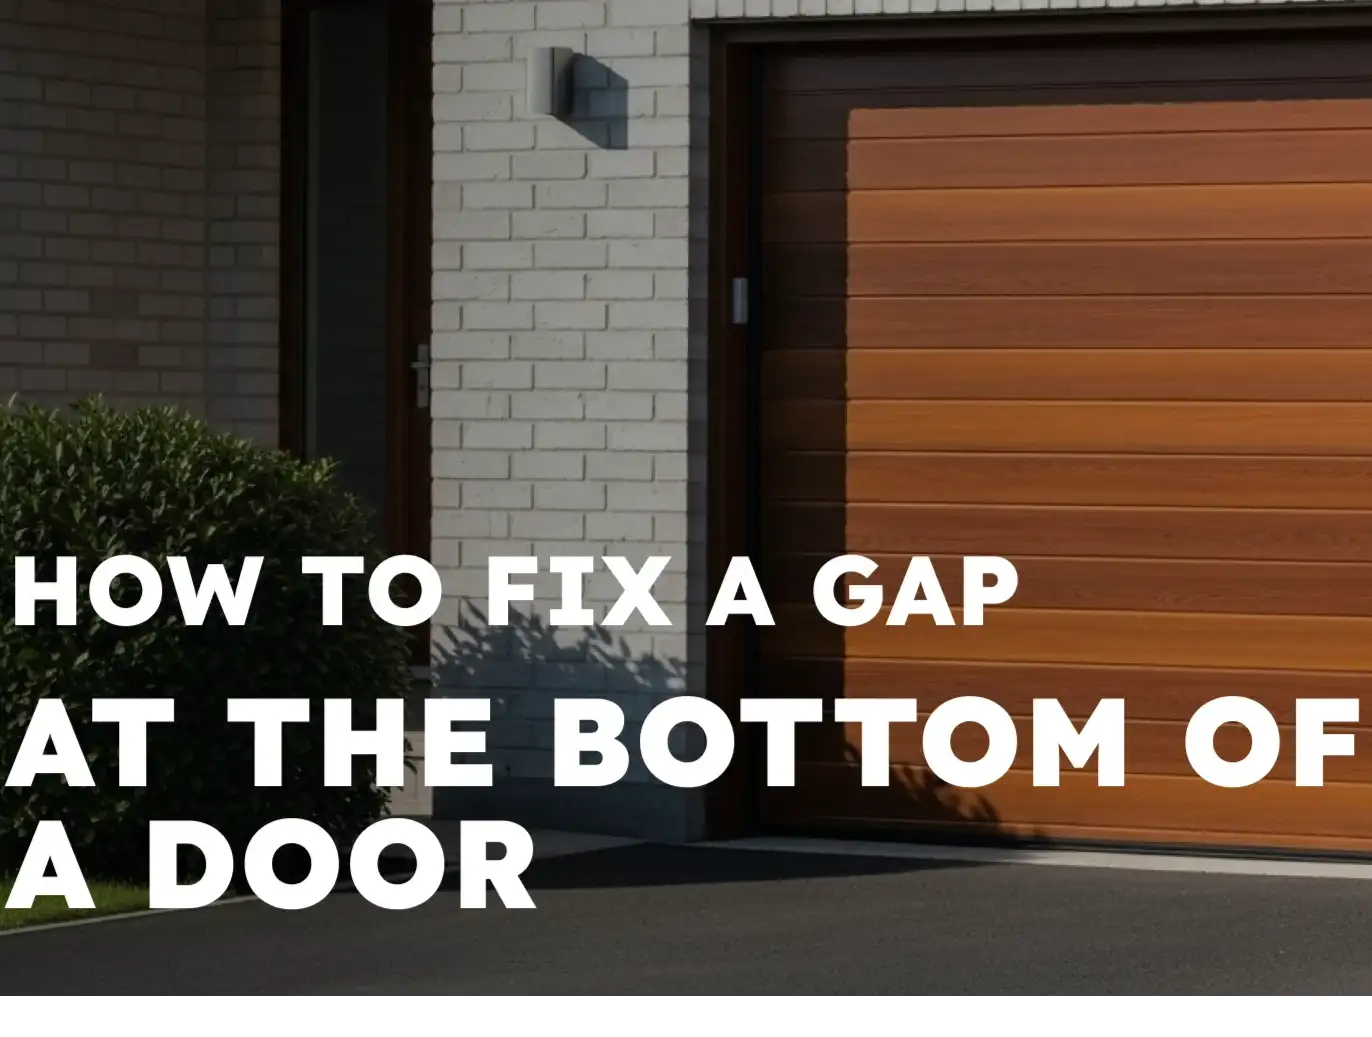
Best Garage Door Bottom Seal for Uneven Concrete Floors


Published: Jun 26, 2026

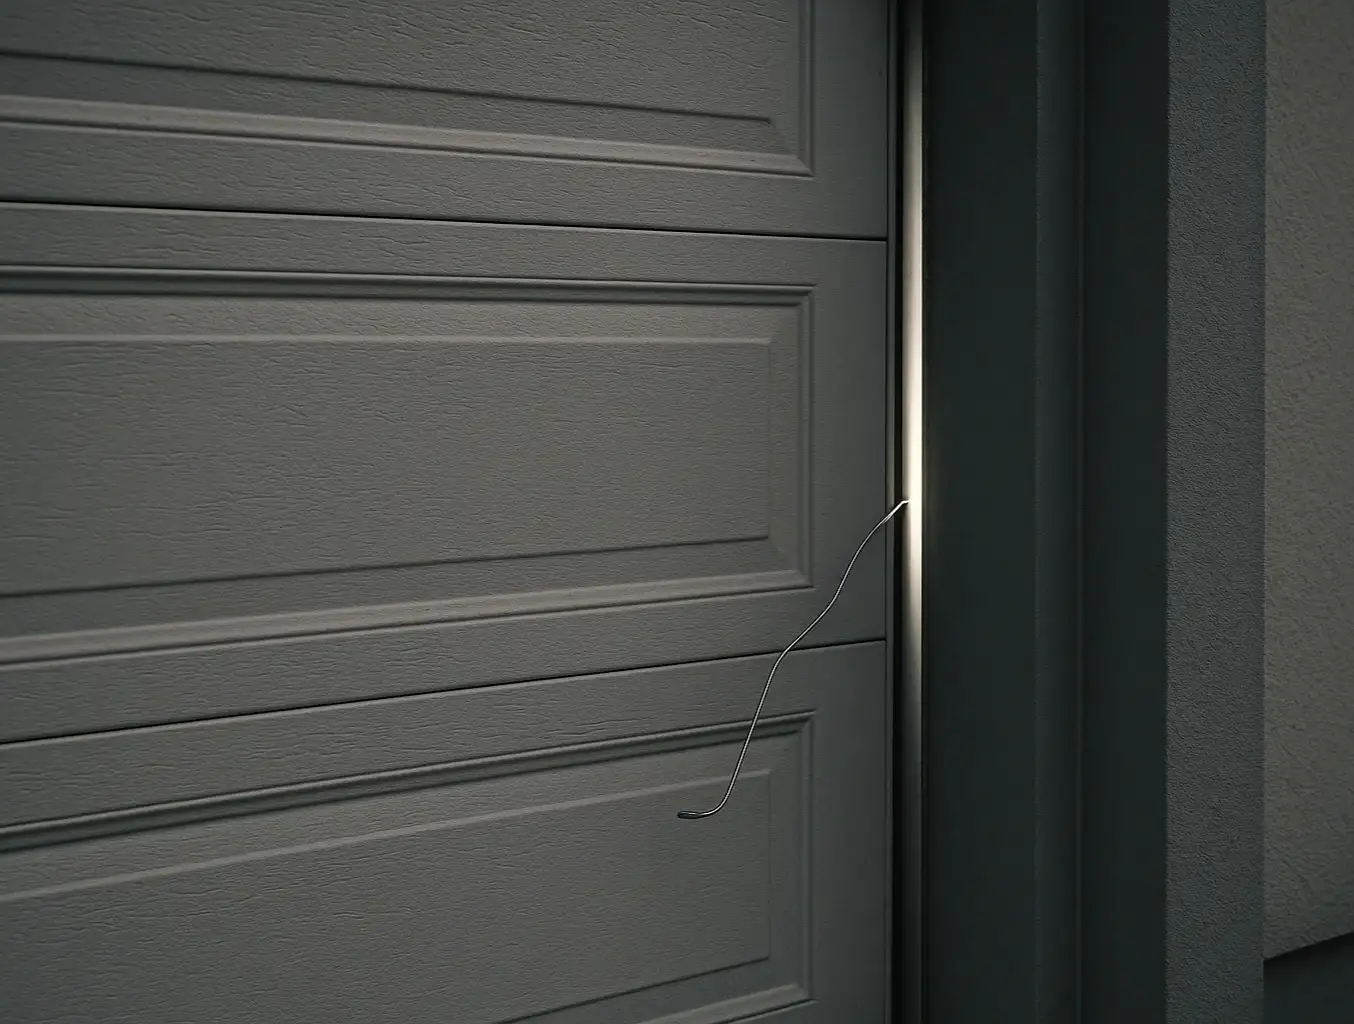
That stubborn gap under your garage door is more than just an eyesore. It’s an open invitation for rainwater, chilly drafts, dust, and unwelcome pests. If your garage floor is sloped, cracked, or uneven, you know the frustration of a standard bottom seal that just can't make complete contact. You end up with a seal that’s compressed on one side and leaves a crescent-shaped gap on the other.

You're not alone in this challenge. Many homeowners find that a perfectly good garage door still leaves a gap at the bottom simply because the concrete it's supposed to meet is imperfect. The good news is that you don't have to live with it. The solution isn't a new garage door; it's a smarter seal.

This guide will walk you through everything you need to know to diagnose your specific gap, choose the right type of seal, and create a perfect barrier, turning your garage into a cleaner, more energy-efficient space.

Foundation: Your 2 Main Choices - Seal the Door or Seal the Floor


When tackling an uneven floor, your strategy boils down to one key decision: do you add a bigger seal to the bottom of the door, or do you build up the floor to meet the door? Each approach has its own champion product.
Garage door bottom seal selection flowchart for uneven floors

  1. Bottom Seals: These are the familiar rubber or vinyl strips attached to the bottom of the garage door itself. For uneven floors, the solution is often using an extra-large seal that’s wide enough to compress over the high spots and still make contact with the low spots.
  2. Threshold Seals: This is a different approach entirely. A threshold seal is a solid strip of durable rubber that you adhere directly to the garage floor. The garage door then closes _on top_ of it, creating a dam-like barrier.
Deciding between them depends entirely on the nature and size of your gap.
Garage door bottom seal selection flowchart for uneven floors

Building: The Right Seal for Your Gap (The Diagnostic)


Before you can pick a solution, you need to become an expert on your specific problem. This three-step diagnostic will give you the clarity you need to choose the right seal with confidence.

Step 1: Measure Your Gap Accurately

With the garage door closed, identify the widest point of the gap. This is often in the center or near one of the sides. Use a tape measure to get a precise measurement of the gap at its largest. This single number is the most critical piece of information you'll need.

Step 2: The Simple Sizing Rule for Bottom Seals

If you're leaning towards a larger bottom seal, there's a fantastic rule of thumb to follow. This "aha moment" takes the guesswork out of selecting a size.
The rule is: The height of your largest gap dictates the width of the seal you need.
  • For a 1-inch gap, you need a seal that is at least 4 inches wide when flat.
  • For a 1.5-inch gap, you need a seal that is at least 5 inches wide when flat.
  • For a 2-inch gap, you need a seal that is at least 6 inches wide when flat.
Bottom seal vs. threshold seal comparison for garage doors
Why so wide? A wider seal has more material to bend and compress, allowing it to conform to the peaks and valleys of your concrete floor without being stretched too thin.

Step 3: Choose Your Champion – Bottom Seal vs. Threshold Seal

Now it's time to compare the two most common solutions and determine which one best matches your garage's needs.
An oversized bottom seal is the better choice for small to moderate gaps, typically up to 2 inches, caused by minor floor unevenness. It works by compressing against the floor, allowing the extra material to fill low spots and improve the seal. This option is popular because it's relatively easy to install, maintains a clean appearance, and doesn't require adhesive on the garage floor. However, it may not perform as well during heavy, wind-driven rain, can wear faster from constant compression, and is less effective on steeply sloped floors.
A garage threshold seal is designed for larger gaps, sloped driveways, and garages where water tends to collect near the entrance. Instead of attaching to the door, it is bonded directly to the floor, creating a raised barrier that the existing bottom seal closes against. Its main advantages include excellent water resistance, a more consistent sealing surface on uneven floors, and long-lasting durability. The trade-offs are:

  • Installation requires careful measuring and a strong adhesive, and the finished seal creates a small raised strip across the garage floor.

A Closer Look at Bottom Seal Types

If you're going with a bottom seal, you'll need to know what kind of retainer your door has. The retainer is the track on the bottom of the door that holds the seal in place.
  • T-Style: The most common type, where the seal has two "T" shaped ends that slide into two parallel channels on the retainer.
  • U-Shaped: This seal wraps around the bottom of the door and is secured by screws into the sides of the door. An oversized U-shaped seal combined with a new retainer is a powerful solution for uneven floors.
  • Bulb: A round, tube-like seal often found on older or commercial doors. It provides a thick cushion but is less ideal for conforming to major dips.
Bottom seal vs. threshold seal comparison for garage doors
If you see any of these signs it's time to replace a garage door bottom seal — like cracks, brittleness, or visible damage—an upgrade is definitely in order.

Mastery: Step-by-Step Installation Guides


Once you've chosen your seal, it's time for the installation. Proper preparation is key to a long-lasting, effective seal. The overall importance of garage door weather stripping can't be overstated, and a good installation makes all the difference.

How to Replace a T-Style Bottom Seal

This is a common DIY project and a great first step. For more detailed instructions, our guide on replacing garage door bottom seals offers a deeper dive.
Tools You'll Need: Pliers, flathead screwdriver, utility knife, dish soap or silicone spray.
  1. Remove the Old Seal: Raise the garage door. Use pliers to pinch one end of the old seal and slide it out of the retainer track. It may be stubborn, so a little soapy water in the track can help.
  2. Clean the Track: Use a screwdriver or rag to clean out any dirt and debris from the retainer channels.
  3. Install the New Seal: Lubricate the tracks with silicone spray or dish soap. Align one end of the new, oversized seal with the track and begin feeding it through. It's often easier with two people—one to feed and one to pull.
  4. Trim the Excess: Once the seal is fully inserted, use a utility knife to trim it so it extends about an inch past the door on each side. Fold the excess back into the seal's hollow center to prevent it from shifting.
Garage door gap sealing installation steps

How to Install a Garage Door Threshold Seal

This process is more about precision and preparation. A successful garage door seal installation of this type relies on a clean surface.
Tools You'll Need: Degreaser/cleaner, stiff brush, chalk line, measuring tape, caulk gun, heavy-duty liquid adhesive.

  1. Clean the Floor: This is the most critical step. The area where the seal will sit must be completely free of dust, oil, and moisture. Use a degreaser and scrub the concrete thoroughly. Let it dry completely.
  2. Mark Your Position: Close the garage door. From the inside, draw a chalk line along the inside edge of the door. This line marks where the back of your threshold seal should go.
  3. Apply the Adhesive: Open the garage door. Apply the adhesive to the floor in a zigzag pattern inside your marked area. Follow the manufacturer's instructions carefully.
  4. Place the Threshold: Carefully lay the threshold seal down along your chalk line, pressing it firmly into the adhesive. Ensure the ridged side faces the driveway.
  5. Secure and Cure: Close the garage door onto the threshold seal. This will apply even pressure while the adhesive cures. Do not drive over the seal for at least 24 hours.
Garage door gap sealing installation steps

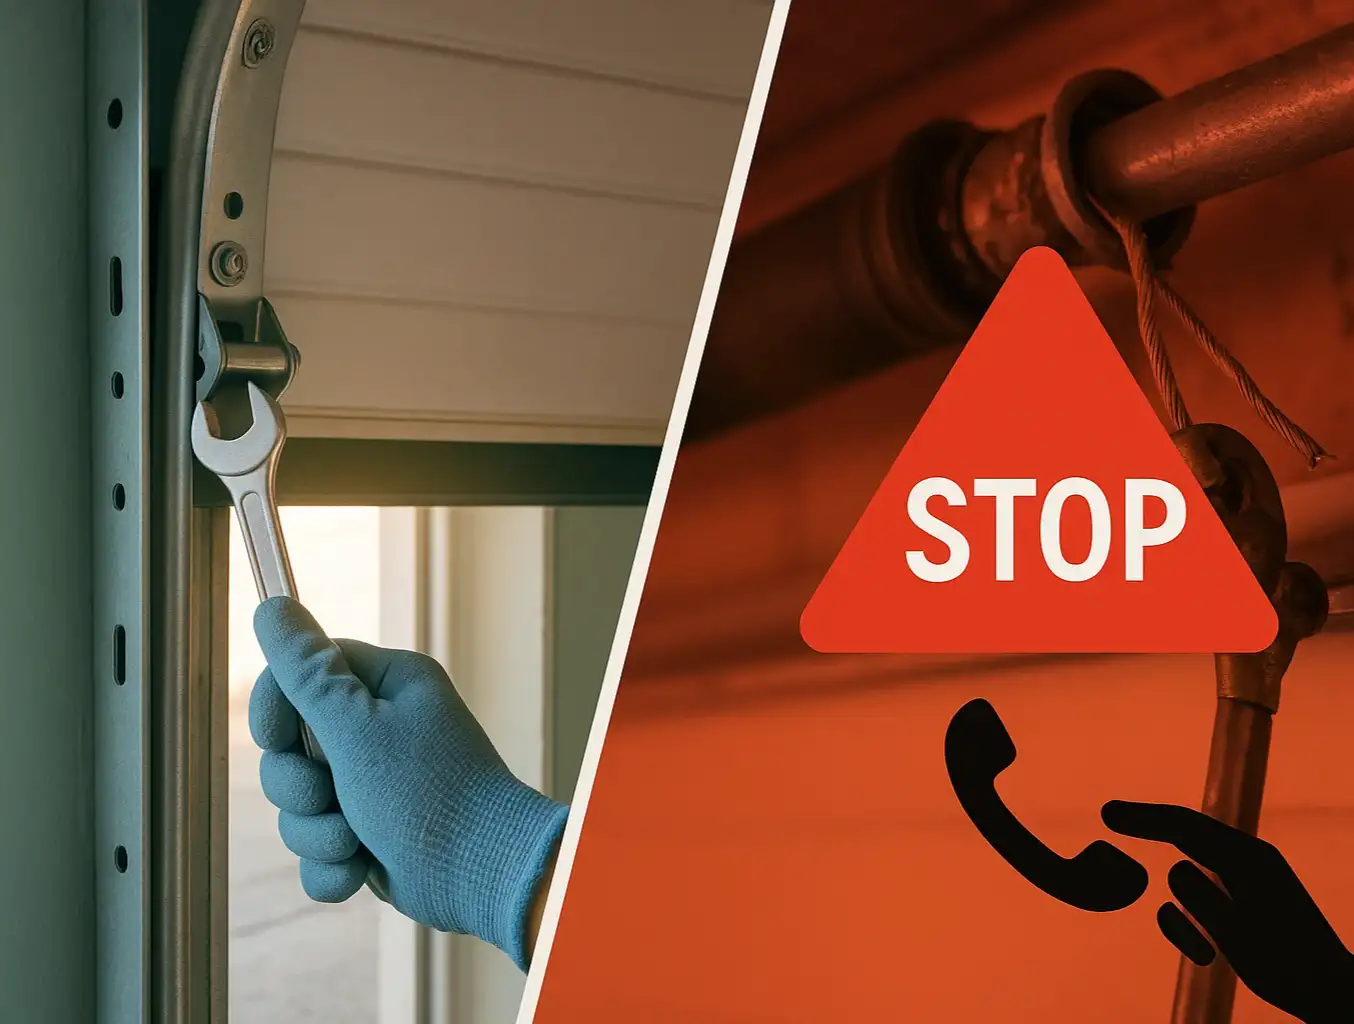
Need more information?

Action: Troubleshooting and Maintenance (FAQ)


Even with the best planning, questions can pop up. Here are answers to some of the most common ones.

How do I know what kind of retainer I have?

Look at the bottom of your door. If you see two parallel tracks running the length of the door, you have a T-style retainer. If the seal wraps around the bottom and is held in by screws on the front and back, it's a U-shaped retainer.

What if my garage door doesn't have a retainer at all?

You can buy aftermarket retainer kits that screw onto the bottom of your door. This allows you to use a modern, high-quality T-style seal and is a great upgrade for older wooden doors.

The adhesive for my threshold seal isn't sticking. What did I do wrong?

The most common culprit is improper surface preparation. The concrete must be perfectly clean and dry. If the concrete is sealed or painted, you may need to lightly scuff the surface with sandpaper to help the adhesive bond. Temperature can also be a factor; most adhesives work best in mild weather, not extreme cold or heat.

My new bottom seal seems too long. Should I cut it?

Yes, but leave a little extra. As mentioned in the installation steps, leaving about an inch of excess on each end and tucking it into the seal itself helps keep it from sliding sideways in the track over time.

Is sealing the bottom of the door enough?

Sealing the bottom is the biggest step, but for maximum efficiency, you should know how to seal garage door gaps on all four sides. Upgrading the vinyl trim on the sides and top of the door frame completes the weatherproofing job.

Your Next Step to a Perfectly Sealed Garage


Fixing a gap under your garage door on an uneven floor is one of the most satisfying home improvement projects you can tackle. By correctly diagnosing your gap and choosing between an oversized bottom seal or a sturdy threshold seal, you can permanently solve the problem of drafts, water, and pests.
If the project feels too big or you're unsure which solution is right for you, don't hesitate to reach out. Professional garage door weather stripping installation can save you time and ensure a perfect, long-lasting fit. And for a complete overview of upkeep, our garage door maintenance checklist is a great resource to keep your entire system running smoothly.

You may also like


blog photo

Impact of Garage Door Side Gaps on Home Security

Ever look at the thin gaps along the sides of your garage door and think nothing of them? A little daylight peeking through seems harmless—a normal part of a house settling. But what if that tiny gap was a welcome mat for unwanted guests? Here’s a startling fact that might change how you see your garage: research shows that 9% of burglars gain access to homes through an unsecured garage door. They don’t always need to break a window or pick a lock. Sometimes, all they need is a quarter-inch of space and a simple piece of wire. Those seemingly insignificant gaps are one of the most overlooked vulnerabilities in home security. They offer a direct line of attack to your garage's emergency release mechanism, turning your largest moving object into your home's weakest link. The good news? Securing it is easier than you think. Let's walk through how thieves exploit this weakness and the simple, effective ways you can reinforce your garage door today.

blog photo

DIY Garage Door Side Gap Fixes: When to Call a Professional

You pull into the driveway after a long day, hit the remote, and as your garage door rumbles shut, you notice it—a sliver of daylight peeking through the side. It’s a small thing, easy to ignore. But that tiny gap is more than just a cosmetic issue; it’s an open invitation for pests, a drain on your home’s energy efficiency, and a potential sign of a bigger alignment problem brewing. Many homeowners see a gap and immediately think it’s a complicated, expensive fix. The good news is that some of the most common causes are simple enough to address yourself in under an hour. The key is knowing exactly where to look and, more importantly, recognizing the difference between a quick DIY adjustment and a dangerous problem that requires a professional. This guide is designed to be your trusted advisor. We’ll walk you through a safe, step-by-step diagnostic process to fix common side gaps, and we’ll give you the confidence to know precisely when to put down the tools and call for expert help.