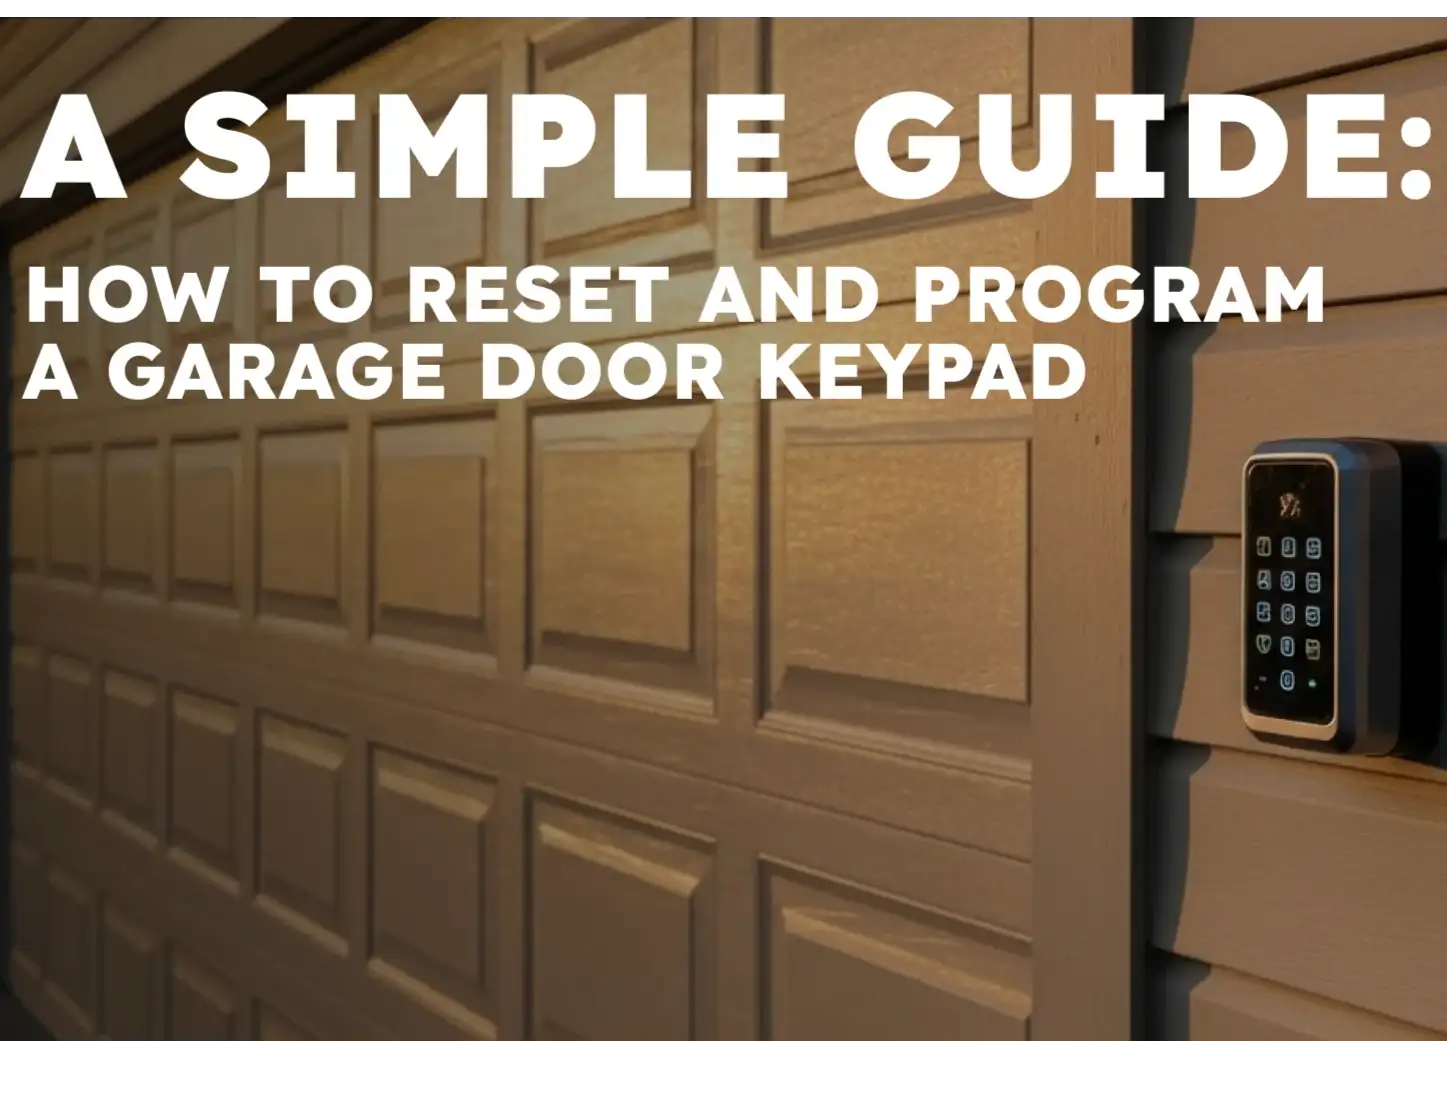
Weatherproofing Your Outdoor Garage Door Keypad
Published: Jun 24, 2026
It’s one of those moments that can ruin a morning. You’re rushing out the door, coffee in hand, tapping your code into the garage door keypad… and nothing happens. You try again. Still nothing. The rain starts to fall, and you realize you’re locked out.
Most of us assume the keypad just gave up from old age. But here’s an industry secret: the vast majority of keypad failures aren’t due to age, but to a silent battle with the elements. Rain, humidity, summer sun, and winter ice are constantly working to wear it down. The good news? You can win this battle.
This guide is your preventative playbook. We’ll show you how to protect your keypad from the moment it’s installed, ensuring it works reliably for years, no matter what the weather throws at it.
The Foundation: Understanding Weather-Resistant vs. Weatherproof
- Weather-Resistant: This means the keypad can handle a light splash or a bit of drizzle. Its casing is designed to repel some water, but it's not sealed. Think of it like a light windbreaker.
- Weatherproof: This means the keypad is built with seals and gaskets to prevent water, dust, and debris from getting inside. It's designed for direct exposure to the elements. This is your all-season raincoat.
- Water Ingress: Rain, snow, and sprinklers can seep through tiny cracks in the casing or behind an improperly mounted unit, directly corroding the circuit board.
- Condensation: High humidity and rapid temperature changes can cause moisture to form inside the keypad, leading to slow, invisible damage.
- UV Degradation: Relentless sun exposure can make plastic brittle, causing it to crack and creating entry points for moisture.
- Extreme Cold: Frigid temperatures don't just drain batteries; they can also make plastic components contract and crack.
The Proactive Weatherproofing Masterclass
Part A: Choosing Your Armor
- For Snowy & Icy Climates: Opt for a hard-shell plastic cover. It provides physical protection against snow buildup, ice, and hail. Look for a hinged design that won't freeze shut.
- For Hot & Sunny Climates: Choose a UV-resistant silicone cover. Silicone is less prone to cracking from sun exposure and heat. A lighter color will also help reflect sunlight.
- For Rainy & Humid Climates: A silicone cover with an overlapping design is your best bet. It creates a snug seal that prevents rain from dripping down and seeping into the casing.
- For Coastal & Salty Air Climates: Salt is incredibly corrosive. A tight-fitting silicone cover is essential to block salt-laden air. Regular cleaning is also critical in these areas.

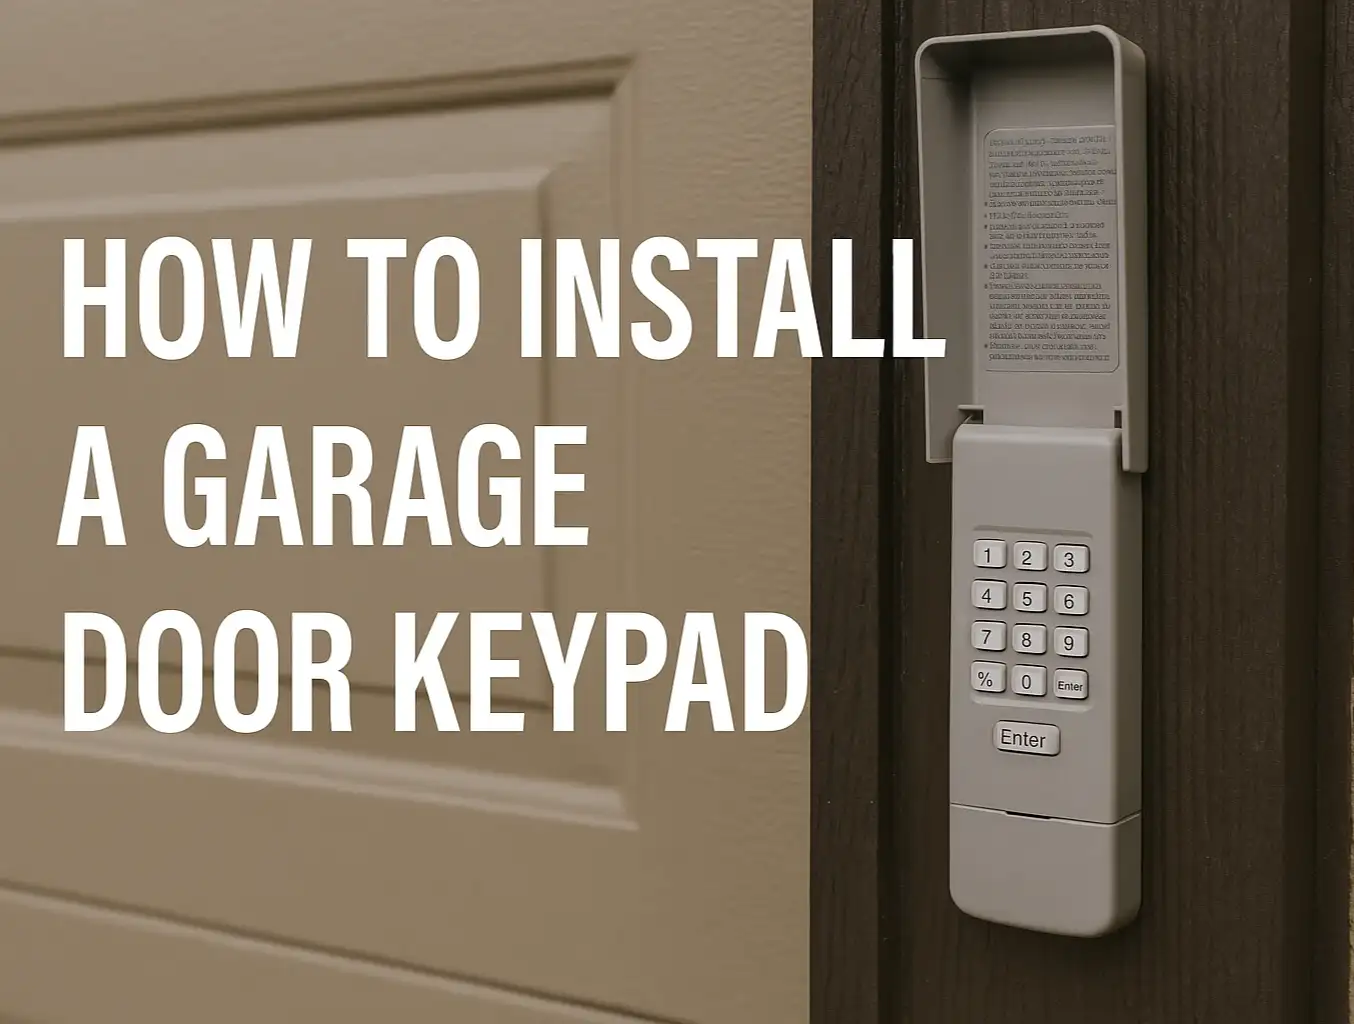
Part B: The Fortress Installation
- Choose Your Sealant: Use a high-quality, 100% exterior silicone caulk. It remains flexible in all temperatures and is completely waterproof.
- Apply the First Layer: Apply a thin, continuous bead of sealant to the back perimeter of the keypad housing before you place it on the wall.
- Mount the Keypad: Press the keypad firmly against the wall and secure it with screws as directed. The sealant will compress slightly to fill any gaps.
- Apply the Second Layer: Apply another clean bead of sealant around the top and sides of the mounted keypad where it meets the wall. Crucially, leave the bottom edge open. This allows any condensation that might form behind the unit to drain out instead of getting trapped.
Part C: Battery Intelligence
- Switch to Lithium: For climates with cold winters, lithium batteries are a game-changer. They maintain their voltage in freezing temperatures far better than alkaline batteries, providing consistent power all season long.
- Schedule a Fall Swap: Make it a habit to replace your keypad batteries every autumn, regardless of their current charge. This ensures you have fresh power heading into the coldest months.
Mastery: The Troubleshooter's Playbook
Step 1: Start with the Obvious (Batteries)
Step 2: Clean the Contacts

Step 3: The "Hair Dryer" Trick
Step 4: Reprogram the Unit
Step 5: Inspect for Damage
Your 4-Season Maintenance Checklist
- Spring: Wipe down the keypad and cover to remove winter grime. Inspect the silicone sealant for any cracks or peeling and reapply if necessary.
- Summer: Check the plastic casing for any signs of brittleness or cracking from UV exposure. Ensure the cover is still fitting snugly.
- Fall: Replace the batteries with a new set of lithium batteries to prepare for the cold.
- Winter: After a snow or ice storm, gently brush away any accumulation from the keypad to prevent melting ice from seeping into the buttons.
Need more information?
Get a free quote
Frequently Asked Questions
Are garage door keypads waterproof out of the box?
How long should my outdoor keypad last?
Are garage door keypads safe?
Can I install a keypad on any surface, like vinyl siding or brick?
Don't Let the Weather Win
You may also like