Our company logo

State

Understanding the Garage Door Opener Trolley and Carriage


Published: Jun 23, 2026

You press the button on your garage door remote, and the familiar sound begins—the low hum of the opener motor whirring to life. You expect the gentle rumble of the door ascending, but instead, you get... nothing. The motor runs, a chain or belt moves in the track above, but the door itself remains stubbornly shut.

It’s a frustrating moment that can make you feel like you're facing a costly repair. But don't panic. More often than not, this isn't a sign of a catastrophic failure. It’s usually caused by a simple, intentional feature of your opener: the emergency release.

This guide will walk you through the mechanics of your opener's trolley and carriage, turning you from a confused homeowner into a confident troubleshooter. We'll explain exactly what's happening, why it happens, and how to fix it safely. Because when your garage door opener hums but won't open, a little knowledge is all you need to get things moving again.

Foundation: The Anatomy of Your Garage Door's "Drivetrain"


Think of your garage door opener system like the drivetrain of a car. The motor is the engine, but a series of parts must work together to transfer that power and move the door. The most important connection point in this system is the trolley and carriage assembly.
Let's break down the key players:
Garage Door Trolley Latch Mechanism Explained

  • The Rail: The long metal track that runs from the opener motor to the wall above the garage door.
  • The Drive (Chain/Belt/Screw): This is the part that moves along the rail, powered by the motor.
  • The Trolley: This is the small wheeled mechanism that travels back and forth along the rail, pulled by the drive.
  • The Carriage: This is the stationary piece that the trolley latches into. It’s connected to the door itself via a metal arm (the J-arm).
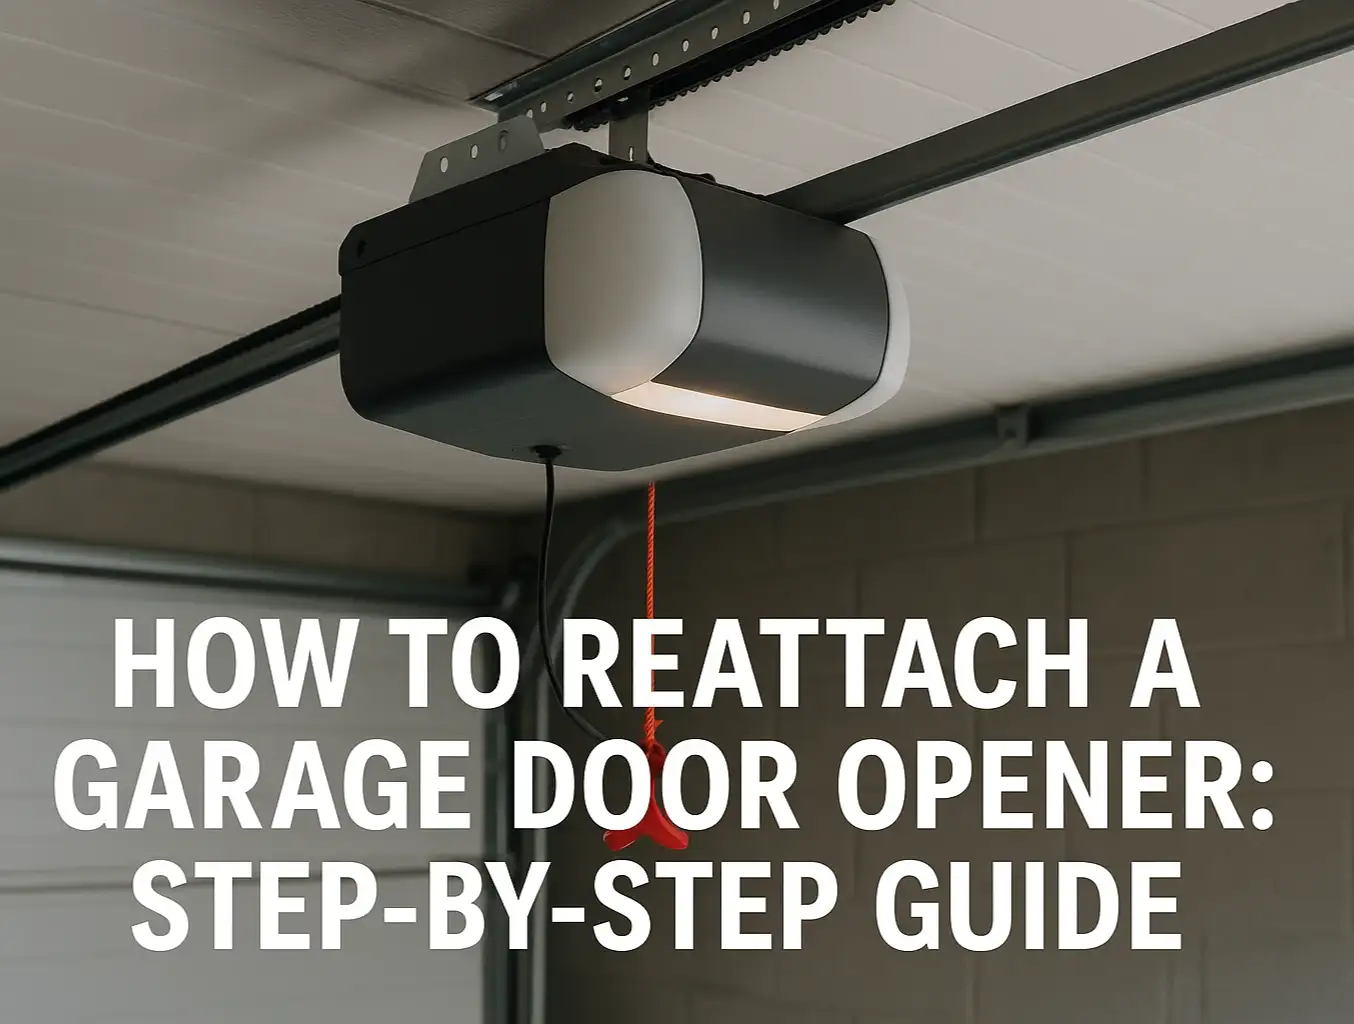
  • The Emergency Release Cord: This is the iconic red cord with a handle. Its job is to act as a "clutch," disconnecting the trolley from the carriage so you can move the door by hand.
When everything is working normally, the trolley latches onto the carriage, and as the motor pulls the trolley, the carriage and the attached door go along for the ride. When the release cord is pulled, the trolley becomes "disconnected," allowing it to move freely along the rail without taking the door with it. That's why you hear the motor but see no movement.
While the principle is universal, the exact appearance of the trolley can vary by manufacturer. Chamberlain, LiftMaster, and Genie are the most common brands, and their designs have slight differences. Understanding what your specific model looks like can make troubleshooting much easier.
Garage Door Trolley Latch Mechanism Explained

Engaged vs. Disengaged: Understanding the Two States of Your Trolley


Your trolley can only be in one of two states: engaged or disengaged. Knowing how to identify each one is the first step to solving your problem.
  • Disengaged: This is manual mode. The emergency release has been activated, and the trolley is not connected to the carriage. You can (and should) be able to lift and lower the garage door by hand with minimal effort. The release lever on the trolley is typically angled down or pointing back toward the motor.
  • Engaged (or Ready to Engage): This is automatic mode. The trolley and carriage are either locked together or the release lever has been reset and is waiting for the trolley to meet the carriage to lock automatically. The lever is typically horizontal or pointing slightly up.
The most common reason for a disconnect is an accidental pull of the red cord—it can get snagged on a car roof rack, a ladder, or even by someone unfamiliar with its function.

The Simple Fix: How to Re-Engage Your Garage Door Trolley


For most situations, getting your door back on track is a straightforward process. For a complete visual reference, our guide on how to reattach a garage door to the opener offers a detailed look. Here are the essential steps:
  1. Close the Garage Door: Before you do anything else, make sure the garage door is fully closed. This is a critical safety step.
  2. Reset the Release Lever: Pull the emergency release cord down and toward the garage door (away from the motor). This should click the spring-loaded lever back into the "ready to engage" position—it will typically look horizontal.
  3. Run the Opener: Use your wall button or remote to run the garage door opener.
  4. Listen for the "Click": Watch as the trolley travels along the rail toward the carriage. When they meet, you should hear a loud, satisfying "CLICK" as they lock together.
  5. Test the Connection: Run the opener again. The door should now lift as normal.
⚠️ Common Mistake: Never try to re-engage the trolley with the garage door open. If the connection fails or isn't secure, the full weight of the door is no longer supported by the opener, and it could slam shut, causing serious injury or damage.

Mastery: What to Do When the Trolley Won’t Reconnect


Sometimes, it’s not as simple as a click and go. If you've run the opener and the trolley passes right over the carriage without connecting, it's time for some simple detective work. This flowchart can help you diagnose the issue methodically.
Garage Door Trolley Won’t Engage Troubleshooting Guide
Let's walk through the most common reasons for re-engagement failure:
The Release Lever Isn't Set: Double-check that the release lever is firmly in the horizontal "ready" position. Sometimes it can get stuck halfway. Give the cord another firm tug toward the door to ensure it's fully reset.
Misalignment: The trolley and carriage need to be reasonably close for the connection to happen. If they are too far apart, close the door and manually push or pull it until the carriage is within a few inches of the trolley, then try running the opener again.
The Critical Balance Test: This is the most important troubleshooting step, as it checks the health of your garage door springs.

  • With the door closed, pull the release cord to disengage the trolley.
  • Carefully lift the door by hand to about waist height.
  • Let go.
A properly balanced door should stay in place or drift down very slowly. If it slams shut or is extremely heavy to lift, STOP. This indicates a problem with your springs, which are under extreme tension and can be incredibly dangerous. This is a clear signal to call a professional.
Garage Door Trolley Won’t Engage Troubleshooting Guide

When Your Simple Fix Becomes a Complex Problem: Knowing When to Call a Professional


While re-engaging a trolley is a great DIY skill, some issues require an expert. Your safety is always the top priority. Call a professional service like Up & Down Garage Doors if you encounter:

  • A Failed Balance Test: Again, never attempt to adjust or replace garage door springs yourself. They are the most dangerous component of the system.
  • Stripped Internal Gears: If you run the motor and the chain or belt moves but the trolley itself stays put, the plastic gears inside your opener unit have likely failed. This repair requires disassembling the motor housing.
  • A Broken Trolley or Carriage: Look for visible cracks or broken pieces on the assembly itself. These parts will need to be replaced by a qualified technician.
For a broader overview of potential issues, our guide to garage door opener troubleshooting can help you identify other common problems.

Need more information?

Frequently Asked Questions (FAQ)


What is the red cord hanging from my garage door opener for?

That's the emergency release cord. It manually disconnects the door from the opener motor, allowing you to operate it by hand during a power outage or emergency.

Can I re-engage the garage door when it's open?

You should not. Re-engaging with the door open can cause it to slam shut unexpectedly, as the opener won't be supporting its weight until it's fully connected. Always perform the re-engagement process with the door in the fully closed position.

My opener has a different drive type. Does that change how I reconnect the trolley?

The principle is the same across all drive types. Whether you have a chain, belt, or screw drive, the trolley and carriage mechanism functions identically. For a closer look, see our guide on how to re-engage chain, belt, and screw drive openers.

What if I get locked out during a power outage?

A power outage means your remote won't work, and if the door is your only entry point, you can be locked out. This is why having a garage door emergency release kit is a great idea. It installs a small lock on the face of your garage door that allows you to use a key to pull the release cord from the outside.

Your Next Step to a Perfectly Functioning Garage Door


Understanding how your garage door opener's trolley and carriage work is empowering. What once seemed like a major mechanical failure is now revealed to be a simple, clever safety feature that you can confidently manage. By following these steps, you can troubleshoot and resolve the most common cause of a non-moving garage door.
Remember to always prioritize safety, especially when testing the door's balance. And when you encounter a problem that goes beyond a simple disconnect, a trusted professional is just a call away.

You may also like


blog photo

Side-Mounted (Jackshaft) Garage Door Openers

Ever stood in your garage, looked up, and felt like you were losing a battle for space? The culprit is often hiding in plain sight: that bulky, chain-driven garage door opener hanging right in the middle of your ceiling. It’s the gatekeeper to your home, but it’s also a space-hog, dictating where you can (and can't) install storage shelves, a car lift, or even just enjoy a clean, uncluttered look. What if you could reclaim all that valuable real estate? This is where the side-mounted, or "jackshaft," garage door opener comes in. It’s a sleek, powerful solution that doesn’t live on your ceiling—it mounts discreetly on the wall beside your garage door. For homeowners with small garages, low ceilings, or big plans for their overhead space, this is more than an opener; it’s a game-changer.

blog photo

Precautions Before and After Resetting Your Garage Door Opener

It’s a familiar frustration. You press the button on your remote, and… nothing. Or maybe the door closes part-way, then mysteriously reverses. Your first instinct, fueled by countless online forums, is probably to reset the garage door opener. It seems simple enough, right? But here's a thought that might give you pause: the average garage door weighs between 150 and 400 pounds. It's the largest and heaviest moving object in most homes. Before you press a single button on that motor unit, it's critical to ensure the system supporting all that weight is sound. A simple reset on a mechanically compromised door can turn a minor inconvenience into a major accident. This guide is different. We’re not just going to show you how to reset your opener; we’re going to show you how to do it safely. Think of this as a pre-flight checklist for your garage door—a few simple steps to ensure your quick fix doesn't create a bigger problem.