Our company logo

State

How to Program a Garage Door Keypad for Multiple Doors


Published: Jun 4, 2026

Juggling multiple garage door remotes can feel like a throwback to the days of carrying a giant keychain. One for the main bay, another for the workshop door, maybe a third clipped precariously to your car's visor. If you have a home with a two- or three-car garage, you know the frustration. But what if you could simplify it all down to a single, sleek keypad mounted right outside?

The great news is you absolutely can. Most modern garage keypads are designed to control multiple doors, but this powerful feature is often hidden behind a confusing set of instructions. Many homeowners program the first door and stop there, not realizing the full potential at their fingertips.

This guide is here to change that. We'll walk you through everything, from the basic setup for your first door to the "aha moment" of adding a second and third, and even how to troubleshoot when things go wrong. Let's streamline your garage access, one PIN at a time.

Foundation: Before You Begin (The 2-Minute Check)


Before you start pressing buttons, a quick "pre-flight check" can save you from 90% of common programming headaches. Taking two minutes now will prevent 20 minutes of frustration later.
Brand-Specific Guide to Garage Door Learn Buttons

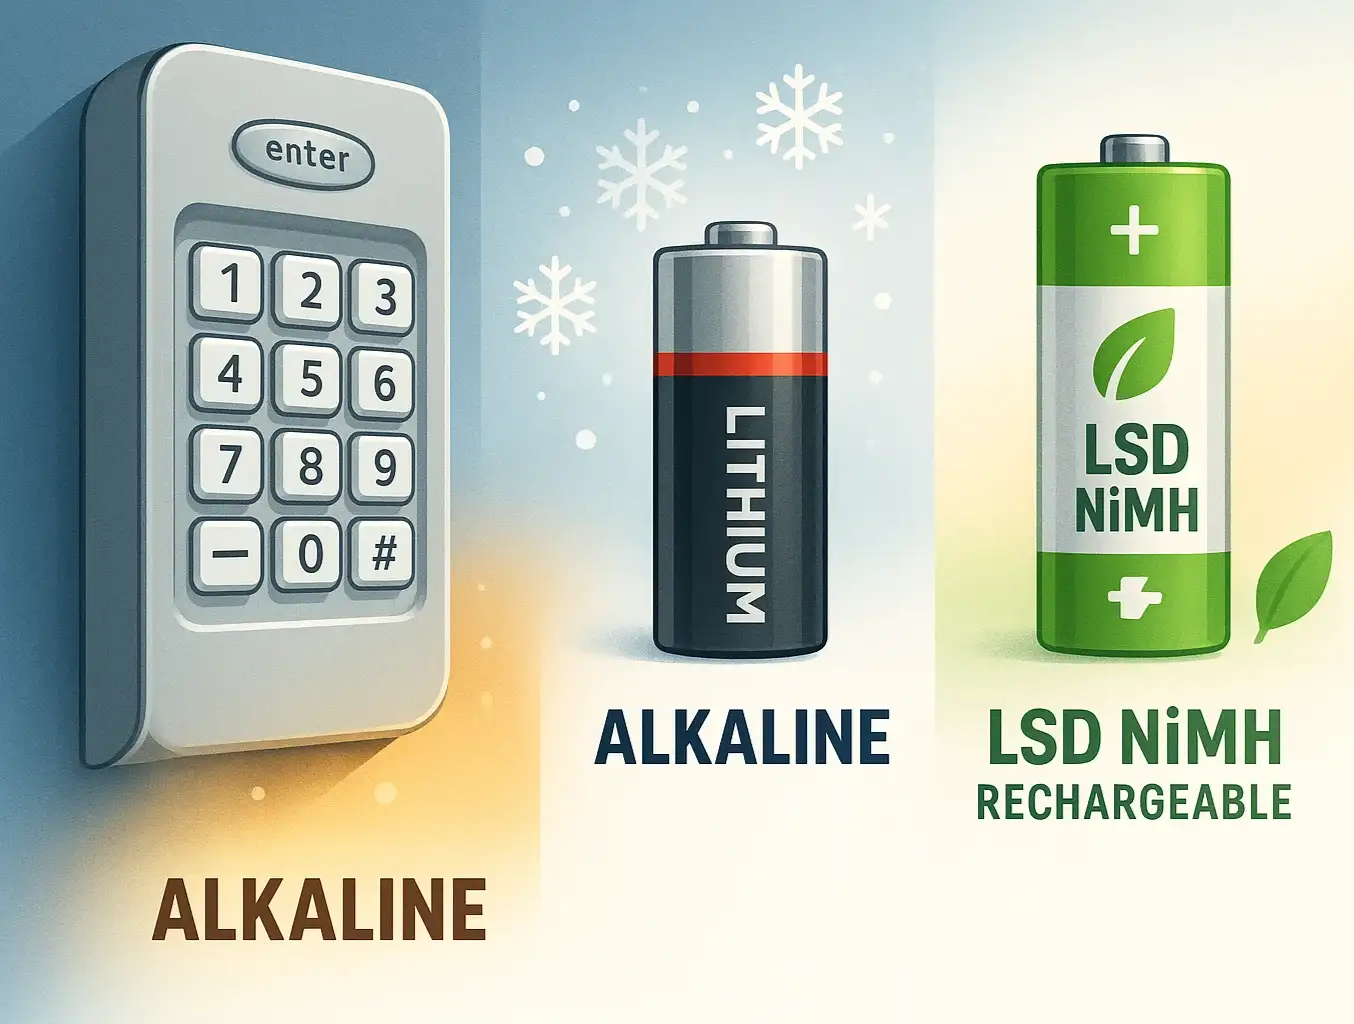
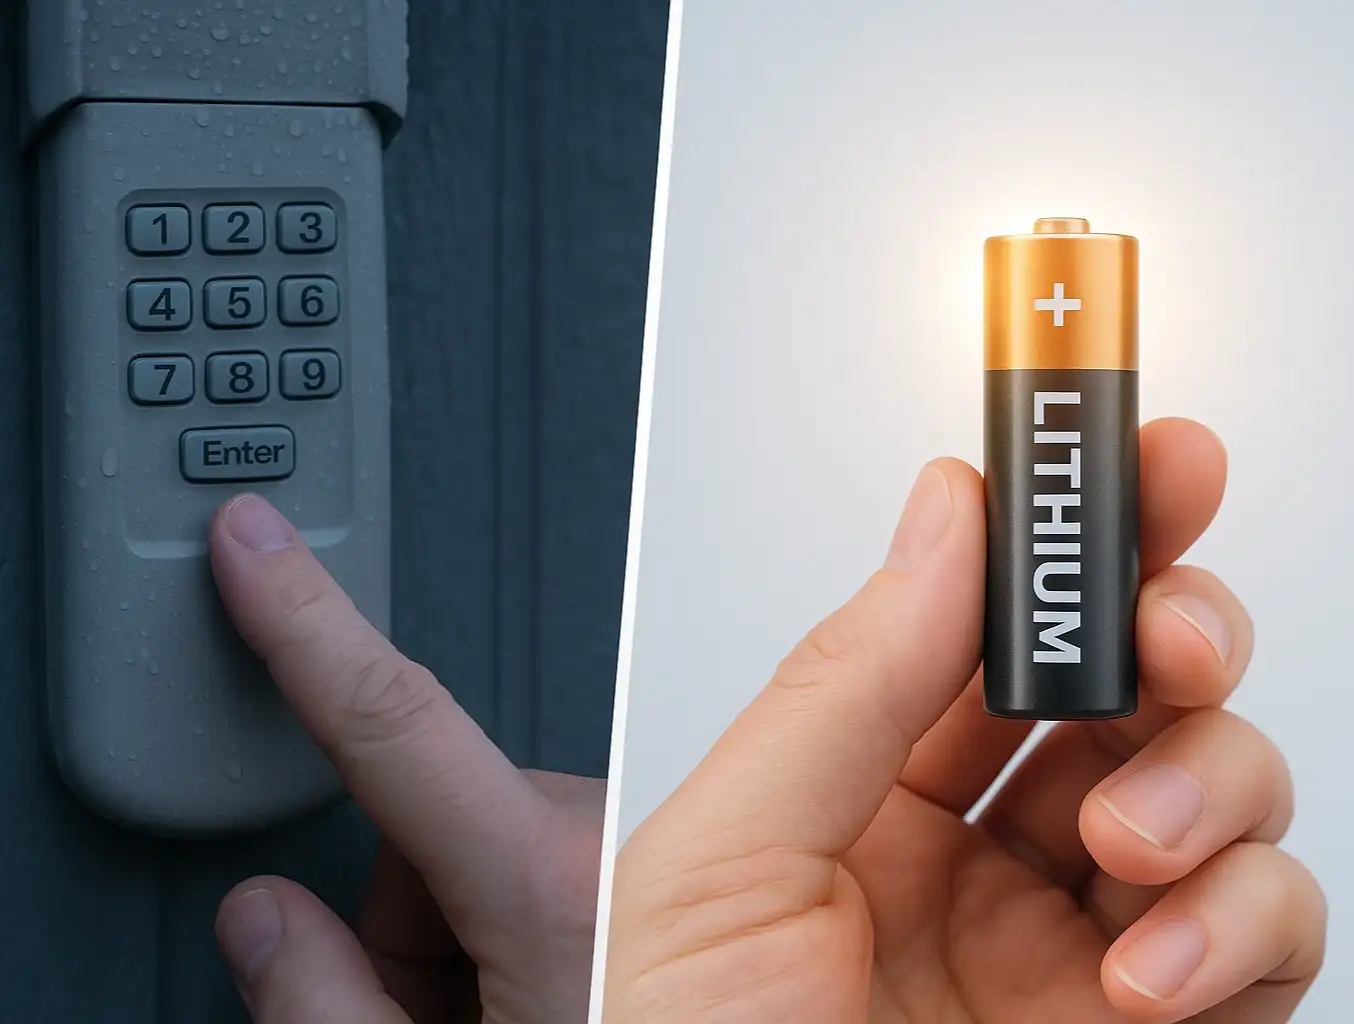
  1. Check the Keypad Battery: A weak battery is the number one culprit for a keypad that refuses to program. If your keypad is new, the battery should be fine. If it's been installed for a while or you're just reprogramming, start with a fresh one.
  2. Identify Your Opener's Brand: Look at the garage door opener motor unit (the big box hanging from the ceiling). Is it a Chamberlain, LiftMaster, Genie, or something else? Knowing the brand helps, as some models have slight variations.
  3. Locate the "Learn" Button: This is the most important step. On the back or side of the opener motor unit, you’ll find a small, colored button. This is the "Learn" or "Program" button. It's often accompanied by a small LED light. The color of this button (purple, red/orange, green, or yellow) is a key indicator of the opener's technology. If you're having trouble finding it, our guide on the learn button on garage door opener units can help you pinpoint its location.
Brand-Specific Guide to Garage Door Learn Buttons

Building: Programming Your First Door (The Master Code)


Let's start by syncing your keypad with the first garage door. This process establishes the initial connection and sets the foundation for adding more doors later. If you're starting from scratch, a full garage door keypad installation may be your first step.
While specific steps can vary slightly by brand (for example, to program LiftMaster keypad models), this general process works for most modern openers.

Step 1: Press and Release the "Learn" Button

On your first garage door opener motor unit, press and immediately release the "Learn" button. The LED indicator light next to it should glow steadily for about 30 seconds.
Common Mistake: Do not hold the "Learn" button down. Holding it for more than 6-8 seconds can erase all previously programmed remotes and keypads from the opener's memory.

Step 2: Enter Your PIN on the Keypad

Within that 30-second window, walk over to your keypad and enter a 4-digit PIN of your choice. Then, press and hold the "Enter" or "#" button.

Step 3: Wait for Confirmation

Continue holding the "Enter" button until the main light bulb on the garage door opener blinks or you hear an audible click. This is the signal that the opener has successfully accepted your PIN. Release the button.

Step 4: Test Your Code

Wait for the keypad's light to turn off. Then, enter your new PIN and press "Enter." The garage door should begin to move. If it works, congratulations! You’ve programmed your first door.
If you're having trouble, it might be necessary to learn how to program garage door keypad models from scratch or perform a reset.

Mastery: Adding Your Second (and Third) Door


Here is the "aha moment" that simplifies everything: Programming a second door is the exact same process as the first, you just use a different PIN.
The keypad doesn't store one code that opens multiple doors. Instead, it sends a unique signal for each PIN you program. Your first PIN is tied to the first door's opener. Your second PIN will be tied to the second door's opener. This is a fantastic design for both convenience and security.
Let's add Door #2.

Step 1: Go to Your Second Garage Door Opener

Move your ladder over to your second garage door opener motor unit.
Multi-Door Garage Keypad Programming Made Simple

Step 2: Press and Release its "Learn" Button

Just like before, press and immediately release the "Learn" button on this second unit. Its LED indicator will begin to glow.

Step 3: Enter a NEW PIN on the Keypad

You have 30 seconds. Go to the same keypad and enter a new, different 4-digit PIN. For example, if your first PIN was 1-2-3-4, make this one 5-6-7-8. Press and hold the "Enter" button.

Step 4: Wait for Confirmation from the Second Opener

Keep holding "Enter" until the second opener's main light bulb blinks or you hear it click. This confirms it has learned the new PIN.

Step 5: Test Both Codes

Now for the moment of truth. Enter your first PIN (1-2-3-4) and press "Enter." The first door should move. Then, enter your second PIN (5-6-7-8) and press "Enter." The second door should move.
You've done it! You now control two doors from one keypad. You can repeat this process for a third door with a third unique PIN. This elegant solution is one of the reasons they are a top choice for multi-car homes.

Multi-Door Garage Keypad Programming Made Simple

Action: The Ultimate Troubleshooting Guide


Sometimes, even with perfect execution, technology has a mind of its own. If your keypad isn't cooperating, don't worry. Most issues are simple to fix. Before you decide to reprogram garage door keypad units entirely, run through this diagnostic flowchart.
Common issues often arise when a garage door keypad not working after changing battery creates a sync problem, but other factors can be at play.
How to Diagnose Multi-Door Garage Keypad Problems

Quick Troubleshooting Steps:


  1. Check for Signal Interference: New LED light bulbs in the opener can sometimes interfere with the radio frequency. Try removing the bulbs and programming again.
  2. Verify Keypad Compatibility: Ensure your keypad is compatible with your opener's brand and technology (indicated by the "Learn" button color).
  3. Check the Range: Stand closer to the garage door opener unit when programming. Sometimes a weak signal can cause failure.
  4. Perform a Full Reset (Last Resort): If all else fails, you can reset the keypad to factory settings (consult your manual) and erase the opener's memory by holding the "Learn" button for 6-8 seconds. You will then need to reprogram all remotes and the keypad from scratch.
How to Diagnose Multi-Door Garage Keypad Problems

Need more information?

Frequently Asked Questions (FAQ)


What if my two garage door openers are different brands?

This is a very common scenario. The key is to use a "universal" garage door keypad. These are specifically designed to work with multiple brands and technologies. The programming process is the same; you just follow a slightly different set of initial steps to tell the keypad which brand of opener you're programming for each PIN.

How do I delete just one PIN without resetting everything?

This depends on your keypad model. Many advanced keypads allow you to enter a specific programming sequence to remove a single PIN, which is useful if you need to revoke access for someone. Simpler models may not have this feature, requiring you to perform a full memory wipe on the opener (holding the "Learn" button) and then re-linking the PINs and remotes you want to keep.

What do the different colors of the "Learn" button mean?

The color is a quick-glance guide to the opener's technology, which affects which accessories are compatible:

  • Green: Billion Code (390 MHz), typically used from 1993-1997.
  • Red/Orange: Security+ (390 MHz), used from 1997-2005.
  • Purple: Security+ (315 MHz), used from 2005-2014.
  • Yellow: Security+ 2.0 (communicates on multiple frequencies), used from 2011-present.
Knowing your color helps ensure you buy a keypad that works with your system.

Is using a garage door keypad safe?

Yes, modern keypads are very secure. They use rolling code technology, which means the access code changes every time you use it. This prevents would-be thieves from capturing your signal and replaying it to open your door. For more details on this, you can explore the fundamentals of garage door keypad safety.
By understanding how each PIN works as a separate command, you unlock the full power of your multi-door keypad. This simple, elegant system provides secure and convenient access to your entire garage, eliminating clutter and streamlining your daily routine. If you run into any trouble, our team at Up & Down Garage Doors is always here to help.

You may also like


blog photo

Comparing Rechargeable vs Disposable Batteries for Garage Door Keypads

It’s a familiar story. A blizzard is howling, you’ve just pulled into the driveway, and you punch in your code to open the garage. Nothing. You try again. Still nothing. The tiny LED light on the keypad, which usually greets you with a friendly blink, is dark and lifeless. Your battery has died at the worst possible moment. When this happens, the knee-jerk reaction is to run to the nearest store and grab the same disposable batteries that were in there before. But what if that’s not the best choice? Choosing a battery for your garage door keypad seems simple, but the unique demands of this device—infrequent use, exposure to harsh weather, and the need for long-term reliability—make it a surprisingly complex decision. Let’s break down the options so you can make an informed choice that keeps you out of the cold.