Space-Saving Insulation Solutions for Garage Doors in Compact
Published: Jun 26, 2026
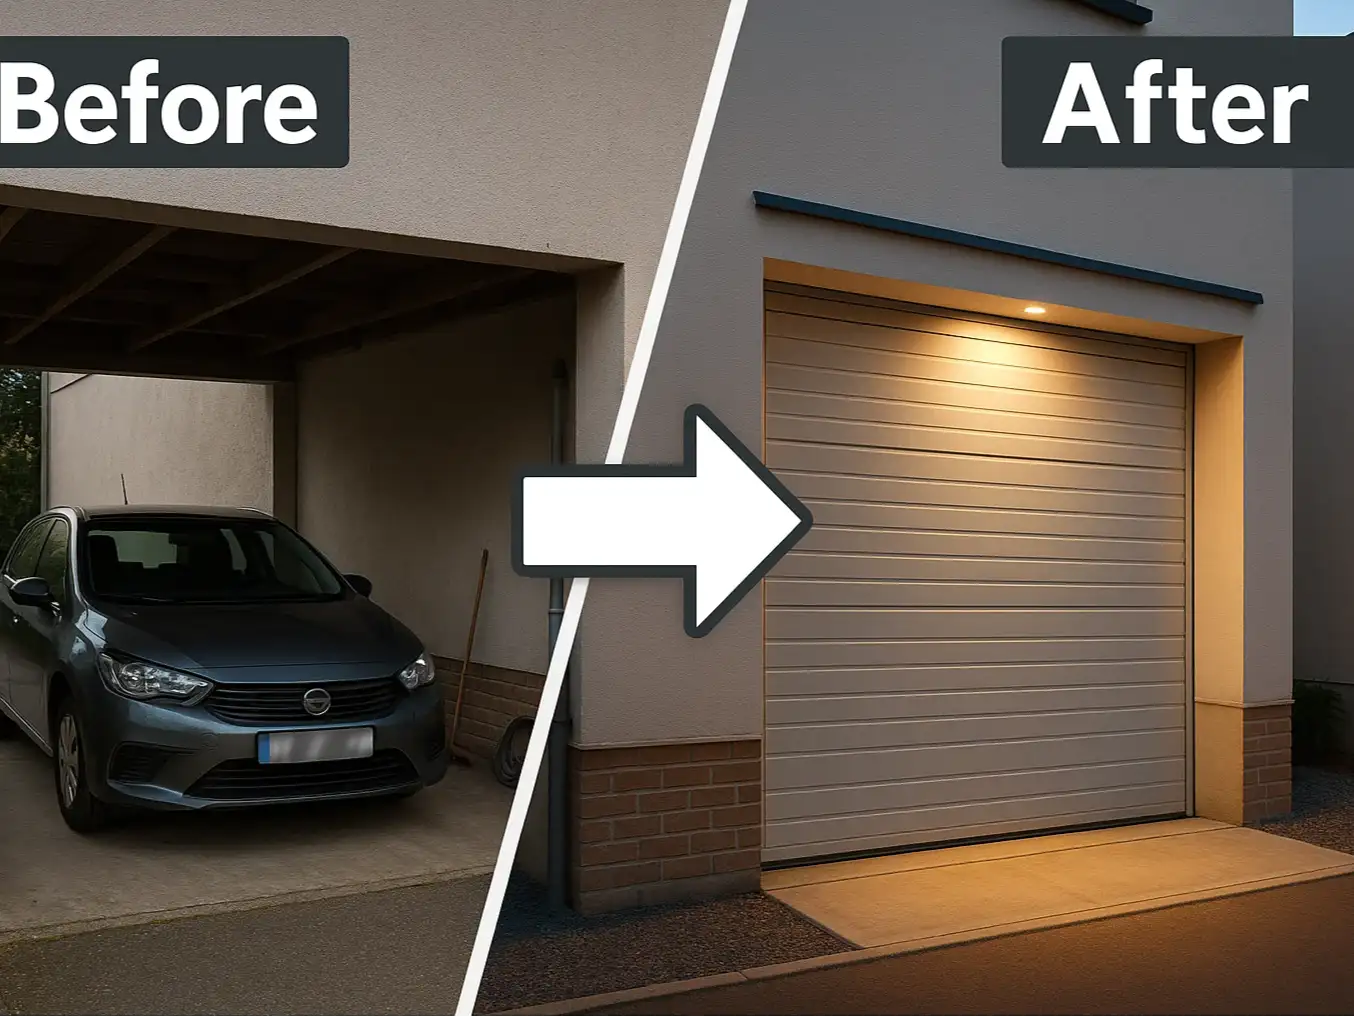
You’ve meticulously designed your compact, energy-efficient home. Every square foot is optimized, every window is triple-paned, and your walls have the perfect thermal envelope. But there’s a giant, uninsulated hole in your design that’s silently sabotaging your efforts: your garage door.
In a smaller home—be it a modern townhouse, an ADU, or a tiny house—the garage isn't just a place for cars. It's often a workshop, a gym, or a storage area directly adjacent to your living space. An uninsulated door can make these areas unusable in extreme weather and bleed energy from your home.
The problem? Most insulation advice you’ll find is for large, spacious garages where adding a two-inch thick foam panel is no big deal. For you, every inch of clearance matters, and every added pound puts strain on your system. This guide is different. It’s for those who need maximum thermal performance with minimal bulk.
Foundation: More Than Just R-Value - Understanding the Garage Door "System"

- Insulation (R-Value): The material that does the heavy lifting of blocking heat transfer.
- Air Sealing: The process of eliminating drafts and gaps around the door panels and perimeter. A high R-value is useless if cold air is just blowing in around the edges.
- Thermal Bridging: Preventing heat from traveling through the metal parts of the door itself.
Building: Choosing Your Materials - A Guide for Low-Profile Performance
1. Expanded Polystyrene (EPS) Foam Panels
- Thickness & Weight: Typically 1 to 2 inches thick. Very lightweight, adding minimal stress to your door opener.
- R-Value: Around R-3.8 per inch. A 1.5-inch panel will give you about an R-6.
- Sound Dampening: Good. It significantly reduces noise from wind, rain, and street traffic.
- Best For: Budget-conscious homeowners who need a solid thermal and acoustic upgrade without much complexity. For a deeper dive, explore the pros and cons of polystyrene garage door insulation.

2. Extruded Polystyrene (XPS) Foam Panels
- Thickness & Weight: Can achieve higher R-values at 1 to 1.5-inch thicknesses. Slightly heavier than EPS but still very manageable.
- R-Value: Around R-5 per inch. A 1.5-inch panel delivers a respectable R-7.5.
- Sound Dampening: Very good, due to its denser structure.
- Best For: Those who can spare about 1.5 inches of clearance and want a step up in thermal performance and durability.
3. Polyisocyanurate (ISO) Rigid Foam
- Thickness & Weight: The thinnest option for a given R-value, often around 1 inch. It remains lightweight.
- R-Value: Excellent, ranging from R-6.5 to R-7 per inch. The foil facing also acts as a radiant barrier, reflecting heat.
- Sound Dampening: Excellent.
- Best For: Homeowners with minimal clearance who demand the highest thermal performance. It's the premium space-saving choice.
4. Reflective (Radiant Barrier) Insulation
Mastery: The "Good, Better, Best" Solutions for Compact Garages
Good: A Basic DIY Kit
- Process: Cut panels to size, secure them in the door's channel, and you're done.
- The Catch: This method leaves small gaps between the panels and the door's metal frame, allowing air to leak and reducing overall effectiveness.

Better: Foam Panels + Air Sealing
- Process: After installing the foam panels, use weather-resistant foil tape to seal all four edges of each panel to the metal frame.
- The "Aha!" Moment: This simple step stops air movement behind the panels, dramatically boosting the insulation's real-world performance. It addresses thermal bridging and makes the entire system more robust.
Best: ISO Panels + Total Weatherization
- Process: Use foil-faced Polyiso panels, carefully taped at the seams. Then, upgrade the door's perimeter seals. The importance of garage door weather stripping cannot be overstated; it ensures a tight seal when the door is closed.
- The Result: You get the highest R-value in the slimmest profile, a radiant barrier, and a virtually airtight seal. This approach transforms your garage door from a liability into a high-performance component of your home's thermal envelope.
Action: Installation & Safety - From DIY Kit to Custom Fit
The Pre-Installation Weight Test
- Disconnect the Opener: Pull the red emergency release cord on your garage door opener to disengage it from the door.
- Manually Lift the Door: Lift the door by hand to about waist height.
- Let Go (Carefully): A well-balanced door should stay in place or move very slowly up or down.
- Observe: If the door slams down or shoots up, your springs are already out of balance and should be adjusted by a professional before you add any weight.
The Post-Installation Balance Check
- If the door now drifts downward or feels significantly heavier to lift, the added weight has unbalanced the system.
- WARNING: Do NOT attempt to adjust garage door springs yourself. They are under extreme tension and can cause severe injury. This is a job for a qualified technician who can re-tension the springs to account for the new weight.
Need more information?
Get a free quote
Frequently Asked Questions
Does garage door insulation actually work?
How can I tell if my garage door is already insulated?
What is the best R-value for my climate zone?
- Hot Climates: An R-value of 6 to 9 is often sufficient, and radiant barriers are highly effective.
- Mixed Climates: Aim for an R-value between 9 and 13.
- Cold Climates: The higher, the better. An R-value of 13+ will provide the best defense against heat loss.
Your Next Step to a More Efficient Home
You may also like