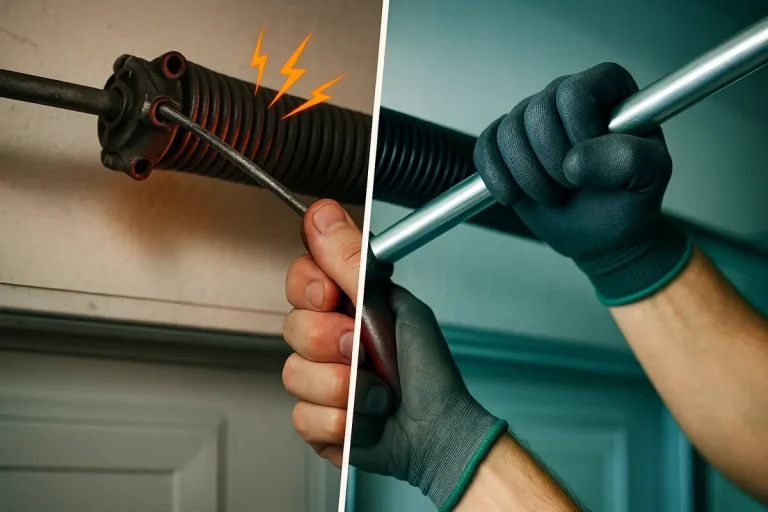
Decoding LiftMaster Diagnostic Codes: Your Complete Troubleshooting Guide
Published: Sep 30, 2026
You walk out to your garage, press the button, and instead of a smooth opening, you are met with a series of frantic beeps, clicking sounds, or flashing lights. If your car is trapped inside, your immediate goal is simple: determine if you can resolve this issue in five minutes or if you need to call a professional.
To successfully troubleshoot a LiftMaster system, you must first clear up “indicator confusion.” Homeowners often mistake different sensory signals for the same diagnostic code. Your opener communicates using three distinct systems:
- Security+ 2.0 Arrow Sequences (Post-2011 Models): The UP and DOWN arrow buttons on the motor housing flash in sequence. The UP flashes represent the first digit, and the DOWN flashes represent the second digit. For example, 1 UP and 5 DOWN equals Code 1-5.
- Learn Button LED Blinks (Older Models): A small LED next to the colored “Learn” button blinks consecutively (from 1 to 10 times).
- Flashing Main Overhead Bulb: The main light bulb on your unit flashes exactly 10 times, accompanied by a clicking noise. This is not an internal component fault; it is an external warning that your safety sensors are blocked or misaligned.
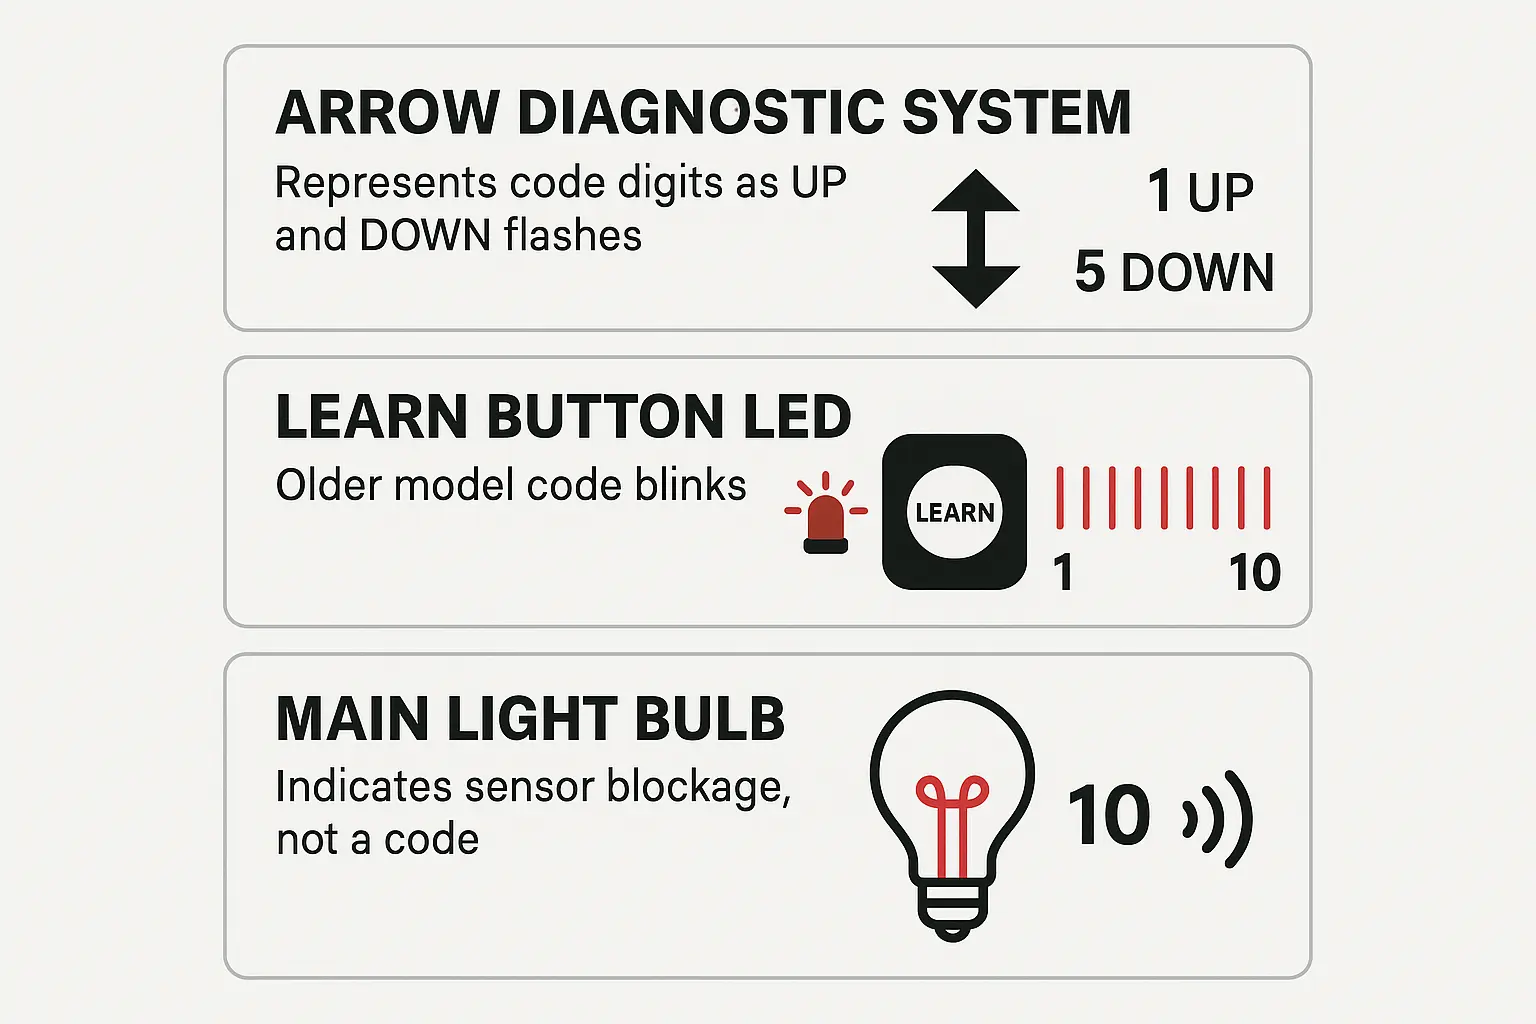 Visual comparison clarifies how LiftMaster garage door openers communicate diagnostic codes differently via flashing arrows, LED blinks, and bulb flashes, preventing user confusion and enabling quick identifier matching.
Master Diagnostic Codes Comparison Table
The table below maps the two main LiftMaster diagnostic indicator systems side-by-side, helping you identify the failure and decide whether to handle it yourself or seek assistance.
| Arrow Code | Learn LED Blinks | Diagnostic Meaning | Fix Type | Immediate Action Steps |
|---|---|---|---|---|
| 1-1 | 1 Blink | Safety sensors disconnected or wire cut | DIY (Easy) | Check physical wire connections at the motor terminals. Look for frayed sensor wires. |
| 1-2 | 2 Blinks | Sensor wires reversed or shorted | DIY (Easy) | Inspect connections. Ensure white wires match white terminals, and grey matches grey. |
| 1-3 | 3 Blinks | Wall console wire shorted | DIY (Moderate) | Trace the wall button wire run. Look for staples piercing the wire insulation. |
| 1-4 | 4 Blinks | Safety sensors misaligned | DIY (Easy) | Align photo-eyes until both the Amber and Green LEDs glow solidly. |
| 1-5 | 5 Blinks | RPM Sensor / Motor Travel Failure | DIY (Easy-Mod) | Power-cycle the unit. For wall-mounted Jackshaft models, verify manual release engagement. |
| 1-6 | 5 Blinks | Door drift / travel resistance | Pro Recommended | Test physical door balance manually with extreme caution. |
| 2-1 to 2-5 | 6 Blinks | Logic board / control module failure | Professional | Unplug the opener and disconnect the backup battery. Replace board if code persists on reboot. |
| 3-2 | 3 Blinks | Battery charging circuit failure | DIY (Easy) | Verify the outlet is live. Replace the internal battery back up if past its lifespan. |
| 4-1 to 4-4 | None (Travel) | Excessive force detected | Professional | Inspect for a binding track or broken torsion spring. Do not attempt manual operation. |
| 4-5 | None | Travel module communication error | Professional | Re-program travel limits. Replace the module if limits fail to save. |
| 4-6 | 4 Blinks | Safety sensor interrupted mid-travel | DIY (Easy) | Clear the path. Ensure no physical obstruction crossed the threshold during closing. |
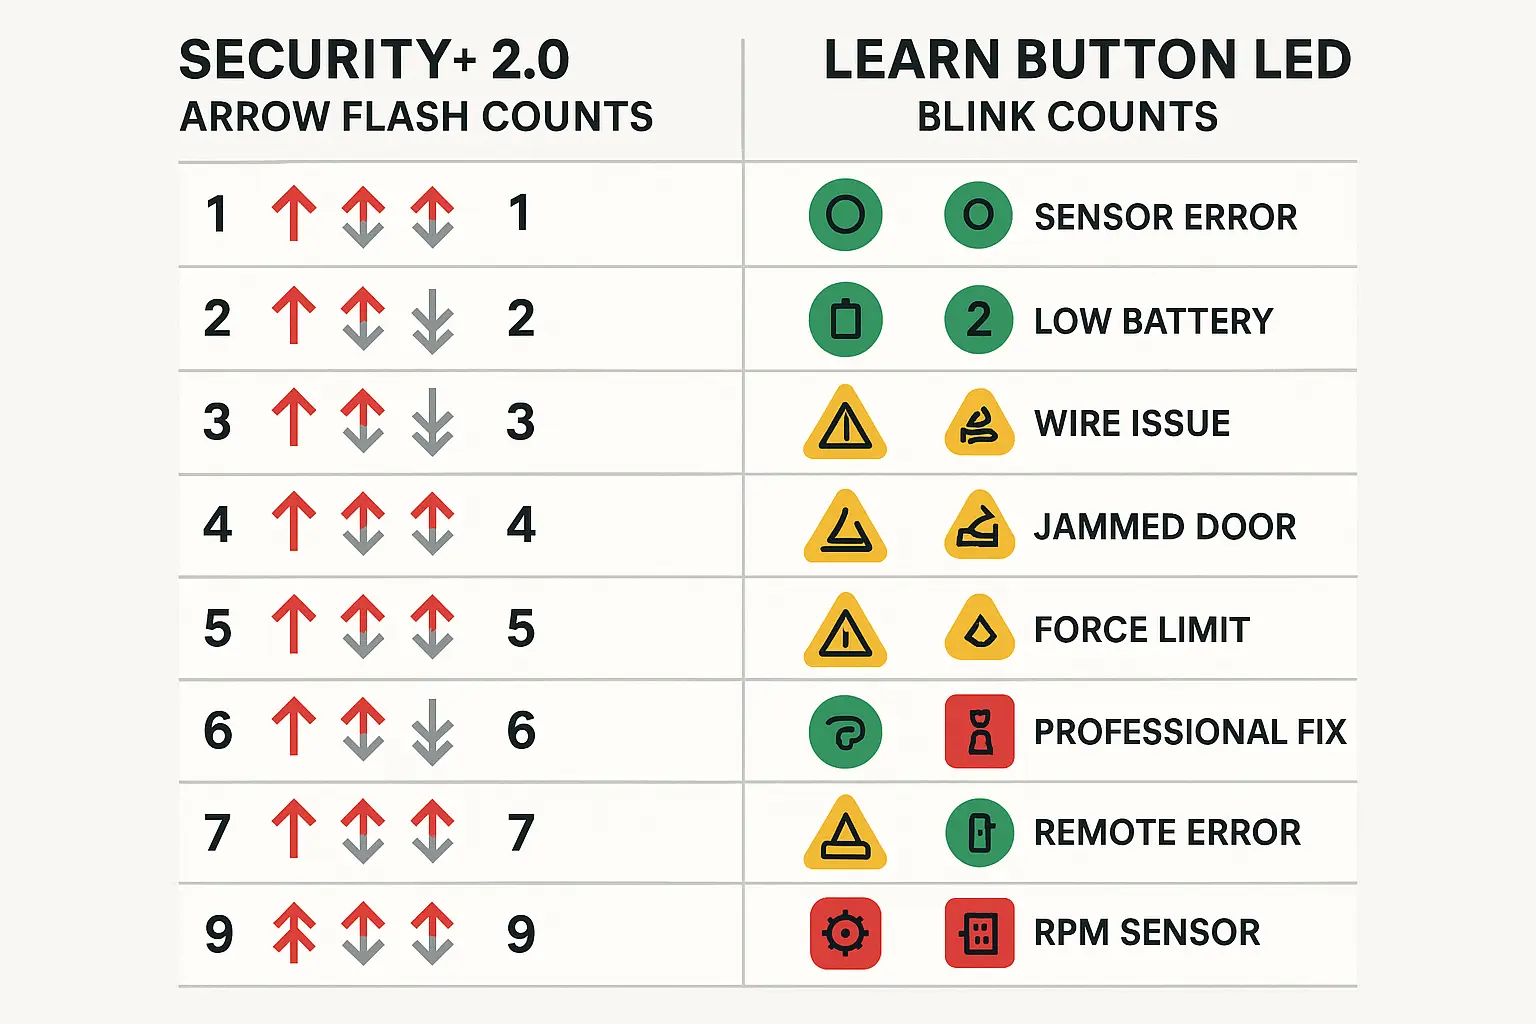 A side-by-side visual diagnostic code chart that helps users translate between arrow flash codes and LED blink counts, highlighting DIY versus professional fixes for confident and safe troubleshooting.
Deep-Dive Troubleshooting Playbooks
The Photo-Eye Alignment Protocol (Codes 1-1, 1-4, 4-6)
Safety reversing sensors account for over 65% of all residential garage door opener troubleshooting inquiries. To resolve these codes:
- Identify the sending sensor (Amber LED, which indicates it has power) and the receiving sensor (Green LED, which indicates alignment). If you see no green light on garage door sensor, the beam is broken.
- Clean both optical lenses with a microfiber cloth.
- Loosen the wing nut on the receiving sensor bracket and adjust its position until the Green LED glows without flickering.
- Tighten the wing nut securely to prevent vibrations from shifting it later.
The Low-Voltage Terminal and Staple Test (Codes 1-2, 1-3)
Miswiring terminal polarity or piercing insulation accounts for nearly 15% of initial installation and repair errors.
- Inspect the quick-connect terminals on the back of the opener. Standard Security+ 2.0 units use color-coded blocks: Red/White for the wall station, and White/Grey for the safety sensors. Refer to a garage door safety sensor wiring diagram to double-check wire orientation.
- Trace the wire paths from the wall button and safety sensors back to the motor unit.
- Look for insulated drywall staples that have been driven in too tightly, pinching or cutting through the wire jacket to cause a short circuit. Replace damaged wire sections where necessary.
The Jackshaft 1-5 Manual Release Fix
For homeowners using wall-mounted LiftMaster 8500 or 8500W units, a Code 1-5 often indicates a mechanical disengagement rather than an electronic failure.
- When the red emergency release cord is pulled, the internal motor collar disengages from the torsion bar.
- If the collar is not fully locked back in, the motor spins without moving the door, triggering a Code 1-5.
- To resolve this, pull the emergency release rope down and backward toward the motor unit until you hear a distinct metallic click. This locks the collar back onto the shaft and resolves the error immediately.
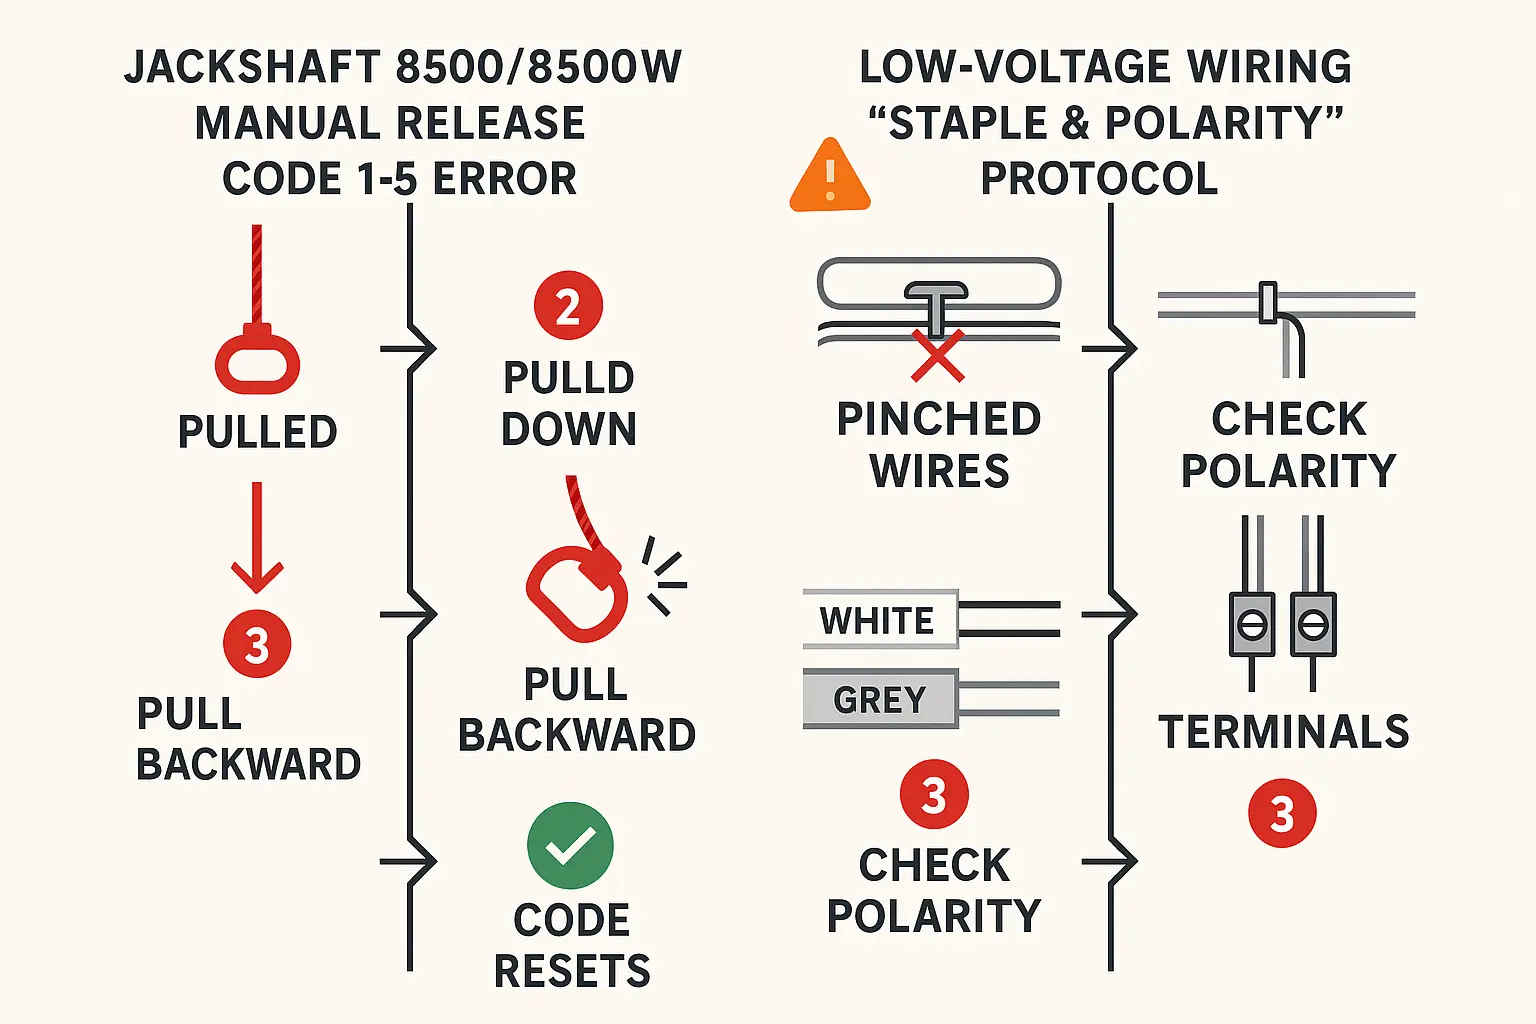 Step-by-step visual troubleshooting guide for resolving Jackshaft 8500W Code 1-5 errors and low-voltage wiring issues, empowering users to safely perform quick DIY fixes or know when to seek professional help.
The Safety Filter: DIY vs. Professional Intervention
While adjusting sensor brackets is a simple DIY task, issues involving door balance and force settings require professional hands.
Standard residential garage doors weigh between 130 and 350+ pounds. Under normal conditions, the torsion springs support up to 90% of this weight. When you encounter travel or force limit errors (Codes 4-1 to 4-4), it often means you have an unbalanced garage door or a broken spring. Operating a door manually in this condition is extremely dangerous and can cause the door to fall, or lead to a garage door stuck halfway.
If your diagnosis reveals a failed logic board (Codes 2-1 to 2-5) on a system that is over ten years old, consider the economics of repair versus replacement. A new logic board typically costs $90 to $140, with professional labor adding $120 to $180, bringing the total repair cost to nearly $300. In comparison, upgrading to a modern, smart belt-drive system featuring a built-in battery backup garage door opener runs between $350 and $500 fully installed. Replacing a broken garage door opener is often the more reliable and cost-effective choice.
If your diagnostic codes point to a mechanical issue or a failing logic board, avoid the risks of DIY repair. Reach out to our family-owned team at Up & Down Garage Doors for expert diagnostics, fair pricing, and reliable emergency garage door service.
Frequently Asked Questions
Why does my garage door close briefly and then reverse with the main lights flashing?
This is a standard safety feature showing that your photo-eye sensors are obstructed or misaligned. The 10 flashes of the overhead bulb accompany a safety reversal to warn you that the infrared beam is broken. Check for blockages, clean the lenses, and make sure both sensor LEDs are lit solid.
Can I manually bypass a flashing error code to close my garage door?
Yes, in an emergency, you can override the safety sensors by pressing and holding the wall-mounted console button continuously until the door is completely closed. Do not use the remote control for this, as it will not allow the override. Only perform this override if you have verified that the door’s path is completely clear.
How do I reprogram the travel limits after fixing an error code?
You can reset the limits by pressing and holding the black adjustment button on the side or back of the motor until the UP arrow begins flashing. Use the arrows to adjust the door to your desired open position, press the black button to save, and then repeat the process using the DOWN arrow for the closed position. For precise, step-by-step guidance, refer to our detailed guide on how to adjust garage door travel.
You May Also Like