





Commercial Door Motor Brake Adjustment: Stopping Drift and Overtravel
Published: Oct 19, 2026
When heavy industrial doors slide past their intended stop positions or crash into floor limits, facility operators often default to adjusting electronic limit switches. However, commercial jackshaft and gear-head operators do not rely on residential force knobs or logic board programming to stop motion. When a heavy door drifts downward or overtravels after power cut-off, the primary culprit is mechanical brake slippage or solenoid air gap misadjustment.
A standard 800 lb rolling steel door moving at 12 inches per second carries over 1,200 ft-lbs of rotational kinetic energy. The mechanical brake assembly must dissipate this energy within 2 to 3 inches of coasting distance to remain compliant with UL 325 and OSHA 29 CFR 1910.212 safety mandates. Understanding how to diagnose and calibrate commercial brake mechanisms protects your equipment, maintains site safety, and eliminates costly structural downtime.
Diagnostic Framework: Is Your Door Drifting or Overtraveling?
Before applying tools to your operator, you must isolate mechanical friction failure from electrical limit switch errors. Applying the 10-second visual test clarifies where the fault lies:
- Mechanical Brake Drift: The limit switch actuates, cut-off relays click, and the drive shaft stops rotating instantly—yet the door curtain or panel continues moving due to gravity and momentum sliding through worn brake shoes.
- Limit Shaft Skipping: The motor drive shaft continues spinning past the microswitch cutoff point. This indicates drive chain slack or broken limit shaft pinions rather than mechanical brake failure. In these scenarios, learning how to adjust garage door travel limits will address shaft timing issues.
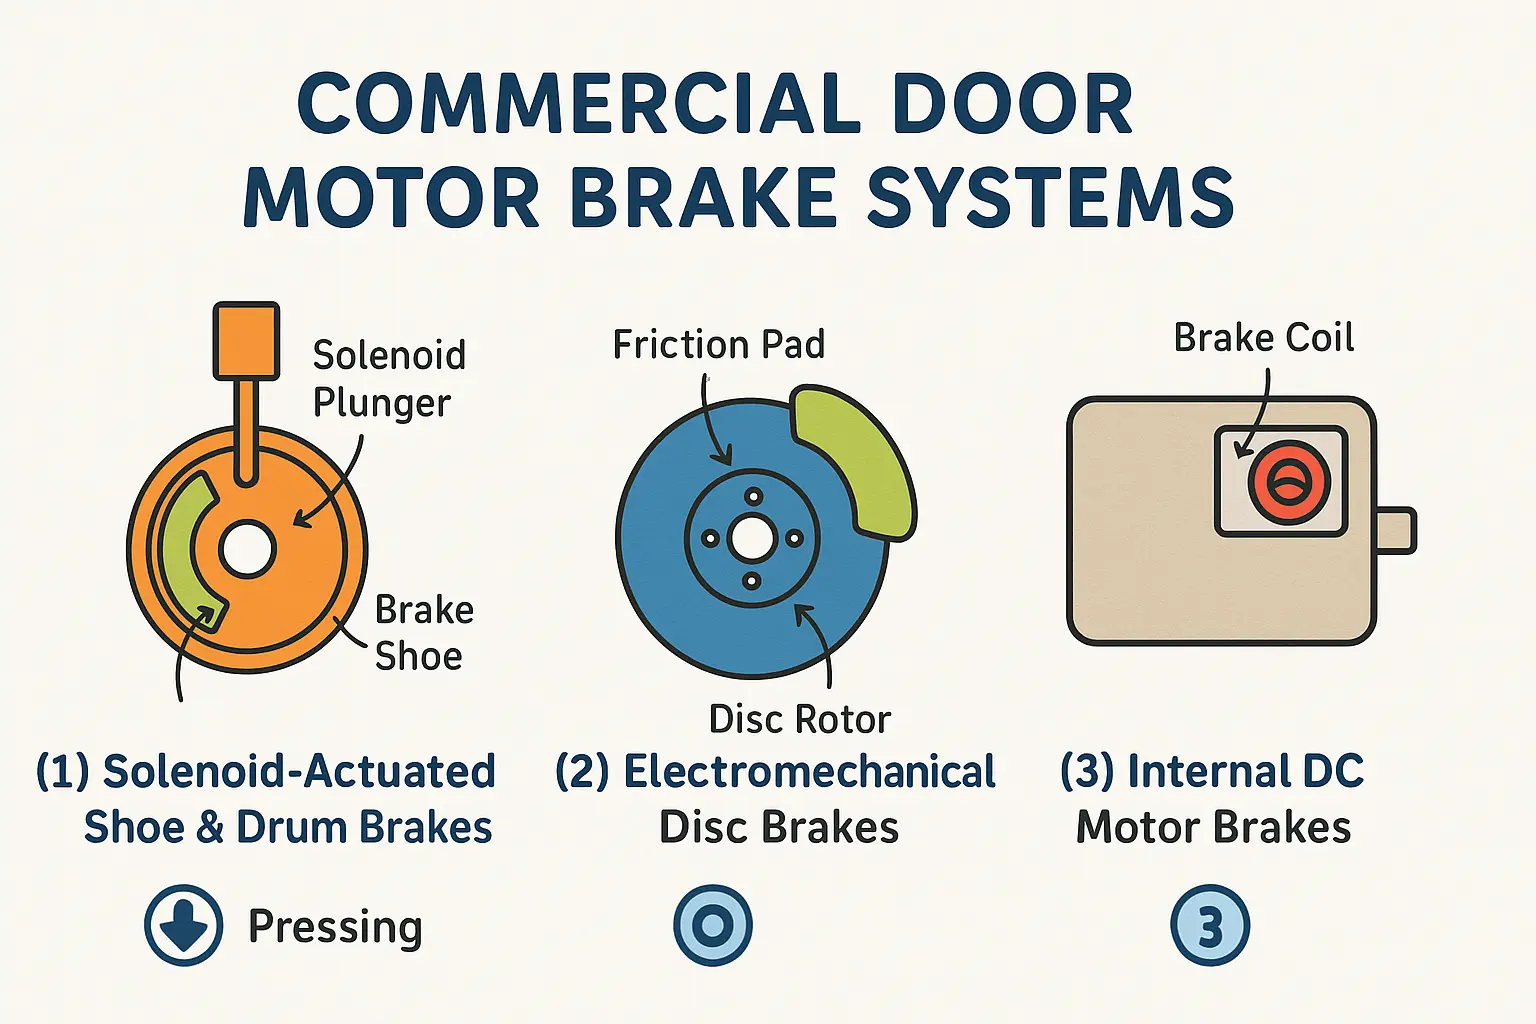
Commercial operators utilize three primary brake designs across industrial commercial garage doors: solenoid-actuated drum and shoe brakes (common on LiftMaster J, H, and GH models), electromechanical disc brakes, and internal motor DC brakes.
Precision Step-by-Step Brake Adjustment Protocol
Adjusting an industrial brake requires exact clearance tolerances. Follow this engineering protocol to restore holding power without damaging operator electronics.
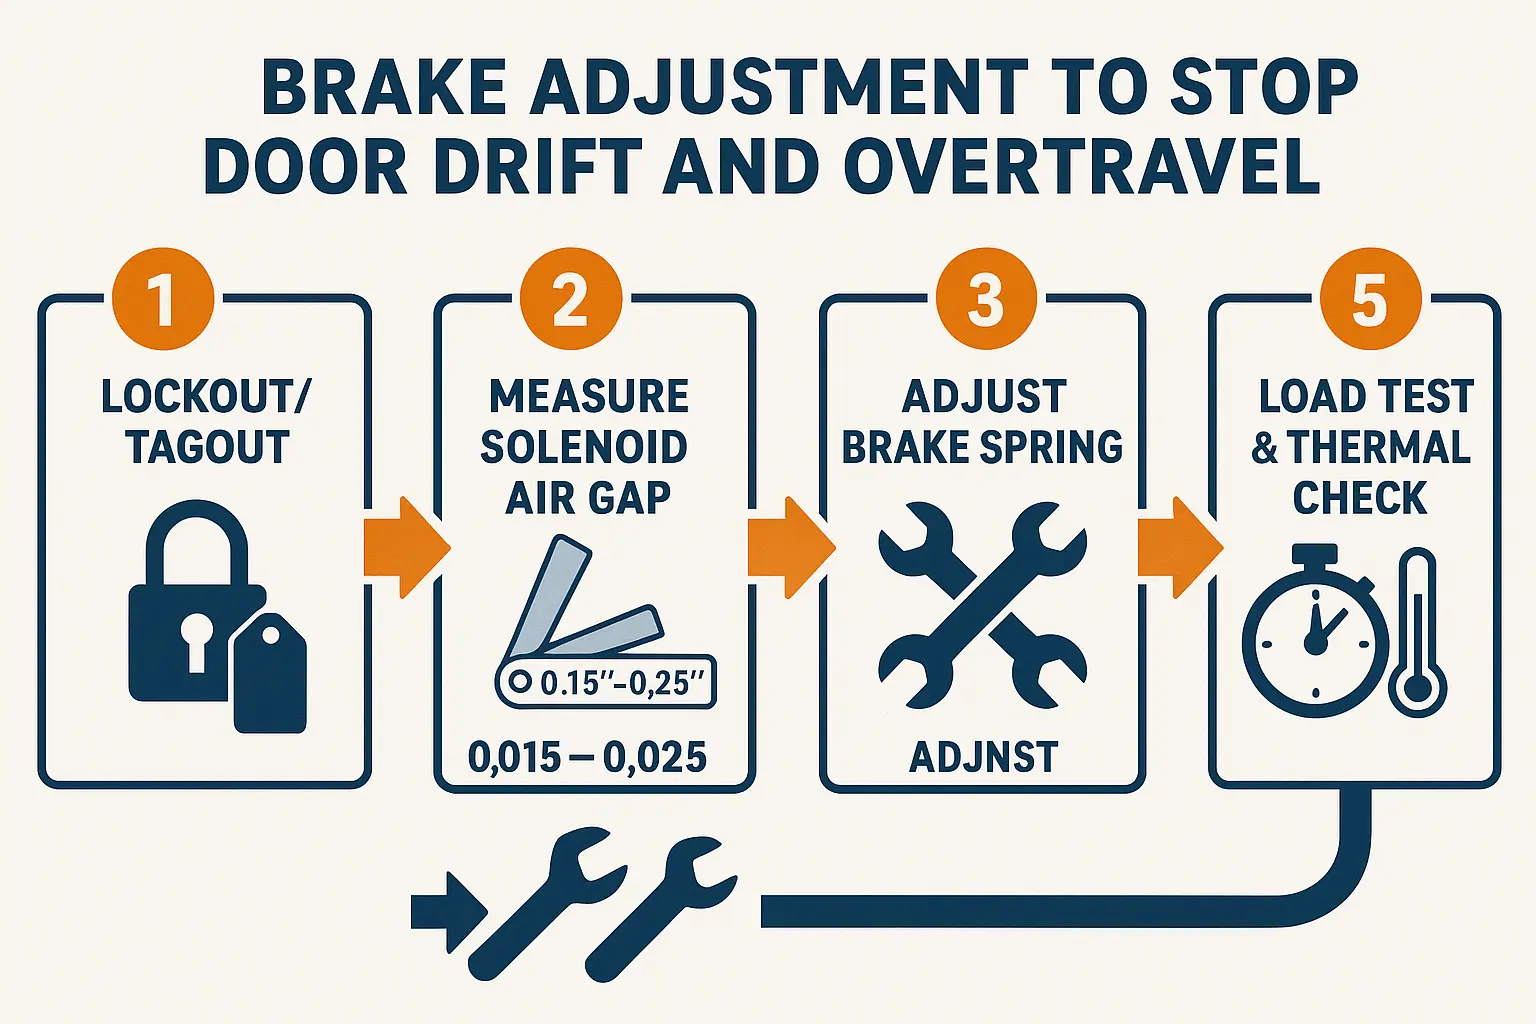
- Lockout/Tagout (LOTO) & Tension Isolation: Disconnect high-voltage power to the motor assembly. Engagement of manual release hoist chains can cause unbraked doors to drop rapidly if spring counterbalance is uneven.
- Measure Solenoid Plunger Air Gap: Using a mechanical feeler gauge, inspect the gap between the solenoid plunger and the frame magnet when de-energized. Ideal factory specification across standard industrial operators is 0.015″ to 0.025″ (0.38 mm to 0.64 mm).
- Calibrate Brake Spring Tension: Loosen the jam nuts on the brake compression spring assembly. Tighten the primary adjusting nut clockwise to increase shoe compression against the drum.
- Prevent Solenoid Coil Burnout: Over-tightening tension spring lock nuts prevents the solenoid plunger from seating fully inside the magnetic coil field when energized. Industry data reveals over 65% of solenoid coil burnouts occur due to mechanical binding that forces the coil to draw continuous lock-rotor current, destroying the winding insulation within minutes.
- Inspect Friction Lining Thickness: Examine shoe pad linings. If pads wear down to 1/16″ (1.6 mm) or expose rivet heads, adjustment will no longer provide sufficient clamping friction.
- Test Under Operational Load: Re-energize the unit and cycle the door under full dynamic load, checking for thermal expansion or mechanical chatter.
Evaluating Repair, Rebuild, and Replacement Options
When addressing operational drift, facility managers must balance immediate repair speed against long-term operational liabilities.
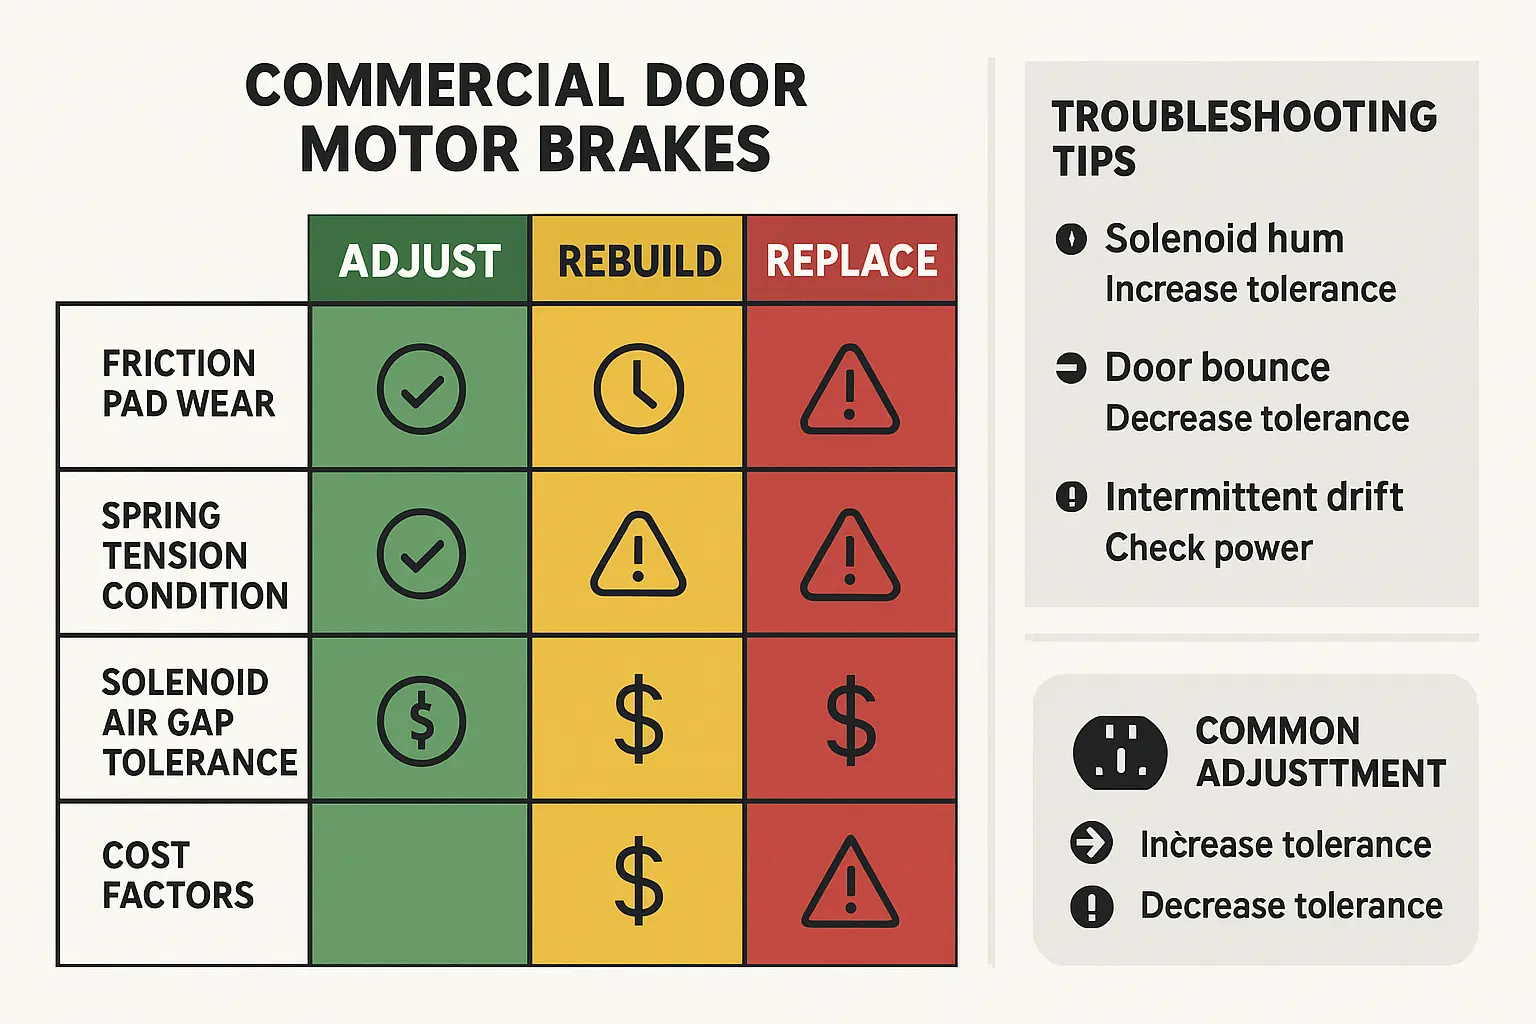
Evaluating financial trade-offs highlights why preventative commercial roll up door maintenance is critical:
- In-House Mechanical Adjustment: Costs $0 to $150 (30–45 minutes of technician labor). Resolves spring relaxation and minor pad wear.
- OEM Brake Shoe & Solenoid Rebuild Kit: Costs $80 to $300 in parts. Ideal when friction pads fall below 1/16″ but motor windings remain healthy.
- Emergency Track/Curtain Crash Repairs: A door crashing due to brake slippage can run $1,200 to $3,500 in physical structural damage.
- Complete Commercial Operator Retrofit: Replacing aged equipment with modern variable frequency drive (VFD) systems with soft-stop technology runs $1,800 to $5,000+, eliminating mechanical brake shock loads entirely.
If your facility requires immediate field assistance or hardware upgrades, consulting our regional experts for commercial garage doors ensures compliance with all UL 325 overhead safety standards.
Frequently Asked Questions
Why is my commercial door drifting down after the operator stops?
Drift occurs when the operator’s mechanical brake friction pads fail to hold the rotational momentum of the door shaft after electrical power is cut. This is caused by expanded solenoid air gaps beyond the 0.025″ specification, relaxed brake shoe compression springs, or oil contamination on the friction drum.
What causes a commercial door brake solenoid to hum or burn out?
A solenoid hums or burns out when mechanical binding or over-tightened spring lock nuts prevent the plunger from fully seating inside the electromagnetic coil. When the plunger cannot seat, the coil draws continuous high inrush current, causing thermal overload and coil failure.
How do I know if my problem is brake slippage or limit switch skipping?
Observe the motor drive shaft during stopping. If the drive shaft stops turning instantly when the microswitch triggers but the door continues sliding, the issue is mechanical brake slippage. If the drive shaft continues spinning past the limit switch, the cause is chain slack or limit gear shaft misalignment.
You May Also Like
Demystifying the Annual Fire-Rated Rolling Door Drop Test
Published Date: Oct 6, 2026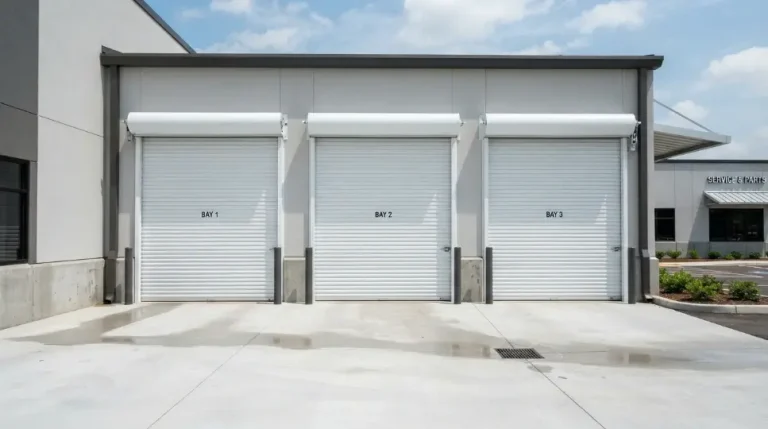
Roll-Up Garage Doors: Space-Saving, Security & Industrial Applications
Published Date: Sep 17, 2026
Door Closer Repair vs. Replacement: The Facility Manager’s Guide
When a heavy entry door slams shut with a bone-rattling crash—or swings open limply, refusing to latch—it is more than a daily annoyance. For commercial facility managers and residential property owners, a…
Published Date: Aug 11, 2026