Opener Capacitor and Logic Board Failures: What a Technician Tests
Published: Oct 12, 2026
When a residential garage door opener suddenly fails, homeowners face a critical evaluation point: pay $150–$400 for a targeted electrical repair or invest $600–$1,200 in a complete replacement. Understanding what a professional technician tests when diagnosing capacitor and logic board failures helps you verify quotes, avoid unnecessary upsells, and make an informed economic choice. If a garage door not opening leaves your vehicle trapped, knowing the diagnostic workflow brings clarity to the repair process.
Understanding AC vs. DC Motor Architecture
Before grabbing a multimeter, a technician first identifies the motor architecture. Legacy AC openers rely on an external cylindrical start/run capacitor to deliver the phase shift and energy burst required to turn the motor. Modern DC motor systems integrate rectification, speed management, and soft start/stop programming directly into the logic board circuitry.
If your opener uses a modern DC motor, searching for an external motor capacitor is a dead end—all electronic regulation happens on the circuit board itself.
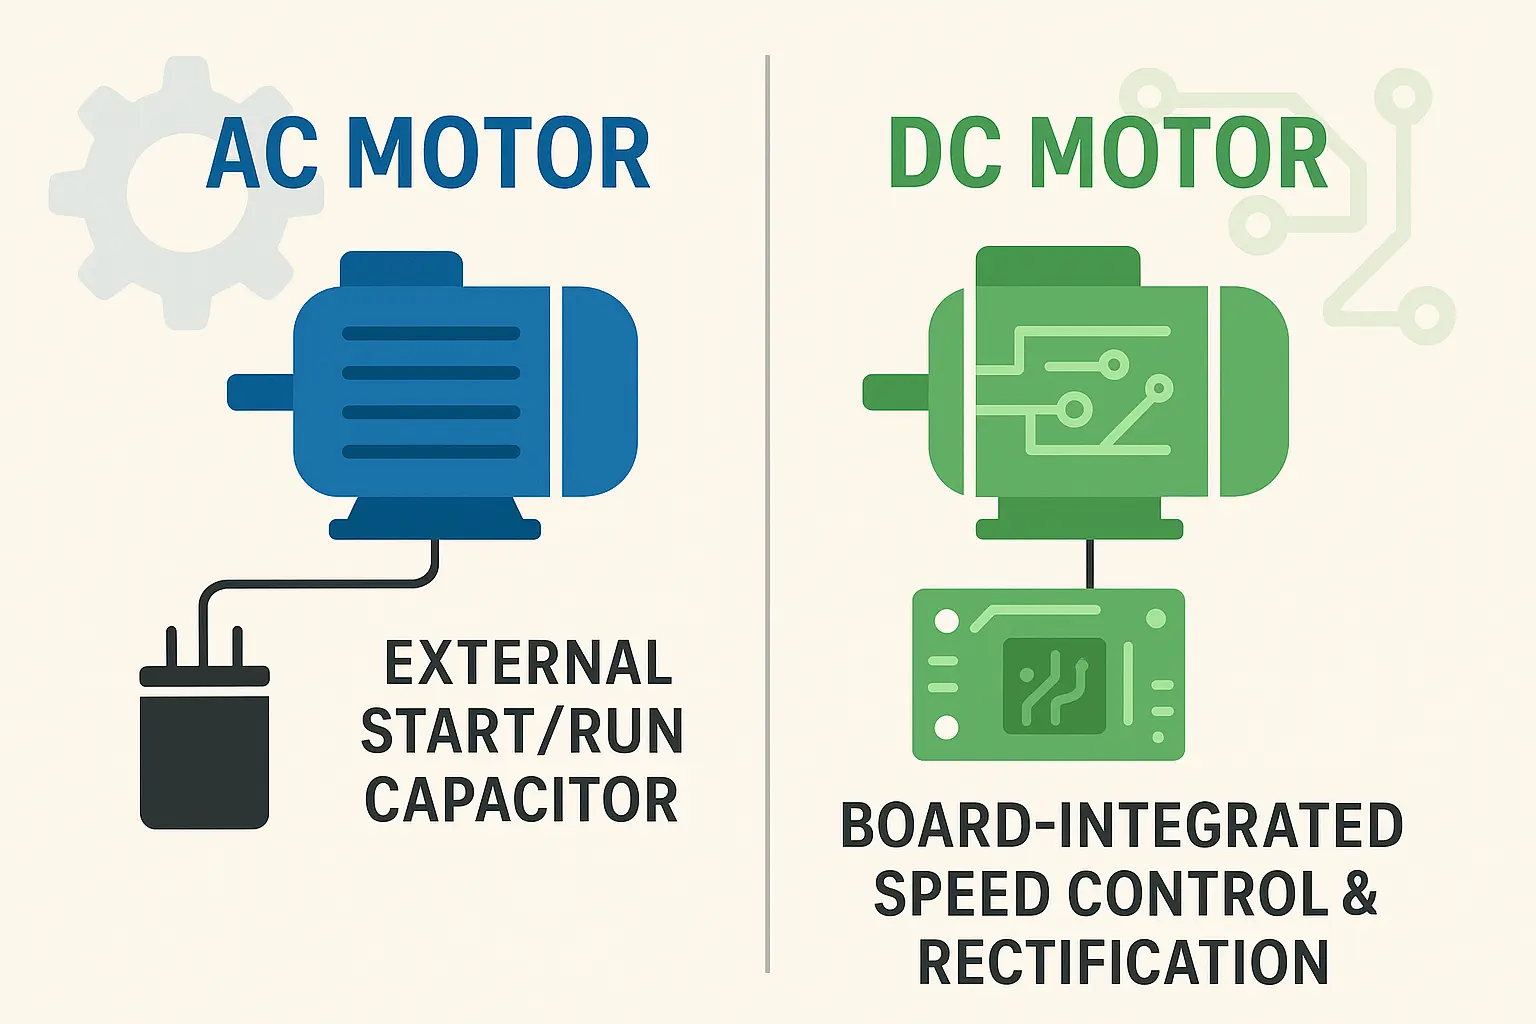 This visual clarifies the fundamental mechanical and electrical differences between older AC motor garage door openers, which rely on external start/run capacitors, and modern DC motor openers, which integrate all control electronics into the logic board. Understanding this distinction prevents troubleshooting confusion and unnecessary part searches.
Testing the Capacitor: Step-by-Step Diagnostic Protocol
A classic symptom of a failed AC start capacitor is a loud motor hum accompanied by zero drive shaft rotation. When bench-testing a capacitor, technicians follow strict safety steps:
- Safe High-Voltage Discharge: Capacitors hold 220V–370V of stored charge long after power is disconnected. A technician bridges the terminals using a 20kΩ resistor or insulated tool to prevent hazardous spark discharge.
- Visual Inspection: Swollen top seals, oily dielectric leaks, or scorched outer casings signal immediate failure.
- Capacitance ($mu F$) Measurement: Setting a digital multimeter to Microfarads ($mu F$), the technician measures across disconnected terminals and compares the reading against the printed rating (typically $53–63 mu F$ for standard 1/2 HP AC openers). If the reading strays beyond the $pm 10%$ tolerance band, the capacitor must be replaced.
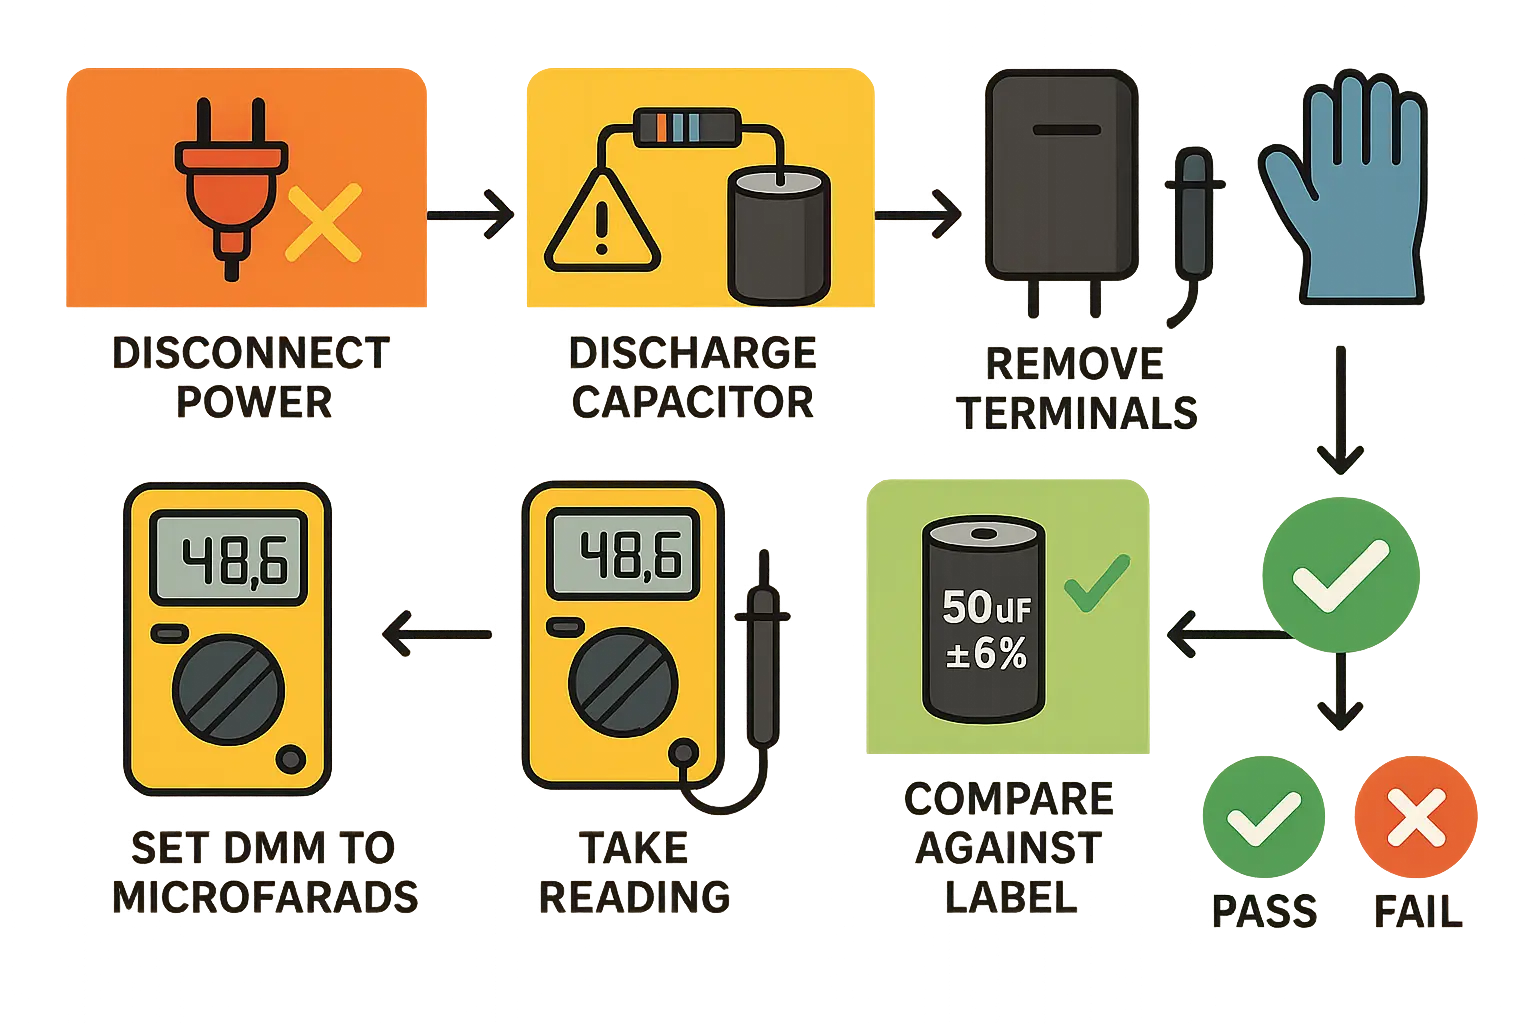 This process diagram guides readers through safe and accurate technician-grade testing of opener capacitors with a multimeter, highlighting critical safety steps and precise measurement techniques essential for correct diagnosis.
Diagnosing Logic Board Failures and Power Rails
When an opener displays no power, unresponsive remotes, or erratic movement where your garage door opener opens and closes by itself, the logic board is the primary suspect. Standard OEM protocols for liftmaster garage door opener troubleshooting and chamberlain garage door opener troubleshooting focus on these bench checks:
- PCB Visual Inspection: Technicians check for cracked trace lines, charred relay contact points, or shorted Metal Oxide Varistors (MOVs) caused by power surges.
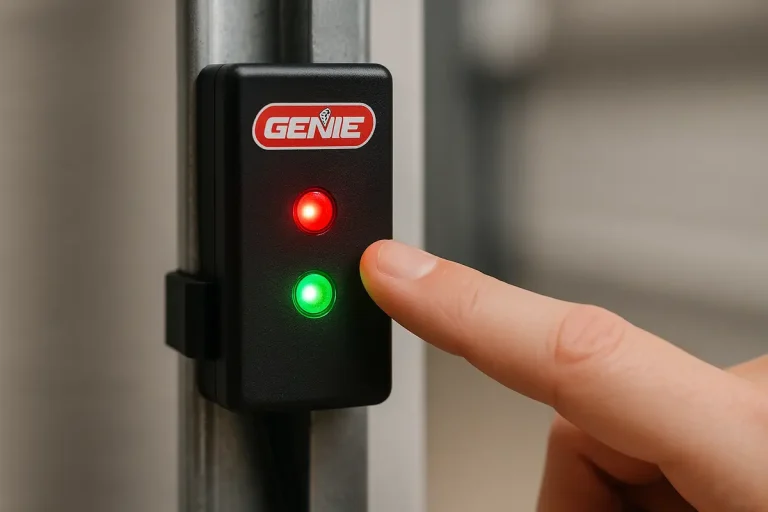
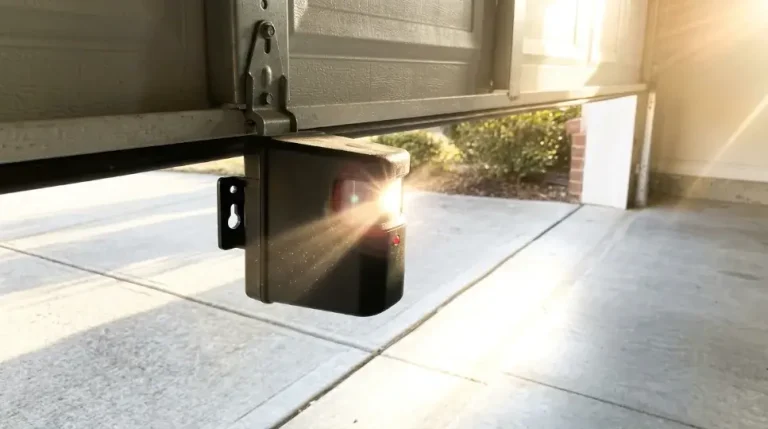
- Voltage Rail Verification: The tech measures 120V AC input at the board harness. If main power is present but output to the low-voltage safety terminals measures 0V DC (leaving no green light on garage door sensor), the board’s step-down transformer or voltage regulator is dead.
- Diagnostic LED Code Translation: Onboard diagnostic LEDs emit blink patterns (e.g., arrow flash sequences) that isolate microcontroller faults from external wiring shorts.
Repair vs. Replace: The 8-Year Economic Threshold
Evaluating whether to pay for a logic board replacement ($110–$240 part; $220–$420 total pro repair) or replace the entire opener hinges on system age, drive motor condition, and safety compliance.
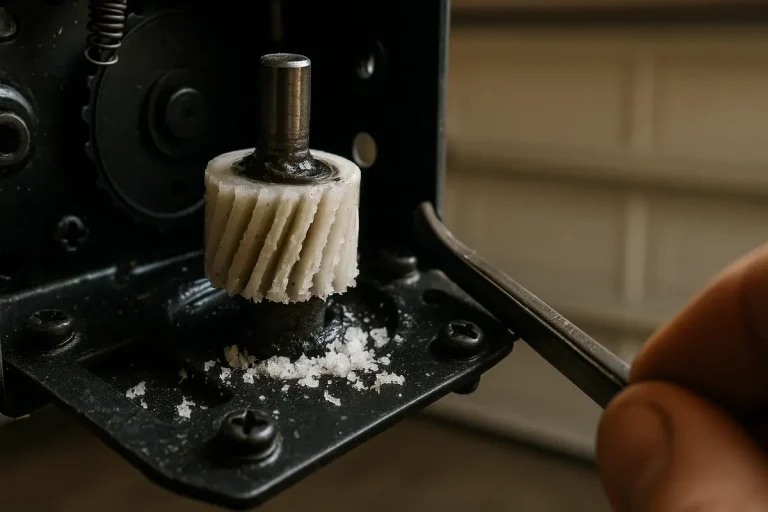
- The 8-Year Rule: Field data demonstrates that replacing major electronics on an opener older than 8 years carries a 64% likelihood of secondary failure (such as gear assembly stripping) within 24 months.
- Safety Standard Compliance: Revised UL 325 regulations and state mandates (such as California SB 969) require battery backup functionality on all residential openers. Investing heavily in an older unit without battery backup leaves your home vulnerable during power outages.
While replacing a $15–$35 capacitor ($120–$180 total pro repair) makes complete financial sense on a healthy AC opener, paying for a complex board replacement on an aging system often points toward a professional garage door opener installation. Upgrading to a modern system through a smart garage door opener installation or complete garage motor installation ensures long-term reliability, rolling-code security, and quiet operation.
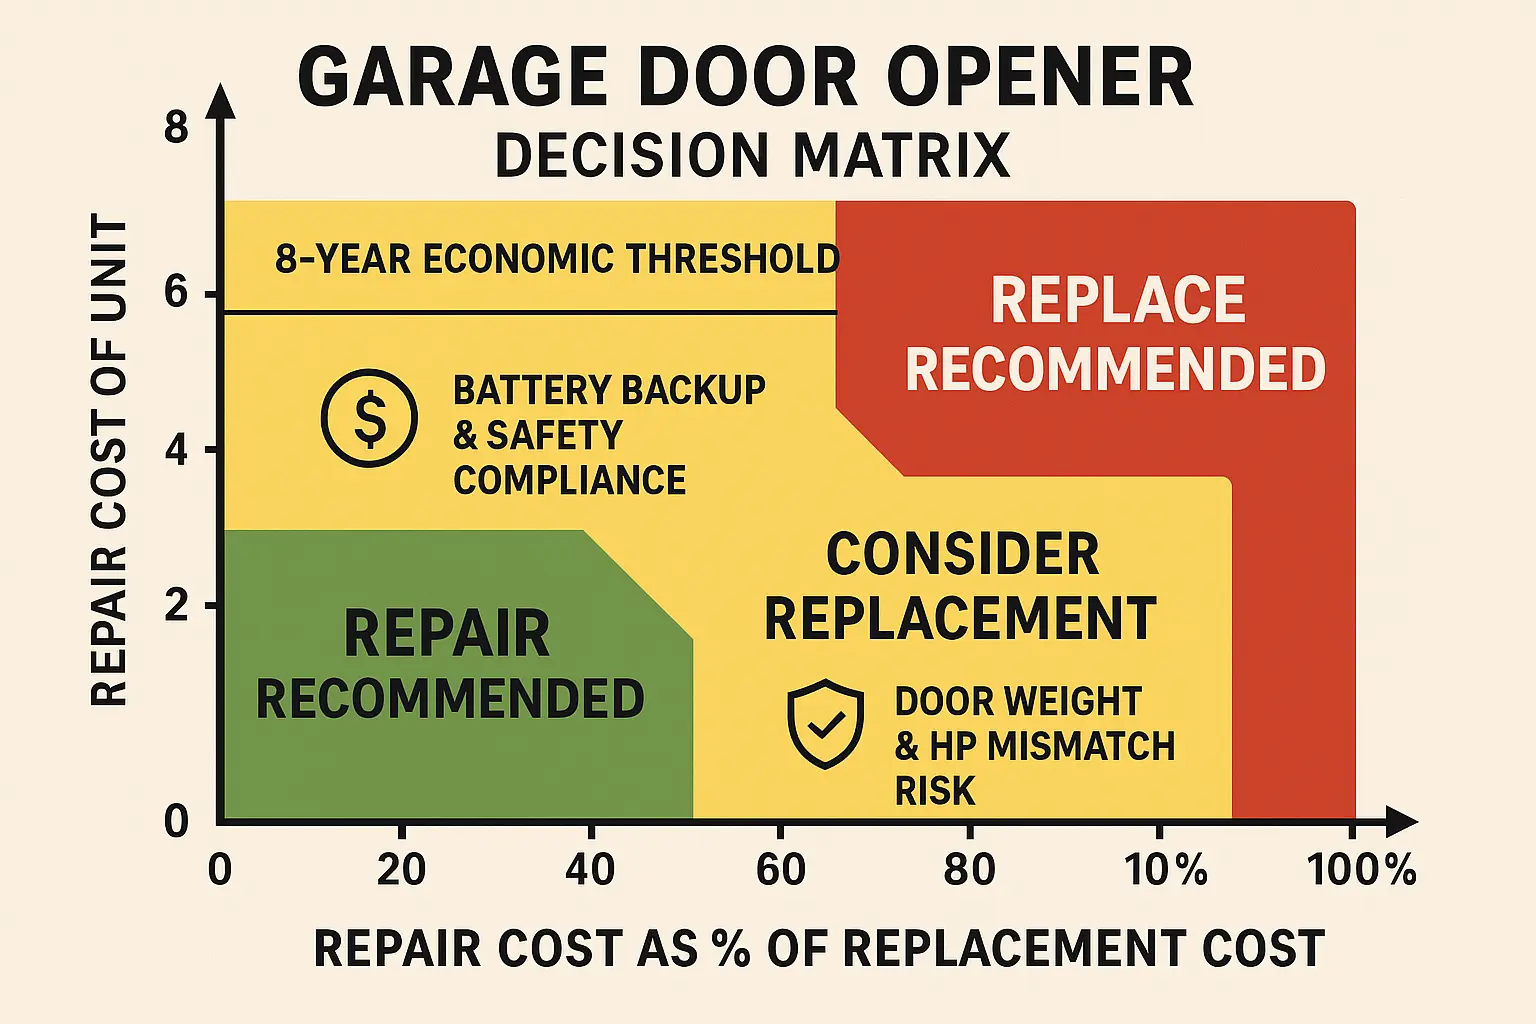 This decision matrix provides a memorable visual anchor for homeowners evaluating whether to repair or replace their garage door opener based on age, cost, and safety compliance. It simplifies complex economic and technical factors into an easy-to-reference guide.
FAQ
How can I tell if my garage door opener issue is the capacitor or the logic board?
A failing capacitor usually causes an AC motor to hum loudly while remaining stuck. A logic board failure typically results in complete power loss, total unresponsiveness to remotes and wall controls, or erratic opening and closing sequences.
Is it safe to test or discharge a garage door capacitor at home?
Capacitors store high voltage even after the opener is unplugged. Testing or discharging them without specialized tools, like a 20kΩ resistor, carries a risk of severe shock, making professional handling recommended.
You May Also Like