





Garage Door Panel Reinforcement and Repair Guide
Published: Aug 25, 2026
We’ve all seen it in movies: a determined character gains entry to a home with a single, well-placed kick to the garage door. While it might seem like Hollywood drama, there’s a kernel of truth to it. Your garage door is often the largest, heaviest, and most overlooked entry point to your home. In fact, law enforcement data suggests that around 9% of burglars gain access through the garage.
Many homeowners focus on high-tech cameras or clever tricks with the emergency release cord. But what if the biggest vulnerability is the very structure of the door itself? The thin, lightweight panels designed for easy lifting can also be a weak point against brute force.
This guide is for homeowners who want to move beyond the basics. We’ll explore the often-ignored topic of structural reinforcement, explaining how to turn your garage door from a potential liability into a formidable barrier against kick-ins and pry attacks.
The Anatomy of a Garage Door: Why Are Panels So Vulnerable?
Before we can strengthen a garage door, it helps to understand how it’s built—and where it’s designed to fail. Picture your typical sectional garage door. It’s not one solid slab of steel; it’s a series of horizontal panels connected by hinges.
Here are the key components you need to know:
- Panels: These are the large, broad sections of the door. To keep the door lightweight enough for an automatic opener to lift, residential panels are often made of thin-gauge steel, aluminum, or wood with a hollow or insulated core. Their weakness is a lack of rigidity; under direct force, they can bend, buckle, or break.
- Stiles: These are the vertical metal structures inside the door where the hinges and rollers are attached. While they provide some vertical strength, they do little to prevent the center of a wide panel from being bent inward.
- Tracks and Rollers: These guide the door up and down. While not part of the panel itself, they are a target for pry attacks, where an intruder tries to force a gap to dislodge the rollers.
The core “aha moment” is this: your garage door is engineered for lightness and cost-effectiveness, not for security. The same design that makes it easy to open also makes it vulnerable to being kicked or pried open.
Level 1 Security: The Essential First Steps
Before fortifying the panels, it’s crucial to address the most common, low-hanging fruit for intruders. Many online guides on how to secure your garage door focus on these simple but effective tactics. Think of them as your foundational layer of defense.
- Secure the Emergency Release: The infamous “6-second break-in” involves using a coat hanger to hook the emergency release cord from the outside. A simple zip-tie can prevent this, disabling the pull cord until you need it in an emergency.
- Use a Slide Lock: Most doors come with a manual slide lock on the inside. Get in the habit of using it, especially overnight or when you’re away. It physically blocks the door from moving along the track.
- Obscure Windows: If your garage door has windows, an intruder can see if your car is gone or if there are valuables inside. Applying frosted or privacy film is an easy DIY fix.
These steps are excellent starting points, but they don’t address the structural integrity of the door itself. They lock the door, but they don’t strengthen it.
Level 2 Security: Reinforcing Your Door Panels with Struts
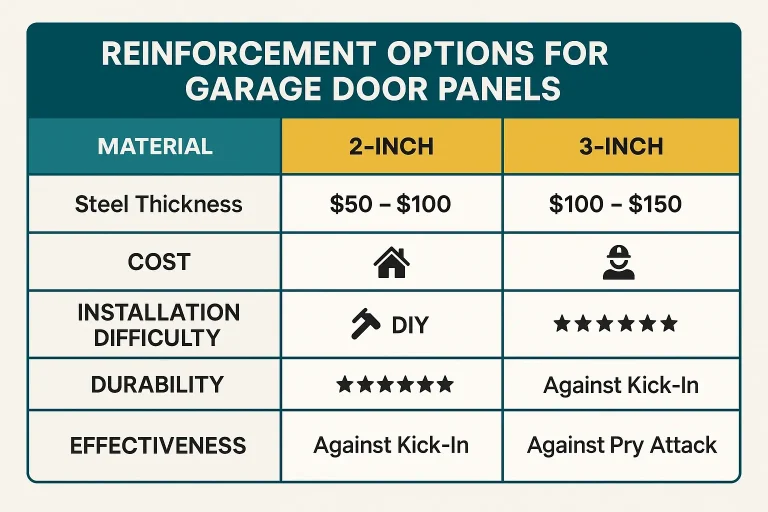
This is where we move from basic deterrence to active defense. The single most effective way to strengthen your garage door against physical force is by installing horizontal reinforcement struts.
A garage door strut is a steel bar (typically C-shaped or U-shaped) that runs the full width of the door. Its job is simple but critical: to distribute any force applied to a single point across the entire length of the panel. Instead of one panel bending and breaking, an attacker would have to overcome the strength of the entire door.
This is the same principle used to make doors hurricane-rated. By adding this rigidity, you not only protect against break-ins but also prevent your door from sagging or warping over time. If you’ve ever had to repair a sagging garage door, you already understand the importance of structural support.
Your DIY Installation Guide
While we always recommend professional installation to ensure perfect balance and function, adding struts is a project a confident DIYer can tackle. This is a common garage door reinforcement DIY project.
Tools You’ll Need: • Drill with a 1/4-inch bit • Socket wrench or adjustable wrench • Measuring tape • Clamps • Safety glasses and gloves
Step-by-Step Process:
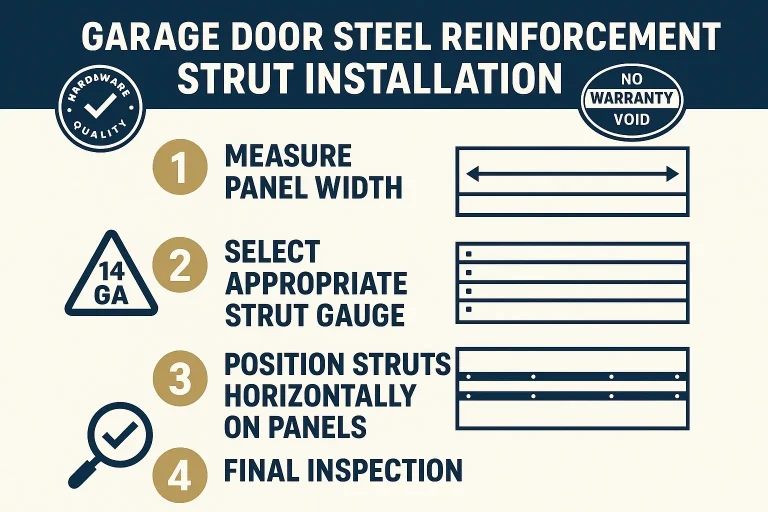
- Measure and Purchase: Measure the width of your garage door. Struts are sold in standard lengths (e.g., 8′, 9′, 16′, 18′) and can be cut to size if needed. For security, a 22-gauge steel strut is a good starting point.
- Close the Door: Perform all work with the garage door fully closed and the automatic opener disengaged for safety.
- Position the Strut:: Place the first strut horizontally across the top of a panel. Use your clamps to hold it firmly in place against the vertical stiles.
- Drill Pilot Holes: Through the pre-drilled holes in the strut, drill 1/4-inch pilot holes through the stile on the door. Warning: Do not drill all the way through to the outside of the door!
- Fasten the Strut: Secure the strut to the stile using self-tapping screws. The screws should be long enough to bite firmly into the metal stile but not so long that they poke through the front of the door.
- Repeat as Needed: The number of struts you need depends on your door. For maximum security, one strut per panel is ideal. At a minimum, reinforce the top and bottom panels.
Level 3 Security: Ultimate Protection for Peace of Mind
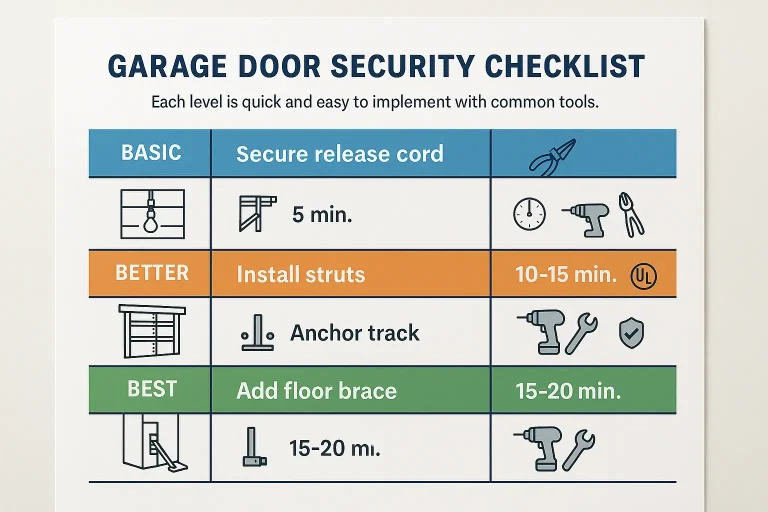
For homeowners who want the highest level of security, combining panel reinforcement with specialized locking hardware creates a nearly impenetrable system.
- Garage Door Security Bars (Floor Braces): These devices anchor into the concrete floor of your garage just behind the door. A heavy-duty brace swings up and locks against the inside of the door, making a kick-in virtually impossible. They absorb and redirect the force into the foundation of your home.
- Heavy-Duty Slide Locks: Upgrading the standard, flimsy slide lock to a heavy-duty version with a spot for a padlock adds another layer of security.
- Specialized Reinforcement Kits: Companies offer complete kits that include not only struts but also stronger garage door brackets and hardware designed to harden the entire system against forced entry.
For those considering a manual lock, it’s wise to learn how to install a garage door lock correctly to avoid compromising the door’s function.
Frequently Asked Questions (FAQ)
How many reinforcement struts do I need for my garage door?
For a standard two-car garage door, a minimum of two struts (one for the top panel, one for the bottom) is recommended. For maximum security and longevity, placing a strut on every panel is the best practice.
Can I install struts myself, or do I need a professional?
Installing struts is a manageable DIY project for someone comfortable with tools. However, a professional can ensure the struts are installed without damaging the door, and they can check and adjust the garage door opener and spring balance, which might be affected by the added weight.
Will adding struts void my garage door’s warranty?
In most cases, no. Struts are a standard component, especially in hurricane-prone regions. However, it’s always wise to check your specific manufacturer’s warranty. Damage caused by improper installation (like over-tightening bolts and cracking the panel) would not be covered.
Are commercial reinforcement kits better than a DIY strut installation?
Commercial kits are often engineered to work as a complete system and may provide a higher level of certified protection (e.g., a hurricane rating). However, for preventing common kick-in attacks, a properly executed DIY strut installation offers a massive security upgrade over a standard unreinforced door.
Your Actionable Security Checklist
Securing your garage is a process of layering defenses. By starting with the basics and moving on to structural reinforcement, you can systematically eliminate vulnerabilities and gain true peace of mind. True garage door protection comes from understanding the whole picture.
Ready to audit your own garage? Use this simple checklist to see where you stand and what your next steps should be.
If you’re unsure about any step or want an expert opinion on the best way to reinforce your specific door, don’t hesitate to reach out. At Up & Down Garage Doors, our family-owned business is built on providing honest, professional advice to keep your home safe and secure.
You May Also Like

Fiberglass Batt vs. Foam: The Ultimate Garage Door Panel Insulation Guide
If you have ever stepped into your garage during a mid-July afternoon, you know it can feel less like a home utility space and more like an oven. Under direct sunlight, uninsulated steel garage door panels act as…
Published Date: Aug 18, 2026
Why Are Garage Door Panels Discontinued: The Homeowner’s Diagnostic Guide
A minor bump from a car or storm-blown debris often damages just a single panel, leaving the rest of your door fully functional. Naturally, you search for a quick garage door panel replacement only to meet a…
Published Date: Aug 10, 2026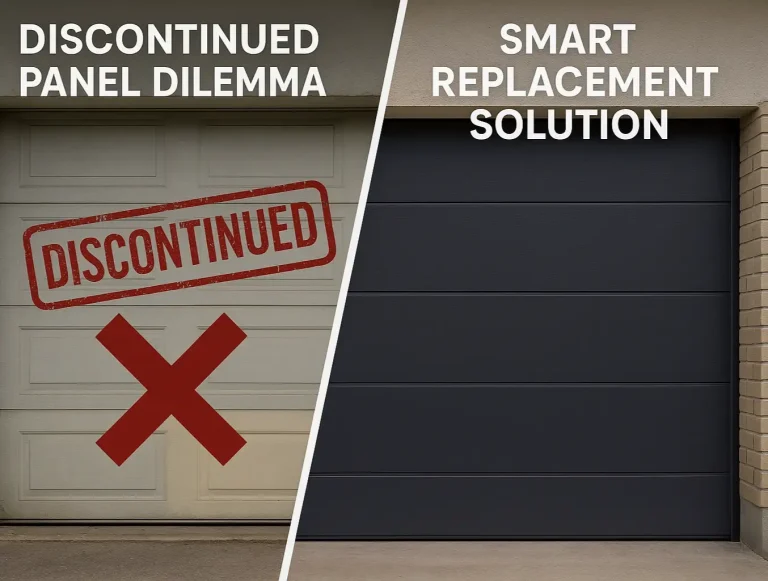
Navigating Discontinued Door Panels: Why Replacing the Whole Garage Door Saves Money
You notice a deep dent in your bottom garage door panel. Your first thought is straightforward: I’ll just order a single replacement section, hire a pro to swap it out, and be done with it. It sounds like a quick,…
Published Date: Aug 5, 2026